9
9.2 Network setup 67
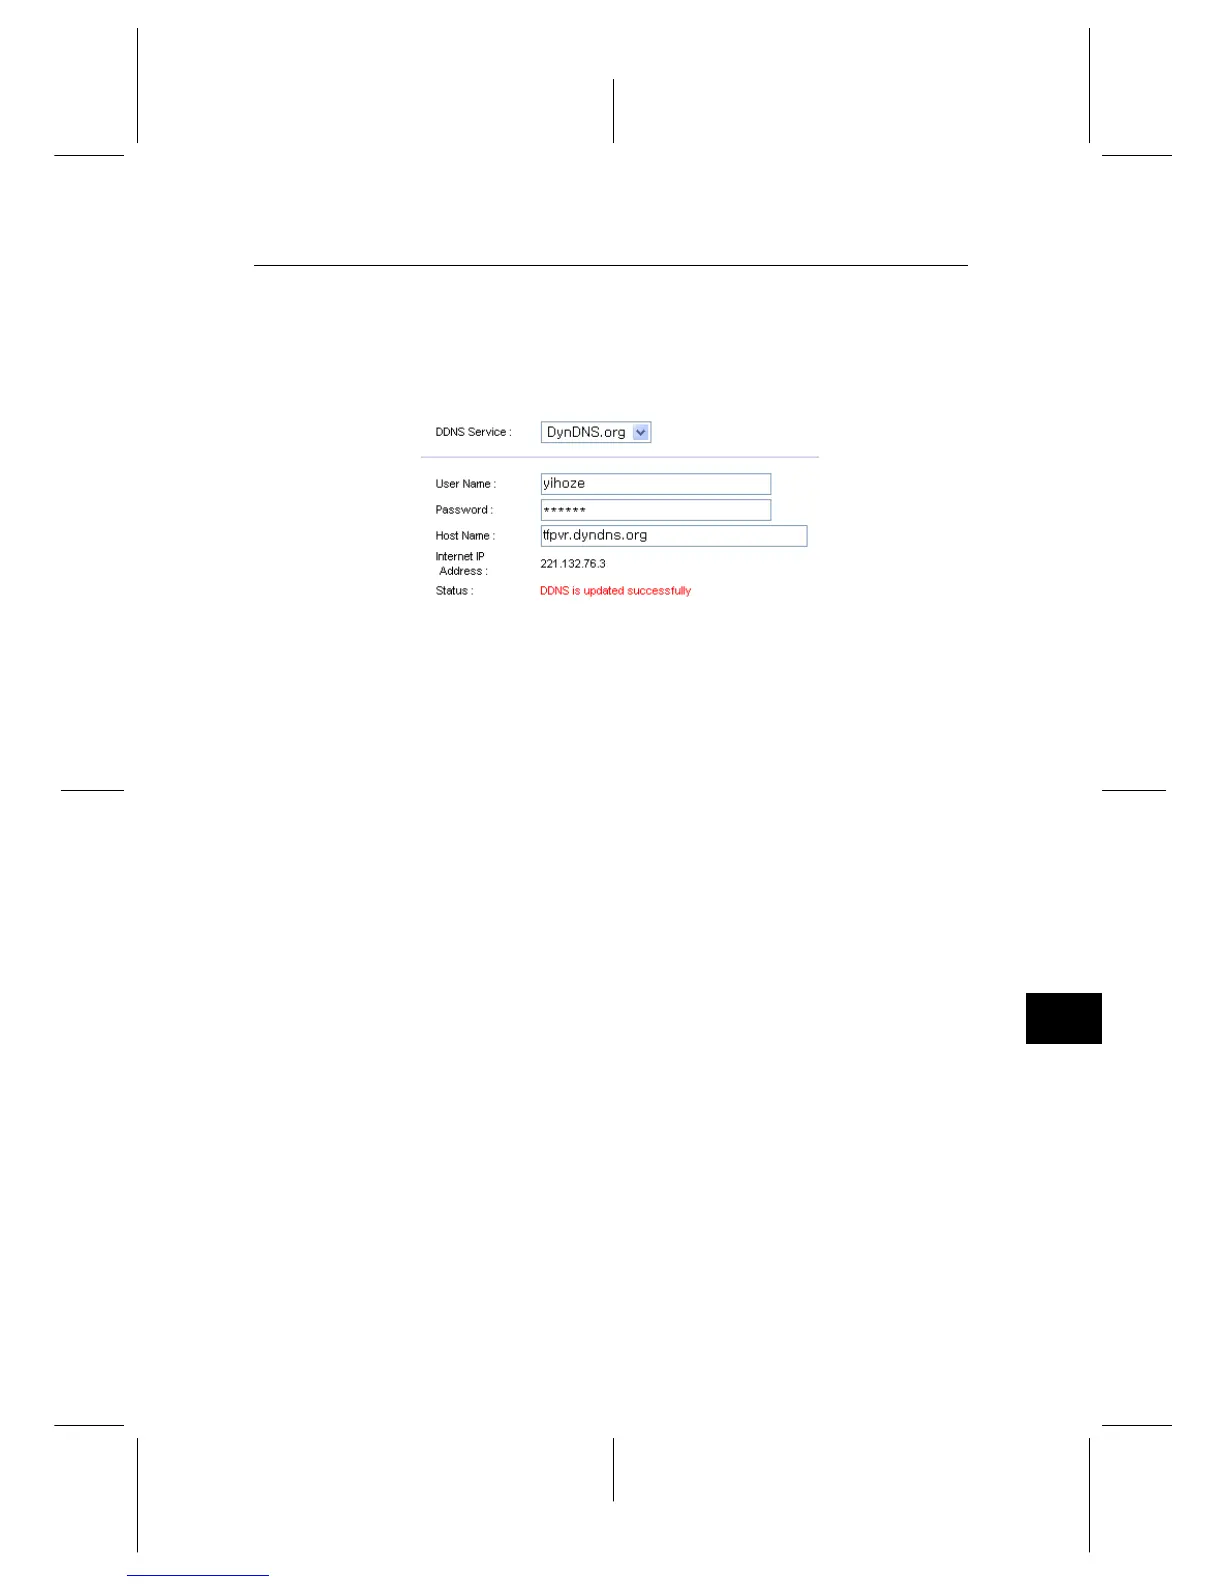
which should be supported by your router.
2. Configure your router with the account so that it can
communicate with the web site.
Whenever a new dynamic IP address is assigned to the router,
it will inform the DDNS service provider of the new IP ad-
dress. This makes it possible that you access the router with a
domain name at any time.
9.2 Network setup
1. Connect your Ethernet cable from your router to the Top-
pro recorder.
2. Press Installation > Network Setting > IP Setting.
3. It is recommended to use a dynamic IP address by the
router therefore select DHCP as the connection type.
However if a static connection is set then please refer to
your router for an IP address, Subnet Mask, Gateway,
Primary DNS, Secondary DNS.
4. Scroll down to activate profile and press the OK button
on the remote.
5. A successful connection will populate all the IP settings
and the Level/Quality bars on the TV screen will show
a high percentage level.





 To Next Page