www.topworx.com
5
1 2 3 4 5 6 7 8 9 10 11 12
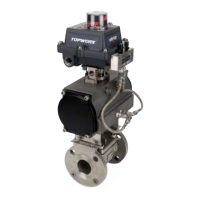
POTENTIOMETER
TRANSMITTE
BOARD ASSY
LED
CALIBRATION
BUTTON
TERMINAL STRIP
24Vdc POWER SUPPLY
VOM
Set to mA
1 2 3 4 5 6 7 8 9 10 11 12
4-20mA HAND HELD CALIBRATOR
UNIT NOT POLARITY
SENSITIVE
Set Up fSet Up f
Set Up fSet Up f
Set Up f
or the Stand or the Stand
or the Stand or the Stand
or the Stand
Alone PotentiometerAlone Potentiometer
Alone PotentiometerAlone Potentiometer
Alone Potentiometer
1) Remove cover and rotate actuator/valve to fail or start position
2) Use an ohmmeter to measure the resistance value at fail or start position (see illustration 6)
3) Connect an ohmmeter to feedback terminal
4) Rotate actuator/valve to end position. Check that resistance increases (or decreases) over stroke and that potentiometer does not rotate
past maximum or minimum resistance (through dead band)
5) Replace cover
Illustration 5 -Illustration 5 -
Illustration 5 -Illustration 5 -
Illustration 5 -
CalibrationCalibration
CalibrationCalibration
Calibration
ConnectionsConnections
ConnectionsConnections
Connections
The complete calibration process including error paths is shown in the Figure 1. The software can detect several errors during calibration (See Table 1).
 Loading...