9
SET-UP INSTRUCTIONS
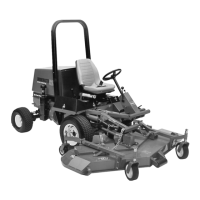
Figure 5
1. Ball joint
2. Jam nut
3. Push arm adapter
1
3
2-3/8"
2
3. Remove (2) flange head capscrews and flange
nuts securing right hand ball joint mount to castor arm.
Remove ball joint mount from castor arm.
4. Install ball joint to right hand ball joint mount with a
castle nut and cotter pin (Fig. 6).
5. Loosely mount push arm adapter to bottom of right
push arm with a push arm bracket and (4) capscrews,
flat washers and flange head locknuts. Push arm
bracket to be positioned approximately 1" from end of
right push arm.
Note: Push arm plate to be positioned on top of push
arm. Push arm adapter is mounted to under side of
push arm.
6. Move cutting unit into position in front of traction
unit.
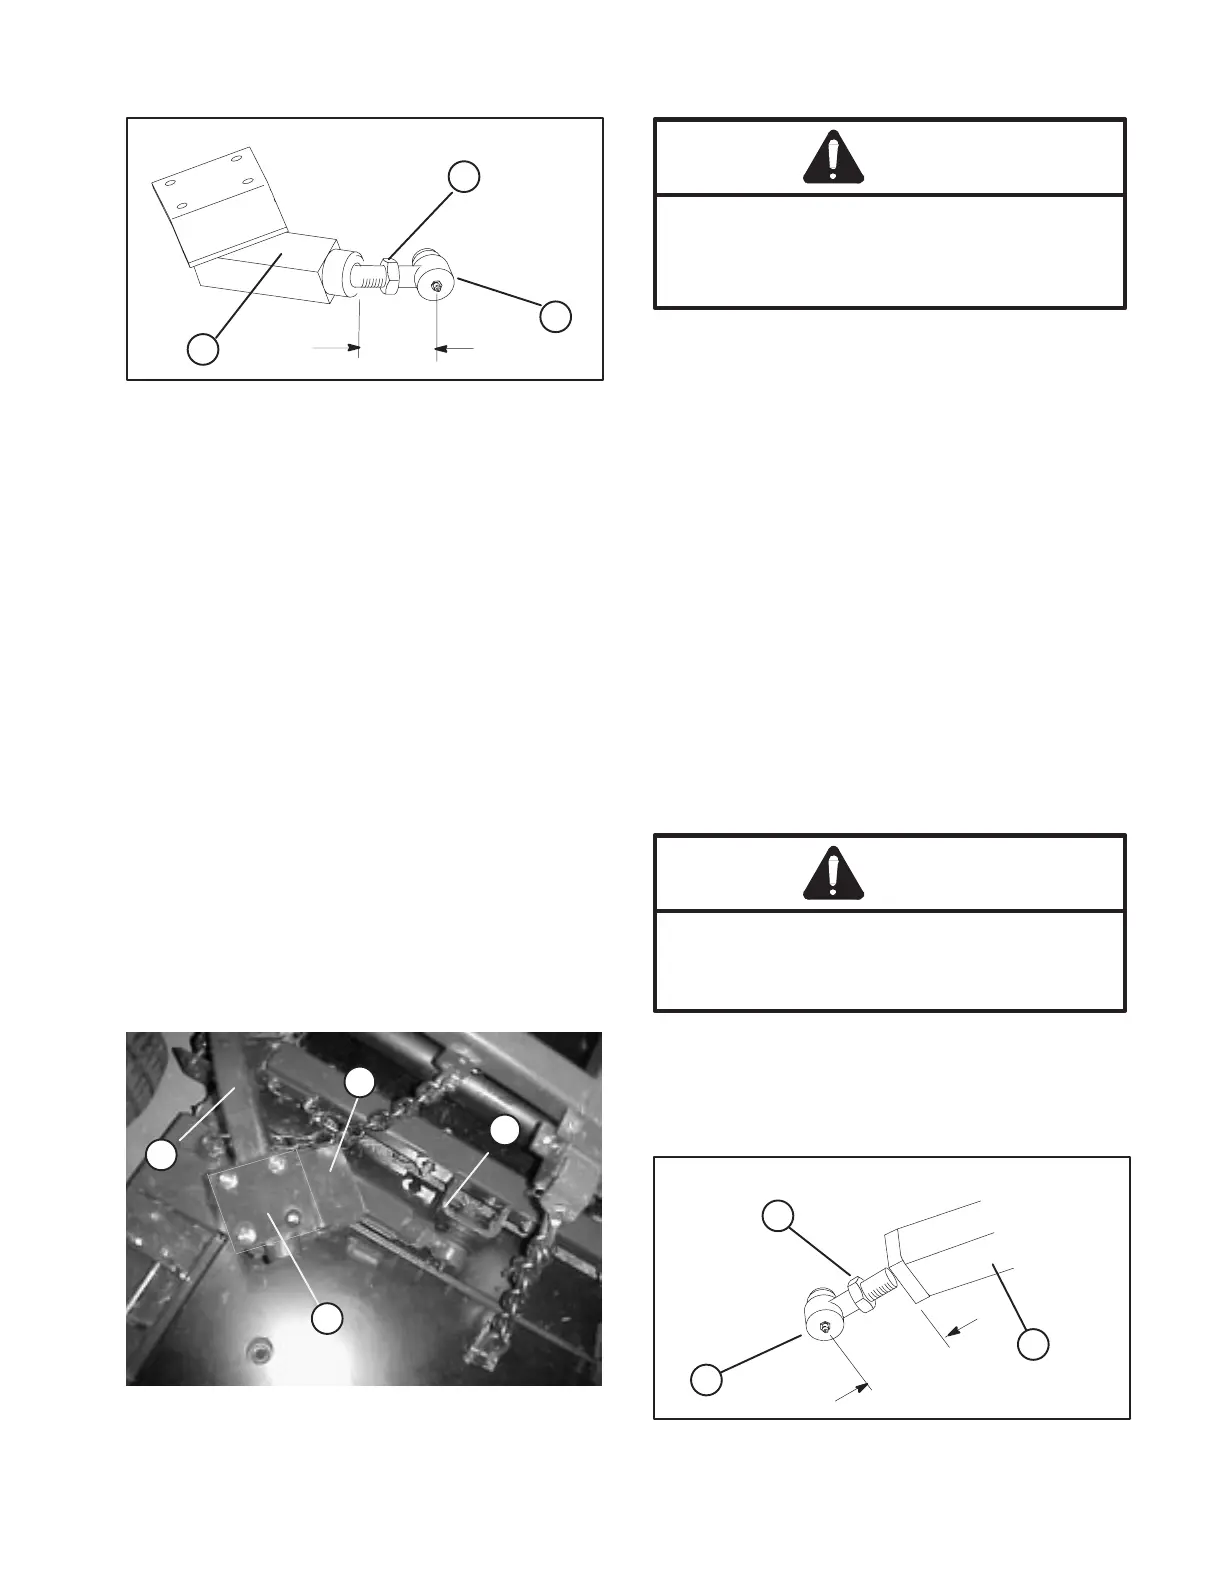
Figure 6
1. R.H. Push Arm
2. Push arm adapter
3. Push arm plate
4. Ball Joint Mount
1
2
3
4
Since the right hand push arm is spring loaded
to about 100 pounds, a helper is needed to
push the arm down. Sudden release of the
push arm could cause injury.
WARNING
7. Have a helper carefully push down on the right
push arm until holes in ball joint mount line up with
holes in castor arm. Immediately slide a 4 x 4 in. block
of wood between top of push arm and underside of
chassis.
8. Secure ball joint mount to castor arm with (2)
flange head capscrews and flange nuts previously
removed.
Note: Capscrew heads to be positioned on inside of
castor arm.
9. Tighten large jam nut securing ball joint to push
arm adapter (FIg. 5). When tightening jam nut, hold
ball joint straight to permit proper oscillation during
raising and lowering of cutting unit. Carefully remove
wood block holding push arm down.
CONNECT LEFT HAND PUSH ARM TO
CUTTING UNIT (Fig. 7- 8)
Since the left hand push arm is spring loaded
to about 150 pounds, a helper is needed to
push the arm down. Sudden release of the
push arm could cause injury.
WARNING
1. Thread a jam nut fully onto ball joint.
2. Thread ball joint into left push arm until a
dimension of 2-3/8" from end of push arm to center of
ball joint is attained. Do not tighten jam nut.
Figure 7
1. Ball joint
2. Jam nut
2. Left push arm
1
3
2-3/8"
2
 Loading...