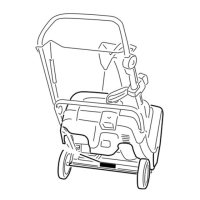
2.InstallingtheDischarge
Chute
3
Screws
1
Chuteassembly
1Dischargechutehandle
Procedure
Installthedischargechuteasshown(Figure6).
Figure6
1.Dischargechutehandle3.Dischargechute
2.Screw(3)
Note:Foreasierinstallation,useasmallratchetwrench
totightenthescrews.
Important:Donotovertightenthescrews;
otherwiseyoumaydamagethedischargechuteand
preventitfromturningfreely.
3.AdjustingtheControlCable
Procedure
RefertoAdjustingtheControlCableinMaintenance.
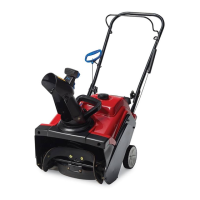
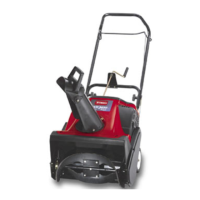
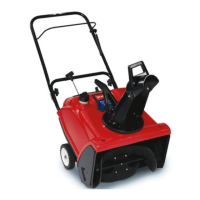
ProductOverview
Figure7
1.Chutedeectortrigger
6.Primer
2.Dischargechutehandle7.Ignitionkey
3.Controlbar
8.Electric-startbutton
(model38582only)
4.Fueltankcap
9.Chokelever
5.Recoilstarthandle
10.ChuteDeector
Operation
Note:Determinetheleftandrightsidesofthemachine
fromthenormaloperatingposition.
Gasolineisextremelyammableandexplosive.
Areorexplosionfromgasolinecanburnyou
andothers.
•Topreventastaticchargefromigniting
thegasoline,placethecontainerand/or
snowthroweronthegroundbeforelling,
notinavehicleoronanobject.
•Fillthetankoutdoorswhentheengineis
cold.Wipeupspills.
•Donothandlegasolinewhensmokingor
aroundanopenameorsparks.
•Storegasolineinanapprovedfuelcontainer,
outofthereachofchildren.
6