g020525
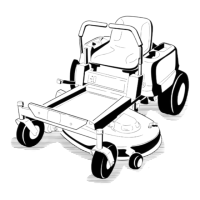
Figure 55
1. 22.7 to 23.3 cm (8.92 to
9.16 inches)
2. Nuts
9. Engage and disengage the brakes to check for
proper engagement and disengagement. Adjust
if necessary .
Note: When the brakes are disengaged, there
should be little to no free play in the brake
linkage with no dragging in the brakes.
Belt Maintenance
Inspecting the Belts
Service Interval : Every 40 hours
Replace the belt if it is worn. The signs of a worn belt
include squealing while the belt is rotating; the blades
slipping while cutting grass; and frayed edges, burn
marks, and cracks on the belt.
1. Park the machine on a level surface, move the
speed-control lever to the N EUTRAL position,
disengage the PT O, and engage the parking
brake.
2. Shut of f the engine, remove the key , and wait
for all moving parts to stop before leaving the
operating position.
3. T ilt the hopper up and check the pump and PT O
drive belts for wear , cracking, or contamination.
Note: The belts are spring tensioned and no
adjustment is necessary unless the belts are
replaced.
Replacing the PT O Belts
1. Park the machine on a level surface, move the
speed-control lever to the N EUTRAL position,
disengage the PT O, and engage the parking
brake.
2. Shut of f the engine, remove the key , and wait
for all moving parts to stop before leaving the
operating position.
3. With the engine of f, engage the PT O lever , then
remove the hairpin cotter and clevis pin at the
bottom of the PT O-brake band.
4. Rotate the brake band upward and out of the
way of the belts keeping clear of the belt drive.
5. Disengage the PT O lever .
6. Loosen belt guides A and B ( Figure 56 ).
7. Remove the belts.
8. Route the new belts onto the pulleys as shown
in Figure 56 .
50

 Loading...