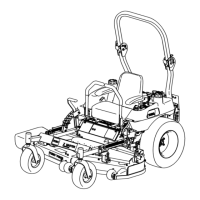
5. Mo v e lev er to the neutral position but not
loc k ed ( Figure 53 ).
Figure 53
1. Neutral locked position 3. Neutral position
2. Control lever
6. Pull the lev er bac k until the clevis pin (on the
ar m belo w the pi v ot shaft) contacts the end
of the slot (just beginning to put pressure on
the spring) ( Figure 54 ).
Figure 54
1. Clevis pin in slot 6. Double nuts
2. Nut
7. Jam nut
3. Nut-Left hand thread 8. Yoke
4. Adjustment bolt 9. Ball joint
5. Pump rod
7. Chec k where the control lev er is relati v e to the
notc h in the console ( Figure 53 ). It should be
centered, allo wing the lev er to pi v ot outw ard
to the neutral loc k position.
8. If adjustment is needed, loosen the n ut and
jam n ut ag ainst the y ok e ( Figure 54 ).
9. Apply slight rearw ard pressure on the motion
control lev er , and tur n the head of the
adjustment bolt in the appropriate direction
until the control lev er is centered in the neutral
loc k position.
Note: K ee ping rearw ard pressure on the
lev er will k ee p the pin at the end of the slot and
allo w the adjustment bolt to mo v e the lev er to
the appropriate position.
10. Tighten the n ut and jam n ut ( Figure 54 ).
11. R e peat on the opposite side of mac hine .
41