CONTROLS
4-29Toro GrandStand Service Manual
4
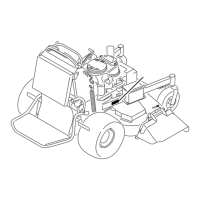
17. While pulling the control fork assembly rearward
(not so hard that the speed control linkage moves)
tighten the screw that goes through the center of the
shoulder hub (Fig. 0739).
Fig. 0739 IMG-1057a
18. Install the washer and hairpin cotter to the end of the
speed control linkage (Fig. 0741).
Fig. 0741 DSC-0516a
19. Remove the cable tie securing the neutral switch
plates to the switch stop arm (Fig. 0742).
Fig. 0742 IMG-1052a
Note: It is important to keep the pump control arm
and control fork slots aligned with each other.
This can be achieved by making sure the top
of the pump control arm and control fork are
parallel to each other (Fig. 0740).
Fig. 0740 DSC-0527a

 Loading...