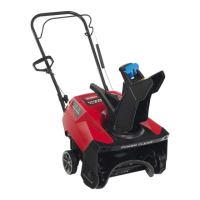
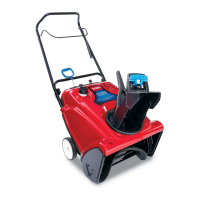
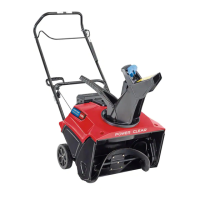
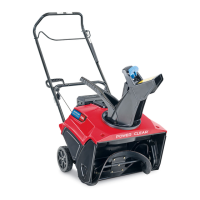
Figure6
1.Movethemachinetoalevelsurface.
2.Cleanaroundtheoilllcap(Figure11).
3.Unscrewtheoilllcapandremoveit.
4.Slowlypouroilintotheoilllhole.Wait3minutes,
thenchecktheoillevelonthedipstickbywipingthe
dipstickcleanandtheninserting,butnotscrewingin,
theoilllcapintothehole.
Note:Todeterminetheproperoillevelonthe
dipstick,refertoFigure7.
Figure7
1.Theoillevelisatits
maximum.
3.Theoillevelistoo
low—addoiltothe
crankcase.
2.Theoillevelistoo
high—removeoilfrom
thecrankcase.
Note:Filltheenginecrankcasewithoiluntilthe
dipstickindicatesthattheengineoilleveliscorrect
asshowninFigure7.Ifyouoverlltheenginewith
oil,removetheexcessoilasdirectedinChangingthe
EngineOil.
Note:Youmaytipthemachineforward(handleup)
alittletomakeaddingoileasier.Remembertoreturn
themachinetotheoperatingpositionbeforechecking
theoillevel.
Important:Donottipthemachinealltheway
forwardontoitsnose,orfuelmayleakoutofthe
machine.
5.Screwtheoilllcapintotheoilllholeandhand
tightenitsecurely.
5
AdjustingtheControlCable
NoPartsRequired
CheckingtheControlCable
ServiceInterval:Afterthersthour—Checkthecontrol
cableandadjustitifnecessary.
Yearly—Checkthecontrolcableandadjustitif
necessary.
Important:Youmustcheckandmayneedtoadjust
thecontrolcablebeforeyouoperatethemachineforthe
rsttime.
Movethecontrolbarbacktowardthehandletoremovethe
slackinthecontrolcable(Figure8).
Figure8
1.Controlbar2.1/16to1/8inch(2to3
mm)
Note:Ensurethatagapof1/16to1/8inch(2to3mm)
existsbetweenthecontrolbarandthehandle(Figure8).
Important:Thecontrolcablemustcontainsomeslack
whenyoudisengagethecontrolbarfortherotorblades
tostopproperly.
7

 Loading...