EasyManua.ls Logo

Toro Precision - User Manual

Toro Precision
12 pages
To Next Page IconTo Next Page
Loading...
The Quick Start Guide provides just the essential
information needed to properly install and set up
the Precision Soil Sensor.
For complete information, download your Precision
Soil Sensor User’s Guide at: www.toro.com.
A small Phillips screwdriver and three AA alkaline
batteries are the only extra items required to
complete the installation and setup procedure.
The Precision Soil Sensor can be installed in just
three easy steps:
Step 1 - Install and Connect the Receiver ..................p. 2
Step 2 - Select the Right Sensor Site ...........................p. 3
Step 3 - Install the Sensor and Adjust Your Timer ....p. 4
The Precision Soil Sensor is designed to help maintain healthy landscape plants while
reducing water use by allowing watering only when it is needed. To gain the full benet
from your Precision Soil Sensor, it is very important to make sure your automatic sprinkler
system is properly installed and in good working order.
Precision
TM
Soil Sensor
Quick Start Guide
Precision Soil Sensor Components
Sensor
Stakes
Probes
Receiver
English Español Français
Question and Answer IconNeed help?

Do you have a question about the Toro Precision and is the answer not in the manual?

Toro Precision Specifications

General IconGeneral
BrandToro
ModelPrecision
CategoryAccessories
LanguageEnglish

Summary

Precision Soil Sensor Quick Start Guide Introduction

Guide Overview and Components

Provides essential information for installation and lists required components like Phillips screwdriver and AA batteries.

Installation Steps Overview

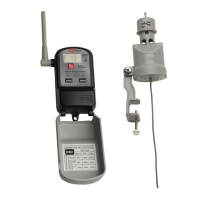
Outlines the three essential steps for installing the Precision Soil Sensor system: Receiver connection, sensor site selection, and timer adjustment.

Step 1 - Install and Connect the Receiver

Receiver Installation and Wiring

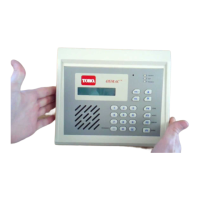
Instructions for attaching the receiver to the timer and connecting its cable based on wiring diagrams for different timer types.

Step 2 - Select the Right Sensor Site

Sensor Site Selection Criteria

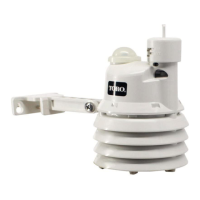
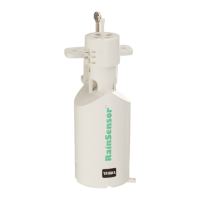
Key qualifications for optimal sensor location, including communication range, sunlight exposure, soil condition, and distance from obstructions.

Step 3 - Install the Sensor and Adjust Your Timer

Sensor Installation and Signal Check

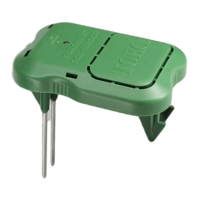
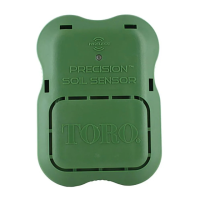
Steps for installing the sensor, inserting batteries, checking signal strength via LED, and pushing probes into the ground.

Timer Adjustment and Calibration

Instructions on initiating the 24-48 hour calibration and adjusting the sprinkler timer settings for daily watering and run time.

Related product manuals