6
5 INSTALLATION
1. Box Installation
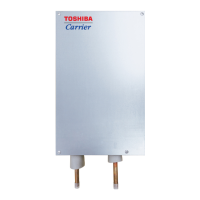
• Remove the Dx-PMV kit cover box by unscrewing the four screws.
• Drill 4 holes on correct position and fix the Dx-PMV kit securely with 4 screws (Field supply) through the provided holes
0.24“ diameter. (Reference the length of the holes Φ0.24”.)
• Be sure to install in vertical orientation so that PMV can work properly.
2. Piping Installation
■Preparation
• Remove the pipe cap.
• Prepare the inlet/outlet field piping just in front of the connection. (Do not braze yet.)
• If connecting capacity is 015 or 018 type using RBM-A301GUL, be sure to use the reducer pipe for both
brazing. (Connecting pipe size is 1/4” for 015 and 018 type).
Provided holes
4 - Φ0.24”

 Loading...


