Reference Information
2-6 Toshiba
19
PREPARATION
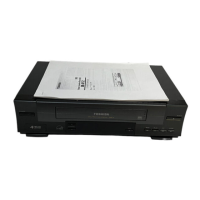
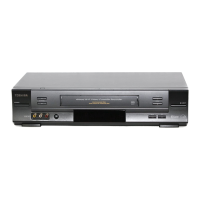
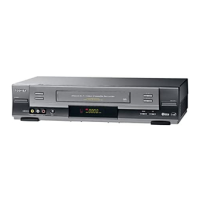
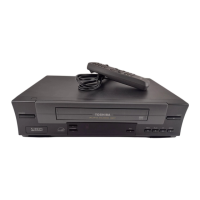
Video Cassette Use
Loading a cassette
Push the cassette into the cassette compartment with the window side facing up and the
label side towards the front. The VCR is automatically turned on. The indicator will
appear in the VCR display.
Ejecting a cassette
Press
EJECT.
The cassette is ejected from the cassette compartment.
Warning
Do not insert your hands or any foreign objects into the compartment. This may result
in injury or damage. Take special care with children to avoid accidents.
Precautions when using video cassettes
Video cassettes have a safety tab to prevent accidental erasure. If the tab has already been removed,
recording cannot be performed.
To prevent accidental erasure
Remove this safety tab with a screwdriver.
To record again
Cover the tab hole with adhesive tape.
• Avoid exposing cassettes to direct sunlight. Keep them away from heaters.
Avoid extreme humidity, vibrations or shock, strong magnetic fields (near a motor, transformer or
magnet) and dusty place.
PREPARATION
Video Cassette Use
18
To add channels
To erase channels
Channel reference chart
Number on the VCR
Corresponding channel number
TV
CATV STD (HRC/IRC)
CH NUMBER 123456789
– 23456789
1(A-8)
234
5(A-7) 6(A-6)
7
89
10 11 12 13 14 15 16 17 18 19 20 21 22 23 24 25 26 27 28 29 30
10 11 12 13 14 15 16 17 18 19 20 21 22 23 24 25 26 27 28 29 30
10 11 12 13 A B C D E F G H I J K L M N O P Q
31 32 33 34 35 36 37 38 39 40 41 42 43 44 45 46 47 48 49 50 51
31 32 33 34 35 36 37 38 39 40 41 42 43 44 45 46 47 48 49 50 51
R S T U V W AA BB CC DD EE FF GG HH II JJ KK LL MM NN OO
52 53 54 55 56 57 58 59 60 61 62 63 64 65 66 67 68 69 70 71
…
52 53 54 55 56 57 58 59 60 61 62 63 64 65 66 67 68 69 ––
…
PP QQ RR SS TT UU VV WW XX YY ZZ AAA BBB 65 66 67 68 69 70 71
…
93 94 95 96 97 98 99 100 101 102 103
…
121 122 123 124 125
–––––––––––
…
–––––
93 94 A-5 A-4 A-3 A-2 A-1 100 101 102 103
…
121 122 123 124 125
3) Enter a channel number of 1 to 125 using
number buttons
.
For more than 100 number, first press
100
.
For CATV channels, refer to the chart below.
(For other orders, check with your cable
company.)
4) Repeat steps 2) and 3) to add or erase
channels as necessary.
5) Press
PROG
. two times to exit.
Selecting stored channels
Once the active channels have been stored, you
can select the channels in two ways below.
Number buttons
To enter digits of the channel number.
• For one-digit number, enter 0 before.
• For more than 100 number, first press
100
.
• Each
number button
needs to be pressed
within 2 seconds.
CH/TRK buttons
To shift up or down the stored channel numbers.
CATV signals
• STD (standard) cable TV signals
• HRC (Harmonic Related Carriers) cable TV signals
• IRC (Incremental Related Carriers) cable TV signals
IRC is also called ICC (Incremental Coherent Carriers)
Adding or erasing channels
Adding channels
If a desired channel cannot be scanned
automatically because of a weak signal, it can be
added to the memory.
Erasing channels
You can erase a stored channel from the memory
if it is unnecessary.
1)Follow steps 1 to 3 of “Incoming Antenna/
CATV Signals”.
2)Select “ADD CH” or “ERASE CH” using
PLAY
or
STOP
.
E n D : PROG
TV/CATV TV CATV
AUTO SCAn OFF On
ADD CH - - CH
ERASE CH - - CH
TO SET CH PUSH 0~9 KEYS
E
n
D : PROG
TV/CATV TV CATV
AUTO SCA
n
OFF O
n
ADD CH - - CH
ERASE CH - - CH
TO SET CH PUSH 0~9 KEYS
 Loading...