This document serves as an installation, usage, and maintenance manual for various TOTO toilet models, including one-piece and two-piece configurations. It provides comprehensive instructions in English, Spanish, and French to ensure proper setup, operation, and longevity of the product.
Function Description:
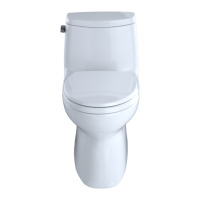
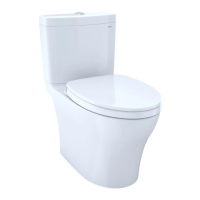
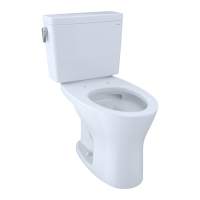
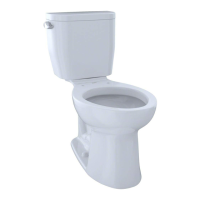
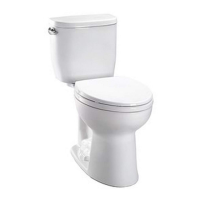
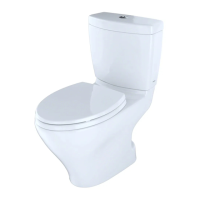
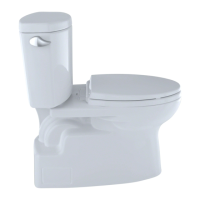
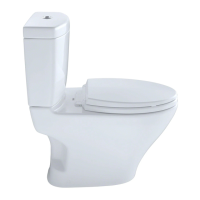
The TOTO toilets described in this manual are designed to provide healthy, hygienic, and comfortable lifestyles. They incorporate advanced flushing systems such as Cyclone, G-Max, E-Max, and Power Gravity, which are engineered for powerful and efficient waste removal. The toilets are primarily intended for residential and commercial use, offering a balance of form and function.
Important Technical Specifications:
- Rough-In Dimensions: The manual provides detailed rough-in dimensions for various models, including distances from the finished wall to the center of the toilet outlet ("RI").
- Standard Rough-In: 12 inches (TSU01W.12R / TSU03W.12R / TSU06W.12 - supplied).
- Optional Rough-In: 10 inches (TSU01W.10R / TSU03W.10R - must be purchased separately) and 14 inches (TSU01W.14R / TSU03W.14R - must be purchased separately).
- Water Supply Location: The water supply should be approximately 8 to 10 inches to the left (facing the bowl) from the centerline of the closet flange and approximately 4-1/2 inches above the floor.
- Water Supply Pressure: The static water supply pressure should be between 20 to 80 psi.
- Flushing Systems: Cyclone, G-Max, E-Max, and Power Gravity.
- Back-to-Back Installations: These flushing systems are not specified for back-to-back installations unless the toilet drain connections incorporate a WYE fitting.
- Mounting Bolts: Standard T-bolts for floor mounting.
- Drill Bit Sizes: 11/64" for wood floor installation, 5/16" for concrete/tile installation (for anchors).
Usage Features:
- Automatic Water Stop: The fill valve automatically stops the water at the proper level, eliminating the need for ballcock or fill valve adjustments.
- Easy Seat Installation: The toilet seat is designed for top-mount installation, with rubber bushing nuts inserted into the bowl seat holes. Fastening is done from the top with a screwdriver.
- Fill Valve Adjustment (Type A): For Type A fill valves, the water level can be adjusted by turning a screw clockwise (+) to increase or counter-clockwise (-) to decrease the water level height, referencing the "WL" mark on the inner tank wall.
- Fill Valve (Type B): Type B fill valves are preset at the factory and do not require water level adjustments.
- Flapper Valve Operation: The manual emphasizes checking the flapper valve for proper operation and ensuring the chain is not tangled.
Maintenance Features:
- Fill Valve Replacement Procedure:
- Shut off water supply and flush the toilet.
- Remove remaining water from the tank with a sponge.
- Disconnect the water supply from the fill valve.
- Remove the old fill valve and clean the tank hole.
- Install the new fill valve, ensuring it does not interfere with the trip lever.
- Thread and hand-tighten the mounting nut onto the fill valve shank (do not overtighten, as parts are plastic).
- Connect the refill tube to the fill valve nipple and clip the other end to the overflow pipe.
- Turn on the water supply and check for leaks.
- Verify the water level and flush the toilet several times to ensure proper operation.
- Flush Valve Replacement Procedure (CST614CUF Model Only):*
- Shut off water supply and flush the toilet.
- Remove the tank lid.
- Pull the clip on the trip lever gear box.
- Remove the gear box.
- Rotate and pull up the flush tower to remove it.
- Remove and clean the grey rubber seal gasket.
- Place the gasket back on the flush tower.
- Align and place the flush tower into the housing, pressing to snap and lock.
- Replace the trip lever gear box and push down the lever to lock it.
- Carefully install the tank lid.
- Flush the toilet several times to ensure normal trip lever operation.
- Check water level and for leaks.
- Drain Valve Replacement Procedure:
- Shut off water supply and flush the toilet.
- Remove the tank lid, noting the placement of the drain valve, chain, and refill tube.
- Unhook the refill tube from the overflow tube.
- Unlock the flush tower unit by turning counter-clockwise (with the chain hook still attached to the trip lever).
- Unhook the chain and remove the flush tower unit.
- Unscrew the three screws from the drain valve body (do not turn more than seven full turns to prevent the black mounting block from falling into the water channel).
- Remove the drain valve body.
- Replace the drain valve in the same position.
- Tighten the screws lightly before final torque.
- Install the flush tower unit onto the drain valve body and turn clockwise to lock.
- Hook the chain and refill tube back into place.
- Turn on water supply and check for leaks.
- Care and Cleaning Warning:
- DO NOT USE IN-TANK BOWLCLEANERS. High concentrations of chlorine or chlorine-related products can seriously damage tank fittings, leading to leaks and property damage. TOTO is not responsible for failures or damage caused by such cleaners.
- Limited Warranty: TOTO vitreous china products are warranted to be free from defects in materials and workmanship for one (1) year from the date of purchase, under normal use, proper installation, and servicing.
- Eligibility: The warranty extends only to the ORIGINAL PURCHASER and is non-transferable. It applies to TOTO products purchased and installed in North, Central, and South America.
- TOTO's Obligations: Limited to repair, replacement, or appropriate adjustment of defective products or parts. TOTO reserves the right to inspect to determine the cause of defects. TOTO is not responsible for removal, return, or reinstallation costs.
- Exclusions: Damage from natural calamities, accidents, unreasonable use, misuse, abuse, negligence, improper care/cleaning/maintenance, sediments in water, improper installation (including harsh/hazardous environments or exceeding 80 PSI water pressure), electrical surges, normal wear and tear (gloss reduction, scratching, fading), and plastic/rubber moving parts of tank flushing mechanisms or toilet seats.
- Proof of Purchase: Required for warranty validity. Online registration is encouraged but voluntary.
- Claim Procedure: To obtain service, the product must be delivered prepaid to a TOTO service facility with proof of purchase and a letter describing the problem, or by contacting TOTO customer service.
This comprehensive manual ensures that users have all the necessary information to install, operate, and maintain their TOTO toilet effectively, promoting long-term satisfaction and product performance.