5
ENGLISH
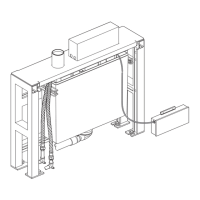
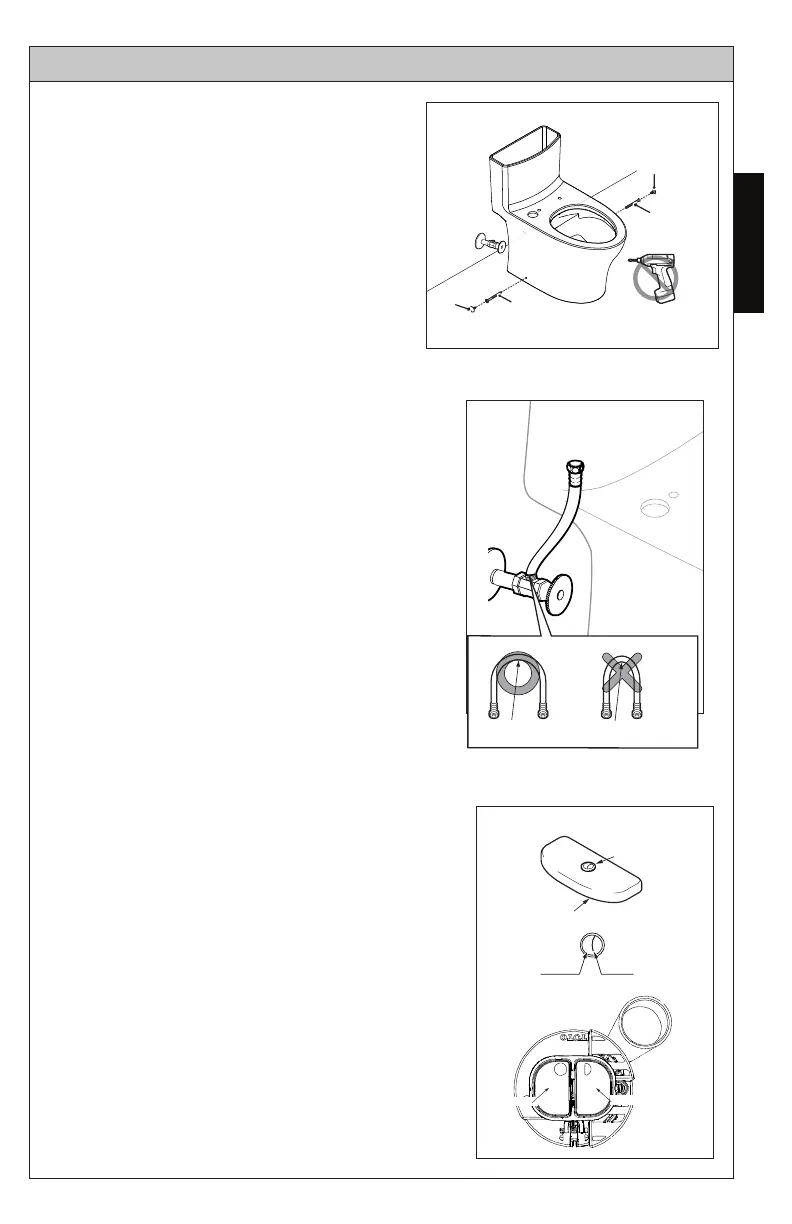
6. Connect the water supply hose (not
provided) to the fill valve (ill. 5).
INSTALLATION PROCEDURE
Cap
Side-screw
Cap
Side-screw
ill. 4
5. Install the side screws to the
mounting blocks. Cover the
screw head with the provided
screw caps (ill. 4).
50mmradiusminimumMakesuretherearenokinks
ill. 5
7. Install the flexible water supply hose to
the angle stop (ill. 5). Make sure that
the hose is free of kinks.
Push buttons
Tank lid
Left Right
Full
Flush
Partial
Flush
ill. 6
Flush valve
Full ush
Partial ush
Right
8. Carefully place the lid on top of the
tank, making sure that the full flush push
button is on the left side (ill. 6).
9. If necessary, adjust the length of the push
button rods. They are factory set to the
correct length, so only follow these steps if
applicable to your situation.