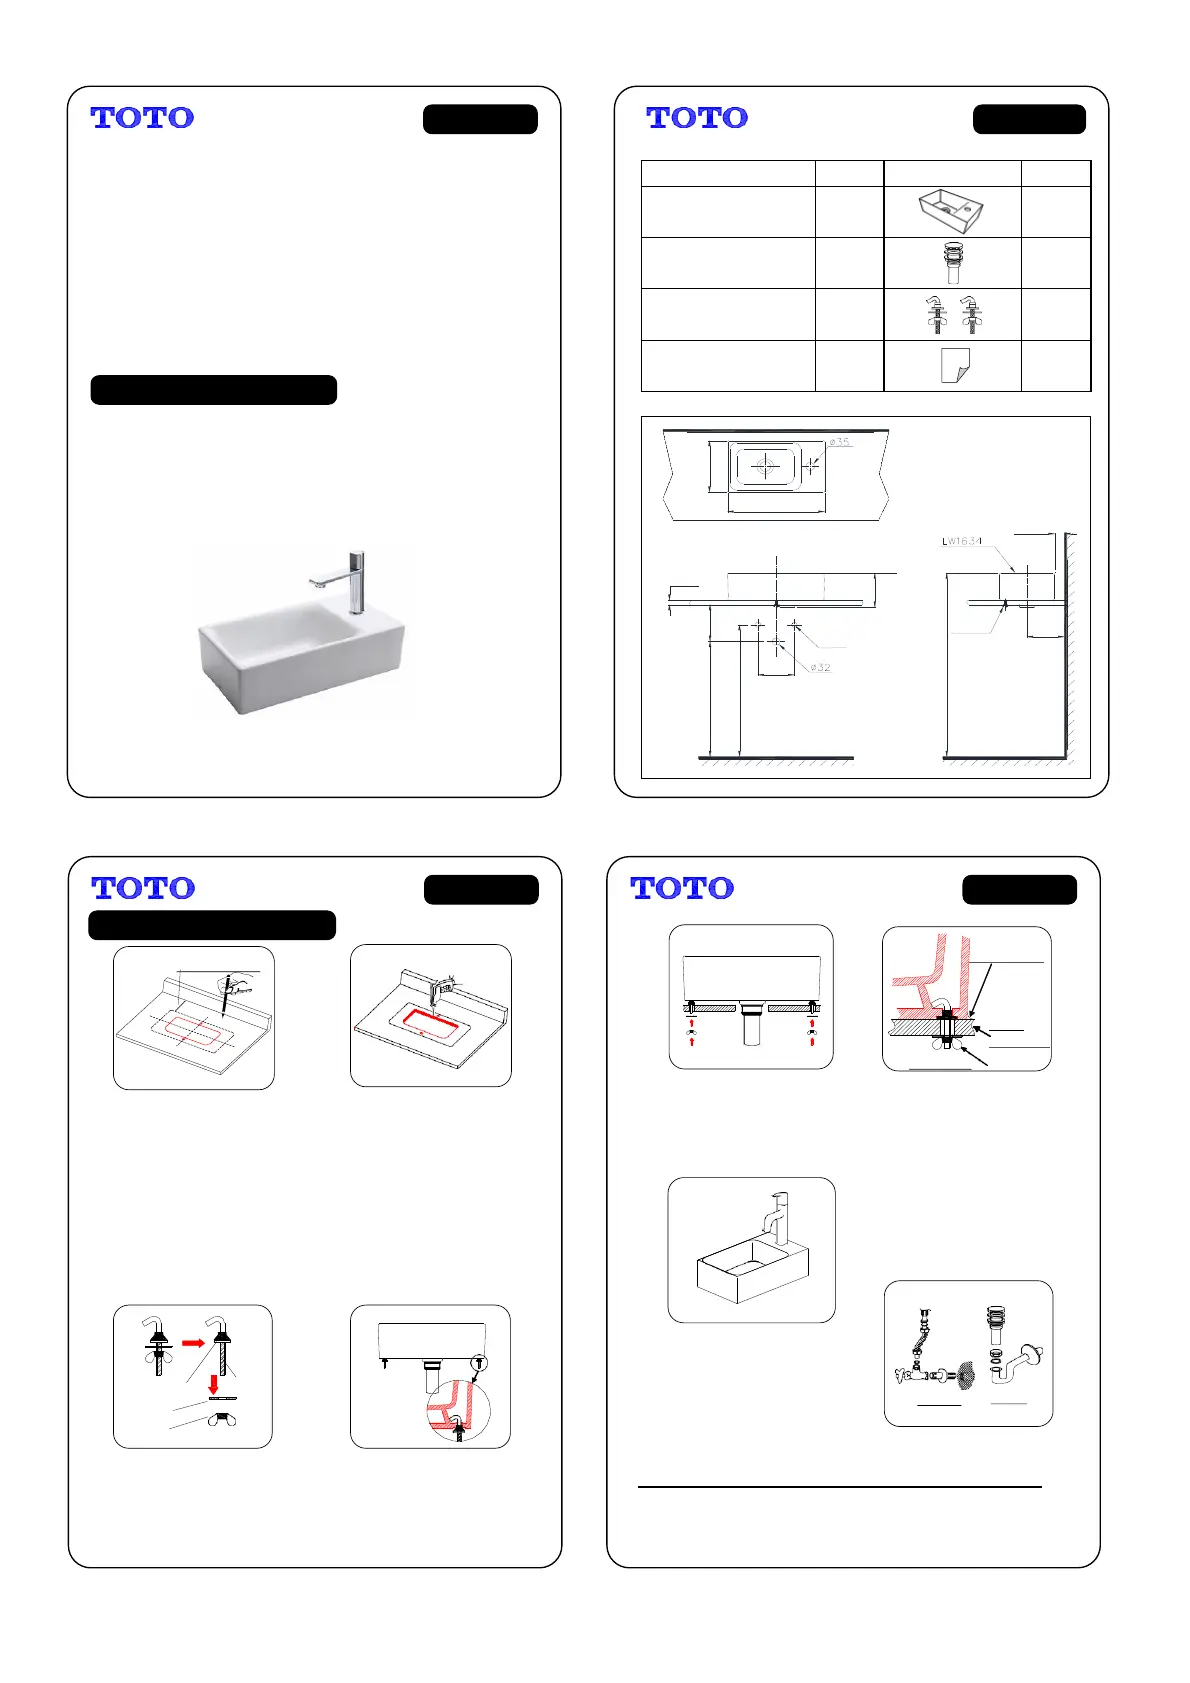
Quantity Remarks
Console Lavatory 1 piece
(L1634)
Drainge Fitting set 1 ST
(DN012(A))
Mounting Bolt set 1 ST
(TX809LV2)
Installation manual 1 ST
(Manual , Template)
Thank you for choosing TOTO product.
You have purchased one of the best sanitary wares available today,
backed by TOTO's worldwide finest reputation. With unique and novel designs.
Especially with the perfect combinnation between beauty and specification,
TOTO are proud to supply our customers with luxury and user-friendly products.
We truly hope all these outstanding quality & first-rate features will bring you
the real sastisfaction.
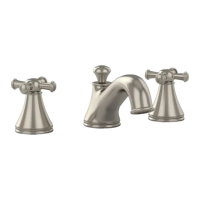
Faucet hole at the Console Lavatory
Faucet hole diameter : Ø mm
Product dimension : W400 x L230 x H152 (mm)
400
230
(155)
152
PT1/2
150
0~40
10~30
820
(A)
515
590
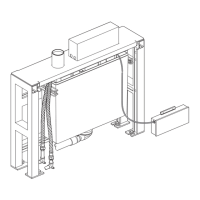
Process of installation LAVATORY
Depending on the installation location to
install the sheet-like positioning wash pen
wash basins installed along the edges of the
sheet-like contour washbasin with mounting
holes depicted in the table
Mounting holes along the contour cutting
contour drains and faucet with table size
installed properly cut faucet mounting holes
Remove the bolts from inside the product
packaging washer and wing nut removed,
leaving only the cone-shaped pads on the
The hook bolts were placed around the
mounting hole in the bottom of the wash basins
on both sides and adjust the direction of the
conical pad in the direction consistent with the
Warning: washbasin countertop mounting
position should take into account the need to
install the faucet size, as too close to the
wall, it may lead to the drainage rod can not
be installed or not working.
WARNING: wash the outer contour line only as
a location positioning wash with, do not cut,
cutting losses due to errors caused by my
company irresponsible.
Please contact, Tel--, 09-2246-5880
TOTO (THAILAND) CO.LTD 77 Moo 5, Nong Plamor, Nong Khae, Saraburi 18140
Warning: Never use epoxy glue loss or
hardened larger volume of sealing material,
and thus caused the company responsible
Once the sealing material hardens, the leader
in accordance with the requirements of the
specification on its instructions to install the
countertop
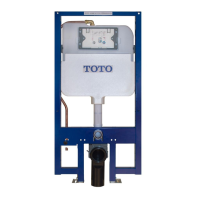
Connecting water and drainage pipes
The face wash carefully propped up, slowly
add the table after the hook bolt mounting
holes aligned, and in accordance with the
method shown in the table will wash fixed
The maximum thickness of the mounting table
is 35mm thick countertop will affect the
strength of the installation, after installation,
use a waterproof sealant around the edge of
the wash basins and countertops in contact
TX809LV5
 Loading...