9
❏
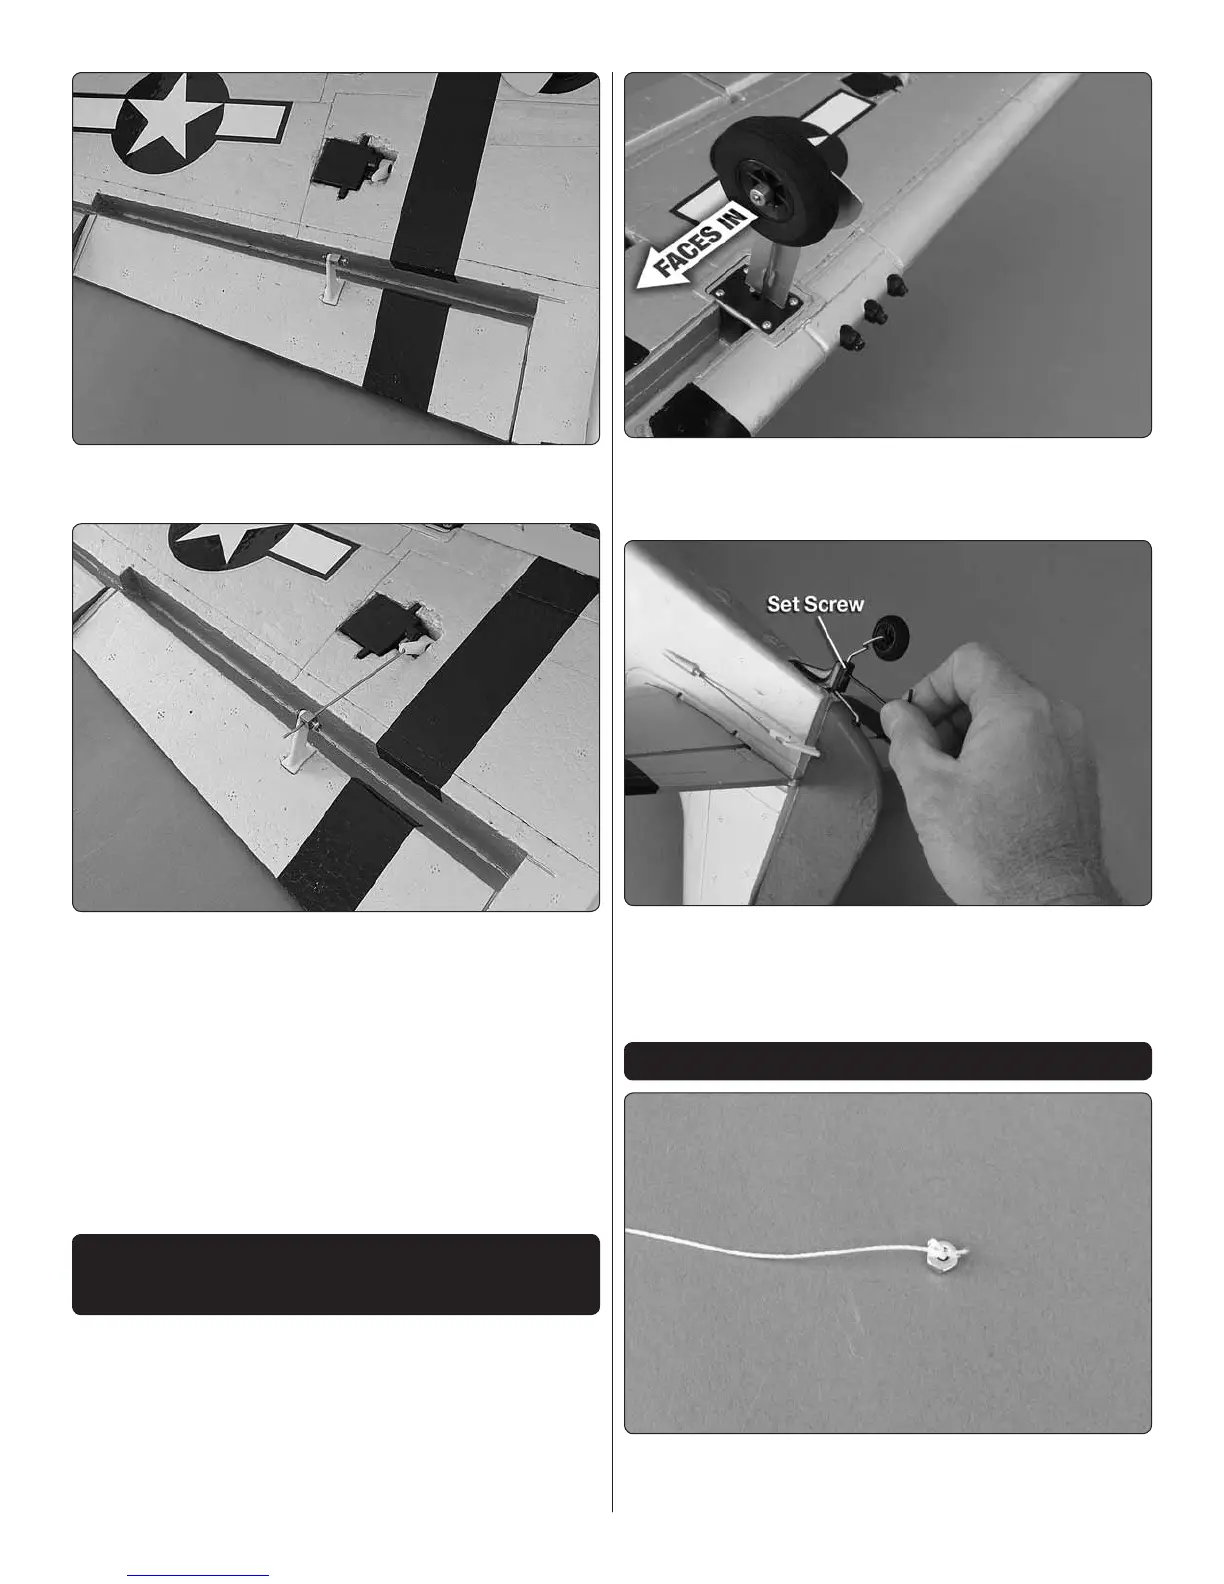
10. Use CA, Canopy glue or thin double-sided tape (not
included) to secure the ap servo in the wing.
❏
11. Insert the z-bend of the ap pushrod in the outer hole
of the ap servo arm. Move the ap and insert the other
end of the ap pushrod in the quick connector on the ap
control horn.
❏
12. With the radio system on, set the ap control on the
transmitter to the ap up position. Position the ap so that
it is aligned with the trailing edge of the wing and tighten
the screw in the quick connector against the ap pushrod.
Repeat for the other ap servo and linkage.
❏
13. Operate the aps to make sure nothing binds and that
they both have the correct amount of throw.
INSTALL THE FIXED LANDING
GEAR (Optional)
This airplane is supplied with xed landing gear but this should
only be used if you have an asphalt or concrete runway. Any
length of grass will be too much resistance for the wheels to
roll on. Landing gear is not necessary for take off or landing.
The airplane is easily hand launched and lands very well on
its belly in grass.
❏
1. Install the main landing gear legs by tting them
into the slots in the bottom of the wing so that the wheel
faces inboard.
❏
2. Use the included hex wrench to remove the lower set
screw. Insert the tail gear wire, apply a drop of threadlocker
to the set screw and reinstall it, tightening it against the at
spot on the tail gear wire.
OPTIONAL RETRACT INSTALLATION
❏
1. To assist in pulling the retract lead wires through the
wing, tie a small nut (not included) to a string.

 Loading...