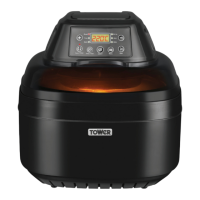
3USINGYOURAPPLIANCE
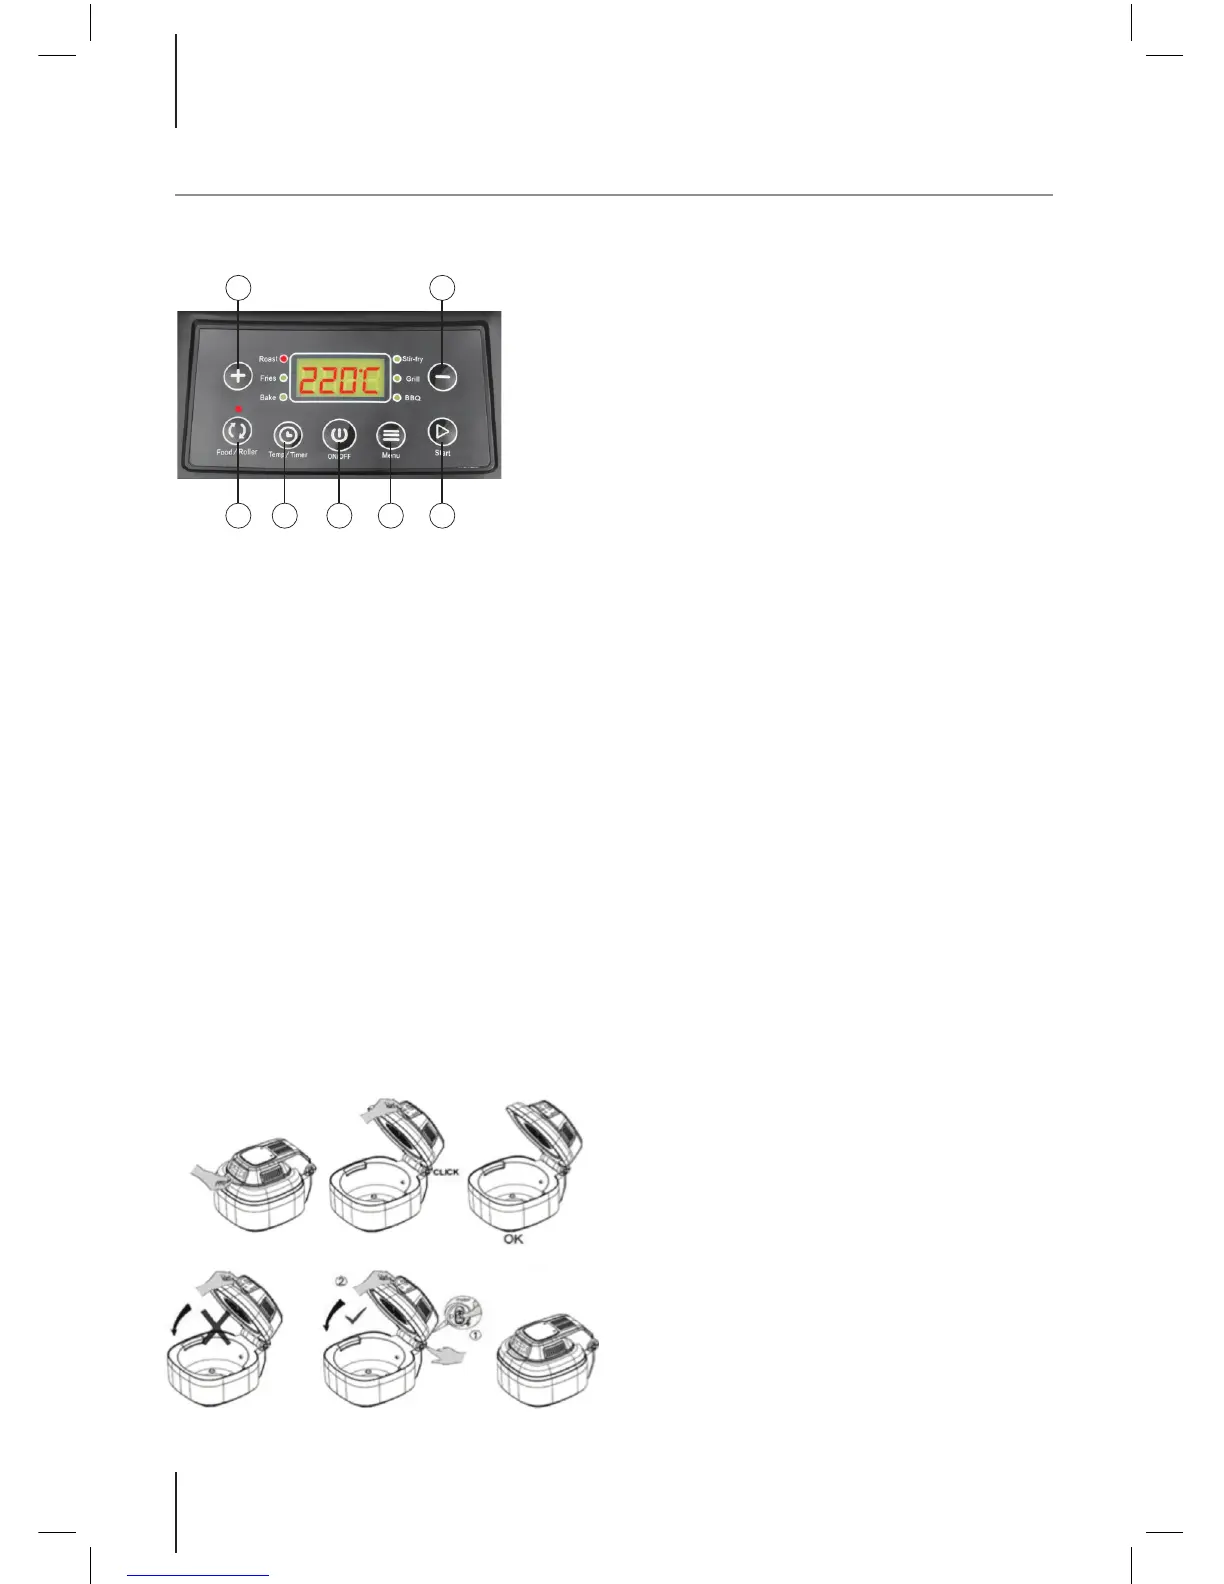
ControlPanel
1. Temperature/Time adjustment buttons
2. Food Roller - Start/Stop rotation function
3. Temp Timer - Set your desired cooking
temperature and time
4. ON/OFF - On/Off the appliance
5. Menu - Cooking mode selection
6. Start - Start the menu
Note: For more information see later part of
instructions
Above is the correct method of opening or
closing the cooking lid:
Warning: Before opening the lid the cooking
process must be stopped. Please press down
the xed switch (as illustrated above) to unlock
the lid.
Note: Be careful to avoid scalding from hot
steam escaping.
Whenusingtheaccessories
• When handing any of the heated
accessories, ensure you use the tongs
provided. For extra protection, wear oven
gloves.
• Pay attention to the temperature of the
inner pot.
• Use both hands when carrying to avoid
accident.
Spit
The spit has a hinged end and a more uted
end.
The hinged end ts into place on a hook in the
front inner of the steel bowl.
The more uted end goes into the recess in
steel bowl.
To use the chicken fork attachment, slide them
on to each end of the spit, with the forks facing
inwards towards the chicken. Use the screws
included to hold them into place.
Usingtheappliance
1. Depending on what is required t the
rotisserie basket or steel rack into the inner
bowl before adding food.
2. Try to keep the food 15 – 20mm away
from the outer edge of the bowl, to allow
for maximum hot air circulation.
3. If the rotisserie basket is required, please
put the food inside prior to tting it into the
inner bowl.
4. Close the lid and check that no food
touches the top of the lid.
5. Plug in the appliance, making sure it is sat
on a level, steady dry surface.
6. Press the on/off key and a beep will
sound. Then press the menu button and
select the desired function. To move
through the different options, keep
pressing the menu key.
1
2 3 4 5 6
1