Do you have a question about the TP-Link Archer AX72 and is the answer not in the manual?
Introduces the router's next-generation 802.11ax Wi-Fi Technology and its capabilities.
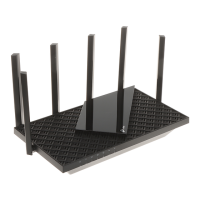
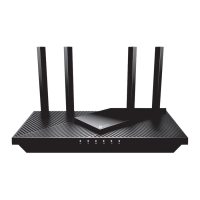
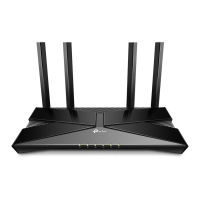
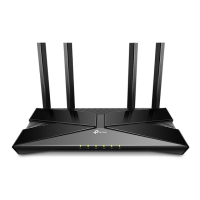
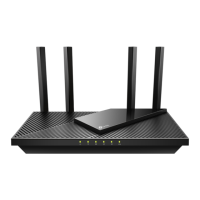
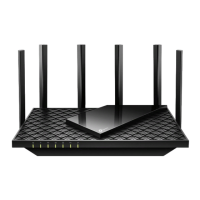
Details the router's physical layout, including top, back, and side panels, and explains LED indicators.
Provides guidelines for placing the router in an optimal location for performance and safety.
Step-by-step instructions for connecting the router hardware to the modem and power.
Guides users on how to access the router's web management interface to configure settings.
Guides through an automated process for setting up the internet connection.
Utilizes the mobile app for a simplified internet connection setup process.
Configure internet connection settings manually based on ISP-provided information.
Transforms the router into an access point for an existing wired network.
Configures the router for IPv6 internet service as provided by the ISP.
Instructions for creating and registering a TP-Link account for cloud-based management.
Guides on updating personal account details like email address and password.
Add or remove other TP-Link IDs to manage the router, including adding and removing specific IDs.
Use the mobile application to remotely manage router settings and features.
Customize wireless network name (SSID), password, security, and other parameters.
Set automatic schedules to turn the wireless network on or off.
Connect devices quickly using Wi-Fi Protected Setup (WPS) methods like PIN or button press.
Configure advanced wireless parameters such as WMM, AP Isolation, and Channel Width.
Set up a separate Wi-Fi network for guests to provide internet access.
Configure guest network permissions and privacy settings for enhanced security.
Connect and access USB storage devices locally or remotely, including customizing access settings.
Share media files from USB storage to DLNA-compatible devices like computers and tablets.
Configure Time Machine backups for Mac computers to a connected USB storage device.
Provides tools like IoT Protection and Intrusion Prevention to secure the network from attacks.
Set unique restrictions on internet access for family members, including content blocking and time limits.
Analyze network usage, optimize performance with QoS, and generate reports.
Create a unified Wi-Fi network by connecting TP-Link routers and extenders for seamless coverage.
View and manage mesh devices and connected clients within the OneMesh network.
Utilize the SPI Firewall to protect the router from cyber threats and validate traffic.
Block or allow specific devices to access the network using blacklists or whitelists.
Prevent ARP spoofing and attacks by binding IP addresses to MAC addresses.
Make local services, like websites or servers, accessible to the internet.
Dynamically open external ports for specific applications, such as online games.
Use the DMZ feature to bypass port restrictions for specific applications.
Enable UPnP to automatically configure ports for online gaming and other applications.
Set up OpenVPN server to securely access your home network remotely.
Configure PPTP VPN server for remote access to your home network.
Modify the router's Local Area Network (LAN) IP address and subnet mask.
Set up the router to provide Internet Protocol Television (IPTV) services.
Configure the DHCP server to automatically assign IP addresses to connected devices.
Configure Dynamic DNS (DDNS) to access the router using a domain name.
Manually define network routes for traffic to specific destinations.
Update the router's firmware to access new features and security enhancements.
Save and load router configuration settings for easy backup and recovery.
Secure the router by changing the administrator login password.
Procedures for recovering the router's administrator login password.
Manage router settings through the local web-based management interface.
Configure and manage the router's settings remotely over the internet.
View system logs for monitoring router status and troubleshooting issues.
Diagnose and troubleshoot network connectivity problems using built-in tools.
Configure the router's system time for accurate logging and scheduling.
Schedule automatic router reboots to maintain optimal performance and stability.
Manage the router's LED indicator lights, such as turning them on or off.
| Ethernet WAN | Yes |
|---|---|
| SIM card slot | - |
| WAN connection type | RJ-45 |
| Product type | Portable router |
| Product color | Black |
| Modulation | OFDM, 1024-QAM |
| Wi-Fi band | Dual-band (2.4 GHz / 5 GHz) |
| Wi-Fi standards | 802.11a, 802.11b, 802.11g, Wi-Fi 4 (802.11n), Wi-Fi 5 (802.11ac), Wi-Fi 6 (802.11ax) |
| Top Wi-Fi standard | Wi-Fi 6 (802.11ax) |
| WLAN data transfer rate (max) | 5400 Mbit/s |
| WLAN data transfer rate (first band) | 4804 Mbit/s |
| WLAN data transfer rate (second band) | 574 Mbit/s |
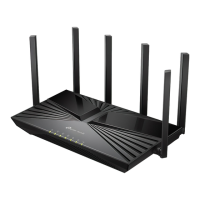
| Antennas quantity | 6 |
| Cabling technology | 10/100/1000Base-T(X) |
| Networking standards | IEEE 802.11a, IEEE 802.11ac, IEEE 802.11ax, IEEE 802.11b, IEEE 802.11g |
| Ethernet LAN data rates | 10, 100, 1000 Mbit/s |
| Ethernet LAN interface type | Gigabit Ethernet |
| Processor cores | 2 |
| Processor frequency | 1000 MHz |
| Storage temperature (T-T) | -40 - 70 °C |
| Operating temperature (T-T) | 0 - 40 °C |
| Storage relative humidity (H-H) | 5 - 90 % |
| Operating relative humidity (H-H) | 10 - 90 % |
| Power source type | DC |
| Ethernet LAN (RJ-45) ports | 4 |
| USB 3.2 Gen 1 (3.1 Gen 1) Type-A ports quantity | 1 |
| Security algorithms | WPA, WPA-Enterprise, WPA2, WPA2-Enterprise, WPA3 |
| Depth | 147.2 mm |
|---|---|
| Width | 272.5 mm |
| Height | 49.2 mm |