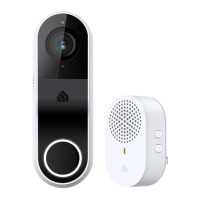
Smart Plug Set-Up Instructions
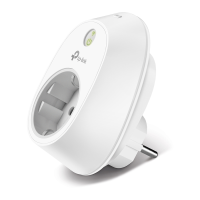
Use the Kasa app to
connect the HS110
smart plug to your
2.4 GHz wi network
Sign up with WattTime
at device.watttime.org
to allow WattTime to
talk to your smart plug
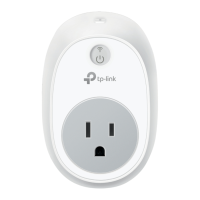
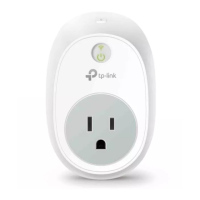
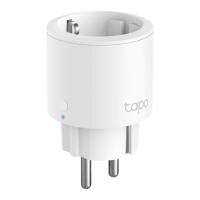
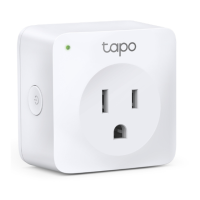
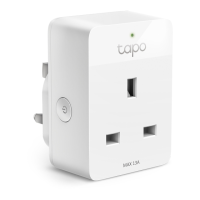
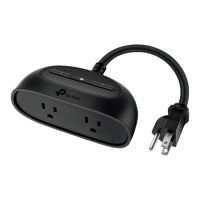
Use a tp-link HS110 smart plug to see AER in action
Make your smart plug an emissions reducing hero
With the help of WattTime, any electricity-using, internet-connected device can automatically run at times when energy is
cleanest. We call this practice “Automated Emissions Reduction”. We pair AER with devices that don’t need a constant
supplyof electricity, like a thermostat, so you can use cleaner energy without any sacrices. However, for demo purposes,
you can use a smart plug that turns on and o in response to real-time emissions from your local grid to switch o a lamp
or other device.
Let’s Get Started
Step 1: Set-up two accounts
1. Kasa:
• Download and open the free Kasa Smart app from the app store on your smartphone.
• Follow the prompts to set up an account and connect your smart plug
• Ensure that in “Device Settings”, “Remote Control” is on
2. WattTime
• Open https://device.watttime.org in a web browser and sign up for an account
Step 2: Connect the accounts
• On https://device.watttime.org, hover over “Manage devices” and select “TP-Link” from the drop down options
• Fill out the TP-Link credentials form with the email and password of your Kasa Smart app account
• Check the permissions box to allow WattTime to talk to your TP-Link smart plug
• Click “Submit”
• The smart plugs you previously registered with the Kasa Smart app should now appear on the right of the page.
Refresh the page if they don’t.
Step 3: Set up the plug to run WattTime AER
• Check the “Control device with WattTime” box to reveal device options
• Select “General Purpose” and enter how aggressive you want to see the device respond the changing grid
emissions. The longer the window, the more opportunity for running on cleaner energy. A good middle-of-the-road
option is a minimum of 30 minutes of on time for a 60 minute duration.
• Enter the address where the device is located so that it responds to the local grid emissions.
Step 4: Plug it in
• Plug in a lamp and watch how grid cleanliness changes throughout the day
• You can also use the technology for how it’s intended, as a “set it and forget it” implementation with a phone or
computer charger or any other of the many devices that don’t need constant power.
• A detailed diagram of what you should see is shown on the next page.
Need more help with set-up? support@watttime.org