Do you have a question about the TP-Link Omada SG2005P-PD and is the answer not in the manual?
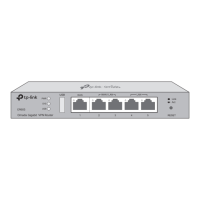
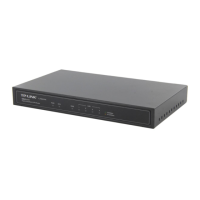
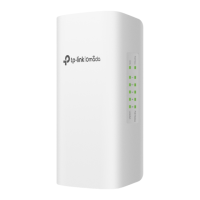
Explains the status and behavior of the System LED.
Explains the status and behavior of the POE MAX LED.
Explains the status and behavior of the Link/Act LED.
Explains the status and behavior of PoE Status LEDs for ports.
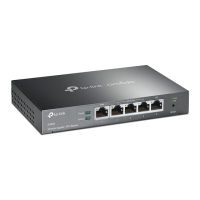
Details connections for Ethernet ports, including PoE OUT and IN.
Illustrates examples of powered devices like IP Camera, AP, IP Phone.
Provides crucial notes on power input, port usage, and PoE power budget.
Step-by-step guide for mounting the switch on a pole.
Step-by-step guide for mounting the switch on a wall.
Details how to configure and manage the switch using a computer.
Guide for using Omada Hardware Controller (OC200/OC300) for management.
Guide for installing and running the Omada Software Controller on a PC.
Instructions for accessing and configuring the controller via a web browser.
Instructions for accessing and configuring the controller using the Omada mobile app.
EU and UK declarations of conformity for the device.
Important safety guidelines for using the device, including fire, liquid, and modification warnings.
| Ports | 5 |
|---|---|
| PoE Ports | 4 |
| Switching Capacity | 10 Gbps |
| Packet Forwarding Rate | 7.44 Mpps |
| MAC Address Table | 8K |
| Jumbo Frame | 9 KB |
| Power Input | 100-240VAC, 50/60Hz |
| Operating Humidity | 10% to 90% non-condensing |
| Storage Humidity | 5% to 90% non-condensing |
| Standards and Protocols | IEEE 802.3u, IEEE 802.3x, IEEE 802.1p, IEEE 802.3af, IEEE 802.3at |
| Operating Temperature | 0 to 40 °C |
| Storage Temperature | -40°C to 70°C (-40°F to 158°F) |