Do you have a question about the TP-Link RE205 V3 and is the answer not in the manual?
Get the Tether app, log in, select Range Extender, and follow app instructions for setup.
Connect to extender network, visit http://tplinkrepeater.net, create password, and follow instructions.
Press WPS on router, then on extender within 2 mins for connection.
Connect to extender/router network, launch Tether app, select extender, and manage.
Connect to extender network, enter http://tplinkrepeater.net, and log in to manage.
Router and extenders share same wireless settings for a unified network.
Devices switch automatically between router and extenders for best connection.
Set up OneMesh with WPS, manage devices via Tether app or router page.
Troubleshoot connection issues with the Tether app, check network and cellular data.
Resolve issues with the Signal LED not turning solid on after setup.
Procedure to reset the range extender to factory default settings.
Precautions for safe operation regarding water, fire, humidity, and disassembly.
Information on compliance with relevant EU directives and declaration.
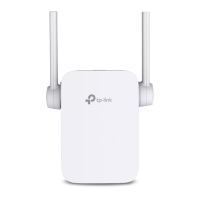
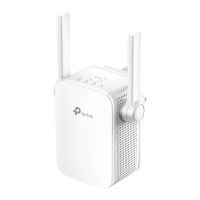
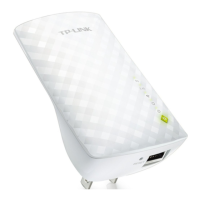
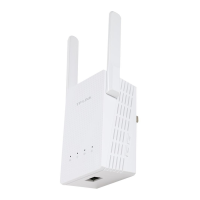
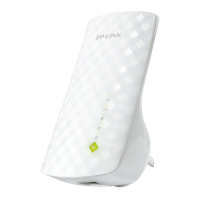
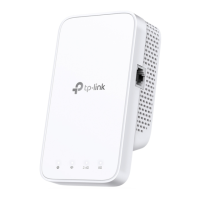
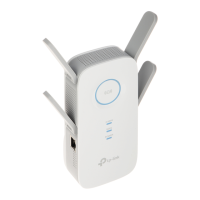
This document describes a TP-Link Range Extender, a device designed to expand the Wi-Fi coverage of an existing router, eliminating dead zones and providing a more robust wireless network throughout a home or office.
The TP-Link Range Extender serves as a wireless signal booster, taking the existing Wi-Fi signal from your router and rebroadcasting it to areas where the signal is weak or nonexistent. This creates an extended network, allowing devices to connect reliably even in distant rooms. The extender supports both 2.4GHz and 5GHz wireless networks, ensuring compatibility with a wide range of routers and devices. When successfully set up, the extender's Signal LED will illuminate, indicating a strong connection to the host router. If the extender connects to a dual-band router, it can extend both bands, providing comprehensive coverage. The extended network typically shares the same name as the router's network with "_EXT" appended, or it can be part of a OneMesh™ system, offering seamless roaming.
The range extender offers multiple methods for initial setup, catering to different user preferences and technical comfort levels.
1. Via the Tether App: This is the recommended method for a guided and intuitive setup. Users can download the TP-Link Tether app from the Apple App Store or Google Play. After launching the app and logging in with a TP-Link ID (or creating one), users tap the "+" button and select "Range Extender." The app then provides step-by-step instructions to complete the setup process. This method is particularly useful for its visual guidance and ease of use. Once setup is complete, the Signal LED on the extender should turn solid, confirming a successful connection to the router.
2. Via a Web Browser:
For users who prefer a browser-based setup, the extender can be configured by connecting a computer or smartphone to the extender's default network (TP-Link_Extender). Users then open a web browser and navigate to http://tplinkrepeater.net or http://192.168.0.254. A password needs to be created for login, and then the web interface guides the user through the setup process. This method offers a comprehensive view of settings and is suitable for more advanced users.
3. Via the WPS Button: This is the quickest setup method for WPS-enabled routers. Users first press the WPS button on their router, and within two minutes, press the WPS button on the extender for one second. The Signal LED on the extender will change from blinking to solid, indicating a successful connection. If the router is dual-band, this process needs to be repeated to connect the extender to the other band.
Relocation for Optimal Performance: After initial setup, proper placement of the extender is crucial for optimal performance. The device should be plugged into a power outlet approximately halfway between the router and the Wi-Fi dead zone, ensuring it is still within the router's range. The Signal LED serves as a visual indicator for placement: a solid blue light signifies a suitable location with good signal quality, while a solid red light indicates a weak signal, prompting the user to relocate the extender closer to the router. The Tether app also includes a "Location Assistant" tool to help users find the best spot.
OneMesh™ with Seamless Roaming: When paired with a TP-Link OneMesh router, the extender becomes part of a unified Wi-Fi network. This system allows devices to automatically switch between the router and extender as users move around their home, ensuring a continuous and fast connection without interruptions. This feature eliminates the need to manually switch networks and provides a truly seamless roaming experience. The OneMesh system shares the same wireless settings, including network name, password, and access control.
Access Point Mode: Beyond extending an existing wireless network, the device can also operate in Access Point (AP) mode. In this mode, it transforms an existing wired network into a wireless one, providing Wi-Fi connectivity to devices connected via an Ethernet cable. Details for setting up AP mode can be found in the user guide.
The range extender is designed for ease of management and troubleshooting.
Management via Tether App or Web Browser: Once set up, the extender can be managed through the Tether app or a web browser. This allows users to monitor the network, adjust settings, and perform maintenance tasks. The Tether app provides a convenient mobile interface for managing the extender, while the web browser interface offers more detailed configuration options.
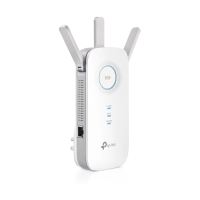
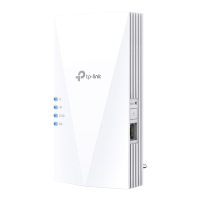
LED Indicators for Status Monitoring: The device features several LED indicators (Power, Signal, 2.4GHz, 5GHz) that provide immediate visual feedback on its operational status.
Reset Functionality: In case of configuration issues or forgotten passwords, the extender can be easily reset to its factory default settings. This is done by using a pin to press the RESET button for one second while the extender is powered on. This action will reboot the device and clear all previous settings, allowing for a fresh configuration.
Troubleshooting Support: The manual provides answers to frequently asked questions (FAQs) to assist users with common issues. For example, it addresses scenarios where the Tether app cannot find the device or when the Signal LED doesn't turn solid after setup. These troubleshooting tips include checking Wi-Fi passwords, ensuring proper placement, disabling MAC filtering on the router, trying WPS setup, or performing a factory reset.
Online Resources and Community Support: TP-Link offers extensive support resources, including a user guide available for download, a community forum for interacting with other users and engineers, and technical support contact information. Users can scan a QR code or visit the TP-Link support website for detailed information, setup videos, and troubleshooting assistance. Email support is also available for product guide suggestions.
The device is designed with safety in mind, with guidelines provided to ensure proper usage, such as keeping it away from water, fire, humidity, and hot environments, and avoiding disassembly or modification. It also emphasizes that the socket-outlet should be easily accessible.
| Frequency Band | 2.4GHz and 5GHz |
|---|---|
| 2.4GHz Speed | 300 Mbps |
| 5GHz Speed | 433 Mbps |
| Button | WPS Button, Reset Button |
| Operating Temperature | 0°C~40°C (32°F~104°F) |
| Storage Temperature | -40°C~70°C (-40°F~158°F) |
| Operating Humidity | 10%~90% non-condensing |
| Storage Humidity | 5%~90% non-condensing |
| Wireless Standards | IEEE 802.11ac/n/a 5 GHz, IEEE 802.11b/g/n 2.4 GHz |
| Ethernet Port | 1 x 10/100 Mbps |
| Antenna | 2 external antennas |
| Power Consumption | 7.3W |
| Certification | CE, FCC, RoHS |
| Dimensions | 110.0 x 65.8 x 75.2 mm |