1
A Before you start, you should prepare the following items:
¾
One Windows-based PC with print server setup CD
¾
One printer
¾
One printer cable
¾
One HUB
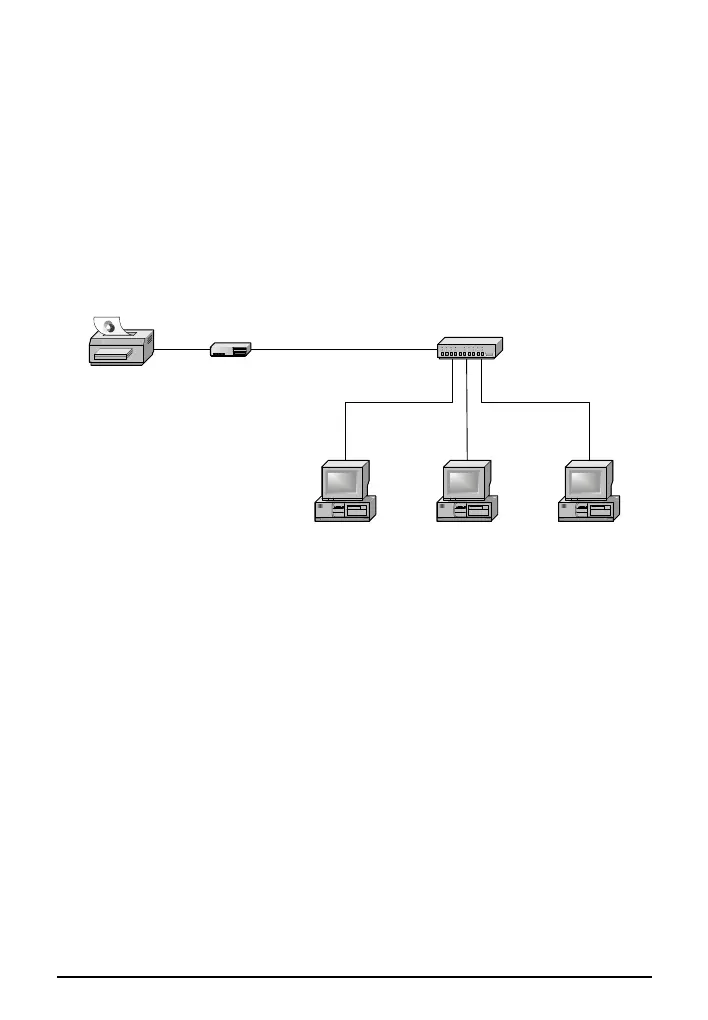
B Wired Network with Print Server:
Printer
Print Server
Computer Computer Computer
HUB
C Hardware Installation:
1 Turn off the printer’s power.
2 Connect the print server to your printer with the supplied printer cable.
3 Turn the printer’s power on.
4 Plug the AC power adapter into the power connector on the print server.
5 Wait 10 seconds as part of the print server’s Power On Self Test (POST).
D Software Installation:
1 To enable network communication with print server, your computer must have a
proper IP address, e.g. 192.168.0.100. If you need an instruction to configure the
IP address of your computer, please refer to the Appendix of this Quick
Installation Guide.
 Loading...