Quick Installation Guide
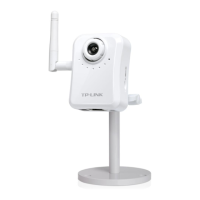
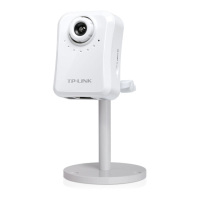
Megapixel Surveillance Camera
Wireless N Megapixel Surveillance Camera
MODEL NO. TL-SC3230/TL-SC3230N
Package Contents
System Requirement
ChromeFirefoxSafari
Resource CDEthernet Cable
Power Adapter
Mounting Bracket
TL-SC3230/TL-SC3230N
Megapixel Surveillance Camera
Wireless N Megapixel Surveillance Camera
QIG
TL-SC3230N
Warning Before Installation
1
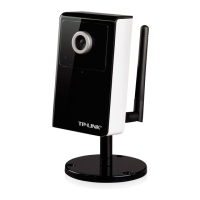
Physical Description
2
Hardware Connection
3
(*Internet Explore Browser is recommended.)
(*The pictures are for reference only.)
The following operating systems are supported:
The product model shown in this QIG is TL-SC3230N, as an example.
7106504101
It is recommended to mount the Camera where objects often pass,
and the direction towards the door or passage is much better, see
the illustration below:
Do not keep the Camera exposed
to direct sunlight.
Do not place the Camera in high
humidity environments such as
in a kitchen.
Do not place the Camera where
there are high temperatures
such as near an oven.
Do not place the Camera near
devices that emit radio waves,
such as mobile phones.
Connect the LAN port on Camera to the LAN Port of your
router or switch with an Ethernet cable.
Connect the power adapter cord to the Power jack.
Plug the power adapter into the power outlet.
Before proceeding, conrm that your PC is connected to your
Router and can access the Internet.
Make sure that your Router’s DHCP feature is enabled. If not,
please refer to your Router’s instruction to enable it.
Windows 2000
Windows Vista
Internet Explorer 8 or higher
Windows 2003
Windows 7
Windows XP
The following browsers are supported:
Built-in Microphone
Audio Output Jack
RESET Button
LAN Port
WPS
RESET Button
While the camera is ready, press RESET button for at least 5 seconds and
release it. The camera will be restored to default settings and reboot
again.
Button Description
LED Description
Power/
Wireless
LED
LAN LED
The camera is powered o.
The camera nishes boot-up and is ready to serve. Power on
the camera, the LED will light up and then go o to booting
process. After keeping o for several seconds, the LED will be
solid orange.
The camera has been connected to a wireless network.
No cable is linked to the camera.
Data is being transmitted or received.
Status
O
Flash Green
Flash Orange
Solid Green
Solid Orange
* The Antenna and Flash Orange status are for TL-SC3230N only.
Antenna
Micro-SD Card Slot
Lens & Focus Ring
Power Jack
Ethernet Cable
Ethernet Cable
Power/Wireless LED
LAN LED
*
*
Note: