Verify Successful Setup
6) Use an Ethernet cable to connect a computer to any unused yellow ‘LAN’ port of the
router you would like to verify has been successfully setup
7) Please note the node idener which is a unique single digit number clearly marked on
the underside of the router
8) Open a web browser and visit the IP address of the connected router. These are
hp://192.168.3.1 if connecng to node idener 1, hp://192.168.3.2 if connecng to
node idener 2 etc…
9) When prompted for sign in credenals , please input the following:
Username: admin Password: Bonding123 (we recommend that you change this password)
10) In the menu posioned at the le of the displayed web page, select ‘Status’
11) If this router has been successfully setup, items within the ‘Service Status’ panel will be
displayed green in colour and report as follows:
For informaon, the above listed items make the following checks:
Modem Connecon Status - connecon through your ISP
Aggregaon Server Status - connecon to our data centre
Roung Mode - method by which router is able to communicate:
WAN and Community: This router is connected to the aggregaon server directly and
at least 1 other Sharedband router in its community
WAN Only: This router is not connected to other routers in its community (see step 2
to resolve)
Community Only: This router is not connected to the aggregaon server directly (see
page 4 for assistance)
No network available: This router is not connected to the Sharedband aggregaon
server and other routers in its community (see page 4 for assistance)
12) Repeat above steps 6-11 for all of the remaining routers in the community
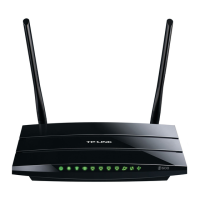
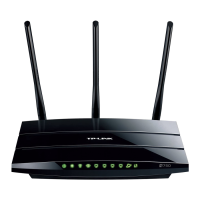
TP-Link TL-WDR3600 3 www.sharedband.com
 Loading...