2
English
*Images may dier from actual products.
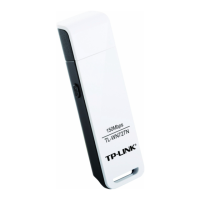
1 Connect to a Computer
Insert the adapter into your computer by following these steps:
1. Turn o your computer, unplug the power cord and other connected
peripheral devices to your computer.
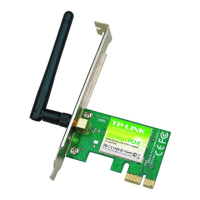
2. Remove the case panel. Locate an available PCI/PCI-E slot and remove
its slot cover.
3. Carefully insert the adapter into the PCI/PCI-E slot and secure it with
the retaining screw.
4. If your antenna is not installed, install the antenna.
5. Install the case panel.
6. Reconnect the power cord and turn on your computer.
Note: In Windows XP, a Found New Hardware Wizard window will appear when the
adapter is detected. Please click Cancel.
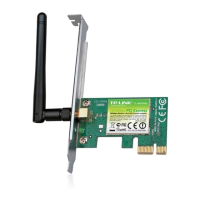
2 Install Driver and Utility
You can also download the driver and utility at www.tp-link.com.
A: Insert the CD and run the Autorun.exe from the pop-up window.
Note: In some operating systems, the CD screen will pop up automatically. Otherwise, run
the CD manually.
B: Select your adapter and click Install Driver and Utility, then follow
the InstallShield Wizard to complete the installation.
Setup Wizard
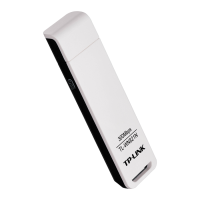
TL-WN781ND
Install Driver and Utility
User Guide
Browse CD
EXIT
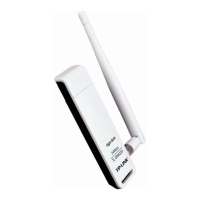
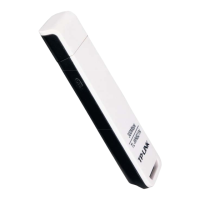
TL-WN721N TL-WN722N
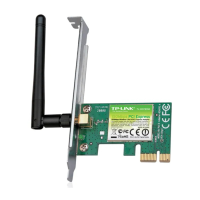
3 Join a Wireless Network
Option 1: Via TP-LINK Utility
Select your Wi-Fi network from the pop-up utility window and click
Connect. The symbol
indicates a successful connection.
Status WPS Network Profile Advanced
2 (2.4G)
5 (2.4G)
9 (2.4G)
None
WPA/WPA2-Personal
None
34567_TEST
abcdef_0903
AAAAAA
6 (2.4G)TP-LINK_A
Connect automatically
WPA/WPA2-Personal
Connect
34567_TEST
Network Na
TP-LINK_A
Option 2: Via Windows Wireless Utility
Click (Network icon) on the system tray, select your Wi-Fi network,
and click Connect.
Note: In Windows XP, you need to close the TP-LINK Utility before using the Windows
Wireless Utility.
PCI/PCI-E Slot
 Loading...