
S
Shawn RodriguezNov 21, 2025
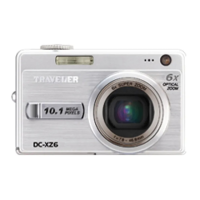
What to do if my Traveler Slimline X5 doesn't shoot when I press the shutter button?
- MMisty SmallNov 21, 2025
If your Traveler Digital Camera doesn't shoot when you press the shutter button, here are some possible reasons: * The battery may be running low, so recharge it or use the AC power adapter. * The power may not be on, so turn the power on. * The camera may not be in shooting mode, so slide the mode switch to shooting mode. * The shutter button may not be pressed all the way, so press it all the way. * The internal memory or memory card may not have any free space, so load a new card or delete unwanted files. * The memory card life may be at its end, so load a new memory card. * The flash may be recharging, so wait until the flash mode icon stops flashing. * The memory card may be unrecognized, so format it in the camera. * The auto power off function may be activated, so...