Using FreeForm curves in fields with variable terrain
Start and stop recording guidance at the ends of each pass. If there are 2 guidance lines in close proximity, use the
Next AB icon to snap to the correct line.
At any point, you can add a straight AB Line for repeated straight line guidance. Use the icon to switch
between straight AB and FreeForm curve guidance lines.
Getting Guidance
The icon enables you to create a guidance line and begin driving in the field.
Depending on which pattern you select, follow these steps:
Enter the vehicle information.1.
Select a pattern.2.
Enter any additional pattern information (if necessary):3.
Set the A+ heading (for A+ patterns only)♦
Define the number of headland circuits (for headlands only)♦
Define the pattern on the field.4.
Step 1. Entering the vehicle information
From the main guidance screen, select and then press :1.
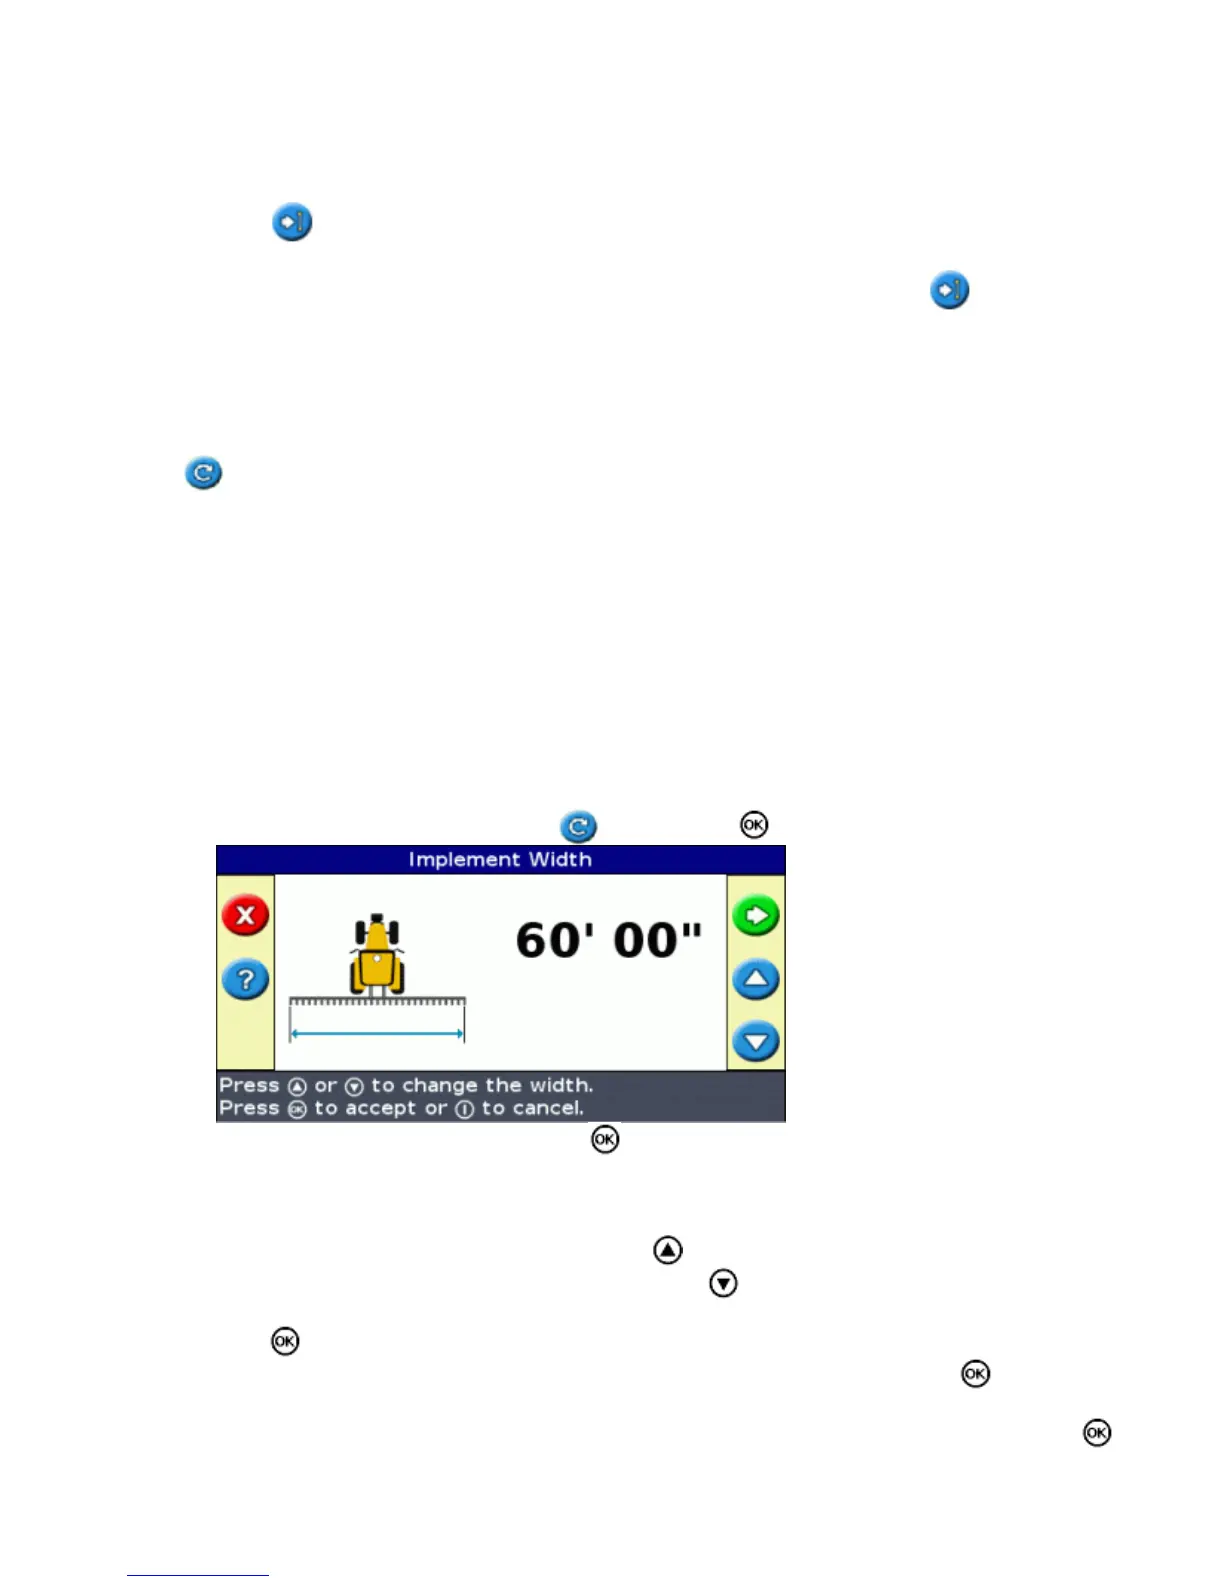
Enter the implement width and then press . The Overlap/Skip screen appears.2.
Do one of the following:3.
If you want your passes to meet so you have full coverage without overlaps, use the default
setting.
♦
If you want your passes to overlap, press to enter an overlap distance.♦
If you want a space between your passes, press to enter a skip distance.♦
Press . The Forward/Back Offset screen appears.4.
Enter the distance that the implement is offset back from the antenna and then press . The Left/Right
Offset screen appears.
5.
Enter the distance that the implement is offset to the left or the right of the antenna and then press .6.
31