The Pattern Type screen appears.
Step 2. Selecting a pattern
Note: You automatically create a new field when you select a pattern.
On the Pattern Type screen, press or until you have selected the type of pattern that you want to
create. For a detailed description of each guidance pattern, see Guidance Patterns.
1.
Press .2.
If you selected A+, the A+ Heading screen appears. See Step 3.♦
If you selected Headland, the Headlands Circuits screen appears. See Step 3.♦
If you selected Straight AB, Identical Curve, Adaptive Curve, FreeForm, or Pivot, the main
guidance screen appears. To begin driving, see Step 4.
♦
Step 3. Setting any additional line information (if necessary)
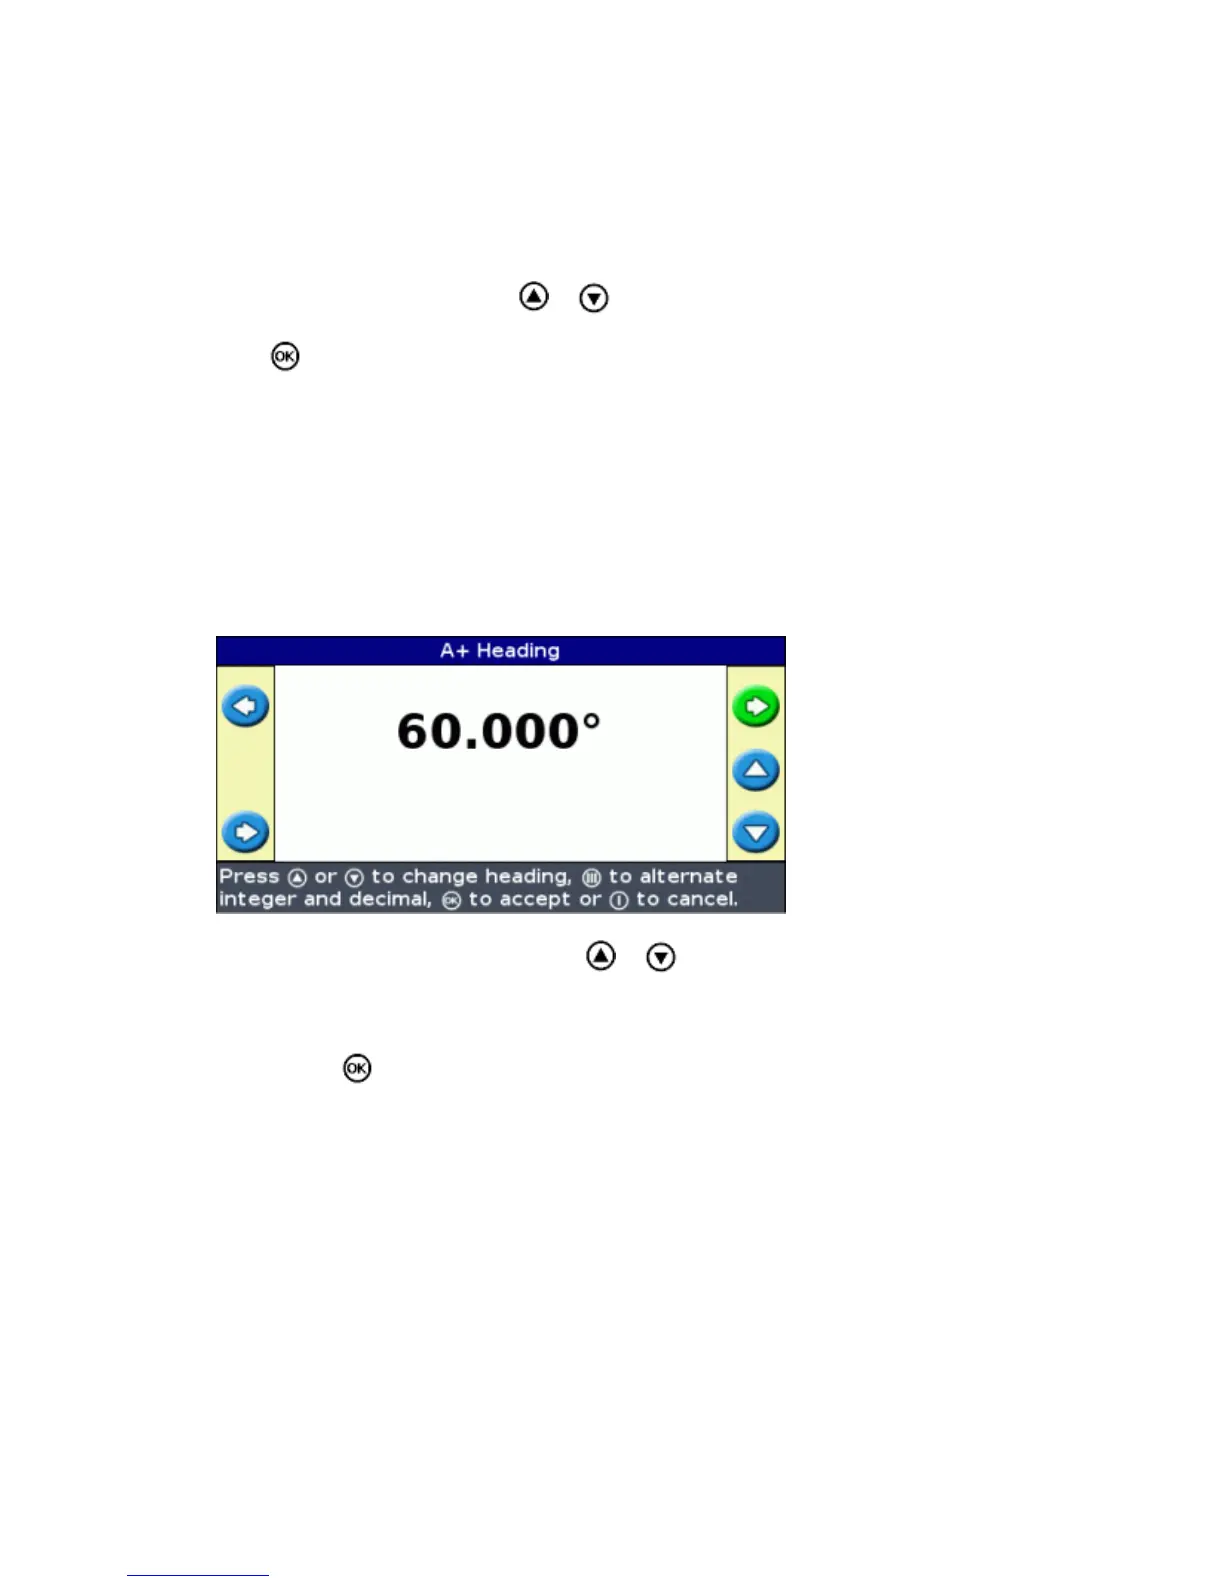
Setting the A+ line heading
When you create an A+ line, you need to specify the heading of the line:
On the A+ Heading screen, press or until the screen displays the required heading.1.
Note: The default heading is the heading of the previous AB Line.
Press . The main guidance screen appears.2.
Defining the number of headland circuits
When you create a headland, you need to specify the number of circuits.
This is the number of headland circuits that will be generated after you have driven the first headland
circuit.
32