Select Configuration / System / GPS / GPS Setup.2.
Change the GPS Correction Source option to Ext. TSIP.3.
Select Continue and press . The Connecting to External Receiver screen appears. The lightbar
connects to the TSIP receiver. The message Connection Established appears.
4.
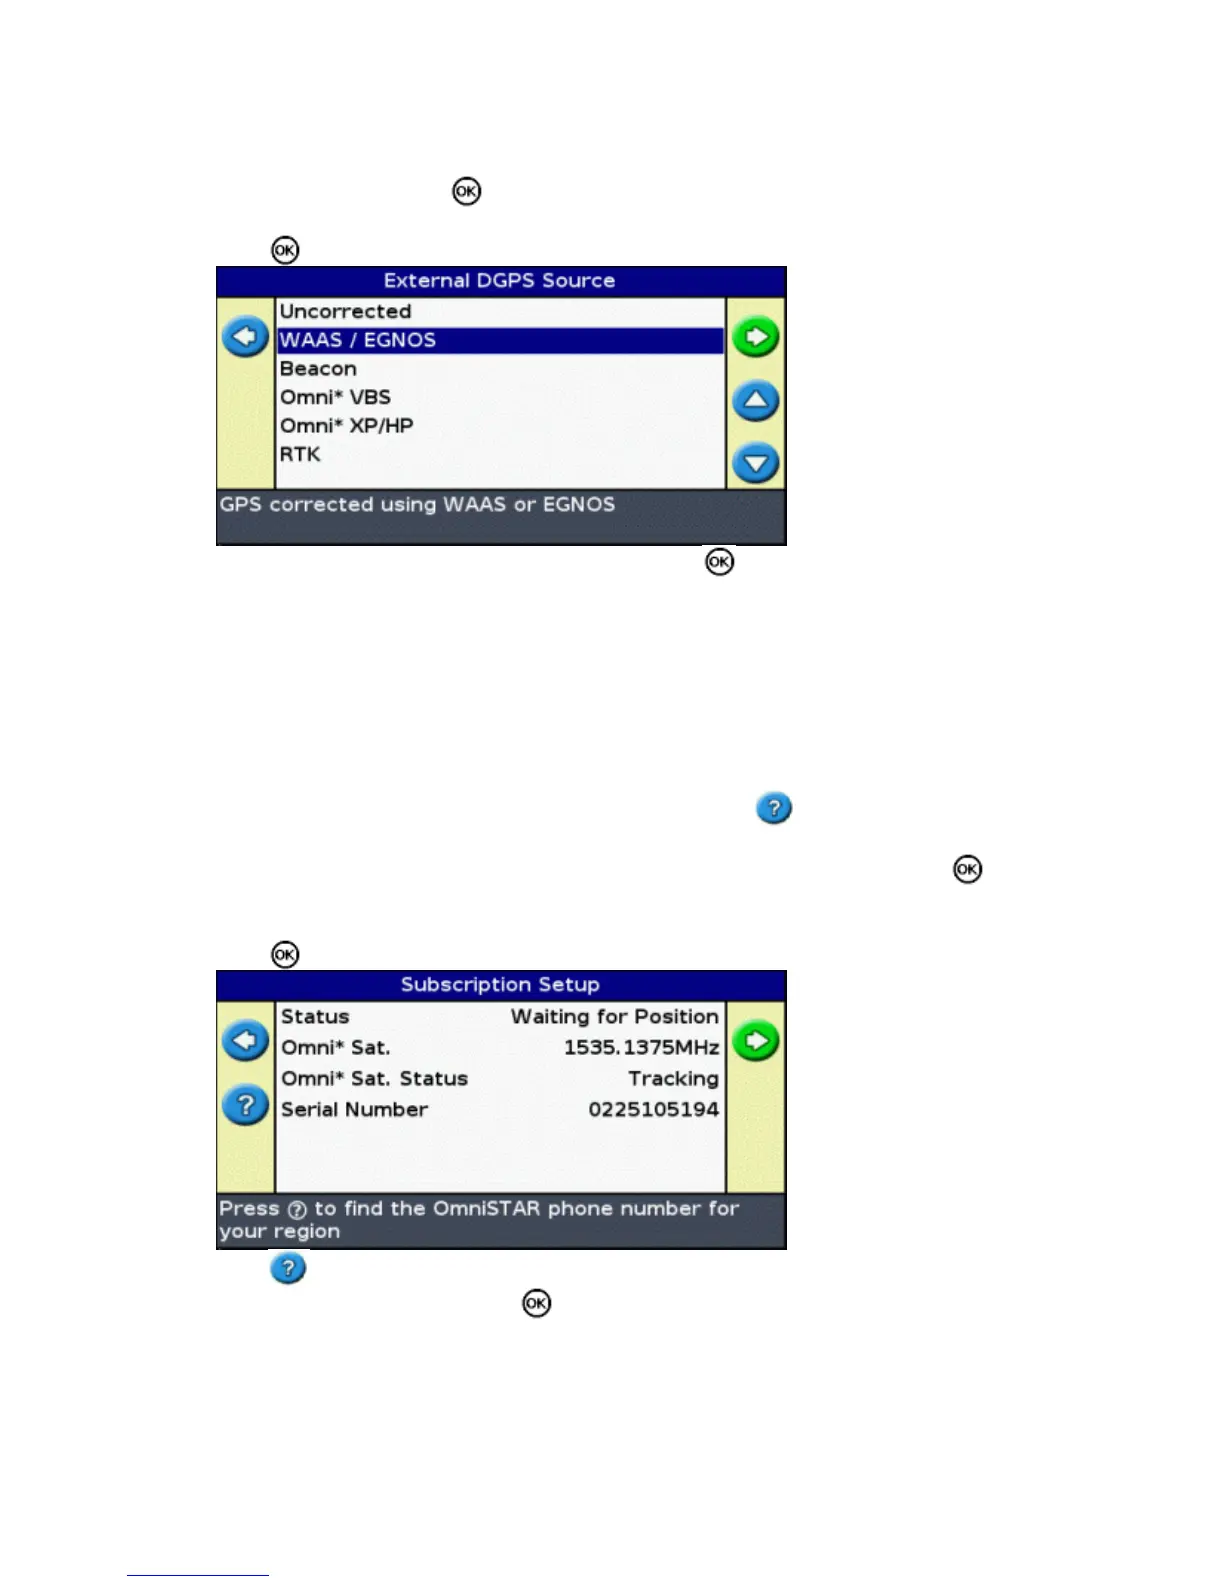
Press . The External DGPS Source screen appears, showing the available corrections on the reciever.5.
Select the appropriate correction source and then press . The wizard for that correction type appears.6.
Note: When the lightbar is receiving GPS positions from the TSIP−compatible receiver, additional entries appear
on the Info tab.
Using OmniSTAR corrected positions over TSIP
To configure the lightbar to use OmniSTAR corrected positions from a TSIP receiver:
When the OmniSTAR Satellite Settings screen appears, press to view the Help.; It lists the available
satellites and their frequencies and baud rates.
1.
Write down the frequency and baud rate for the appropriate satellite and then press . The OmniSTAR
Satellite Settings screen re−appears.
2.
Enter the satellite frequency and baud rate.3.
Press . The Subscription Setup screen appears:4.
Press . The help displays a list of contact phone numbers for OmniSTAR.5.
Phone OmniSTAR and then press . The Subscription Setup screen re−appears.6.
Tell the OmniSTAR representative the number that is listed in the Serial Number field. They will enable
your receiver.
7.
Note: Do not manually disconnect the lightbar from the receiver. The lost signal causes the lightbar to perform
an incorrect fast restart.
60