www.highwayguardrail.com 23 Revised: October 5, 2009
INSTALLING THE RAIL PANEL TO THE POST WITHOUT OFFSET
BLOCK AT POST 2
Complete the following steps to attach the rail panel to the post without
offset block at Post 2:
Step Actions
1.
Select the Option A, Option B, or Option C to install the rail
panel without offset block at Post 2:
Option
A
For
Wood
Post
1. Insert a
5
/
8
” (16 mm) diameter x 10” (255 mm)
HGR Post Bolt (PN-3500G) through the rail and
the wood post at location 2.
2. Place a
5
/
8
” (16 mm) Round Washer (PN-
3300G) under a
5
/
8
” (16 mm) HGR Nut (PN-
3340G) on the inserted bolt. Tighten the bolts.
(There is no torque requirement for these bolts.)
Option
B
For
SYTP™
1. Insert a
5
/
8
” (16 mm) diameter x 1
1
/
4
” (31 mm)
HGR Blot (PN-3360G) through the rail panel and
the hole in the SYTP™.
Note: For SYTP stubs, use the hole in the
SYTP™ that will place the rail at the correct
height. (If there are two (2) sets of holes in the
SYTP™ stub for attaching the rail.)
2. Place a
5
/
8
” (16 mm) Round Washer (PN-3300G)
under a
5
/
8
” (16 mm) HGR Nut (PN- 3340G) on
the inserted bolt.
Option
C
For
HBA™
Post
1. Do NOT bolt the rail panel to the HBA™ post at
location 2.
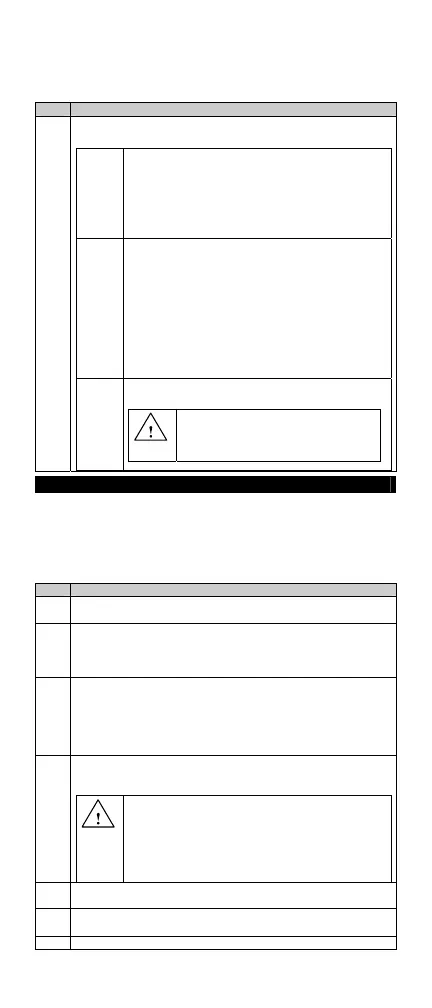
WARNING: Do NOT bolt the rail to the
HBA™ post at location 2. Failure to follow
this warning could result in serious injury or
death in the event of a collision.
INSTALLING THE CABLE ANCHOR ASSEMBLY
The Cable Anchor Bracket (PN-704A) is secured to the rail panel, by
inserting the square protruding hooks/lugs on the bracket into the square
slots in the rail panel. The Cable Anchor Bracket is locked into place, by
pulling the bracket towards the impact end of the unit, making sure the
hooks/lugs are well seated into the square holes.
Complete the following steps to install the cable anchor assembly:
Step Actions
1.
Slide one end of the cable (PN-3000G) into the Cable Anchor
Bracket and the other end through Post 1.
2.
Place a 1" (25 mm) Washer (PN-3900G) and 1” (25 mm) Hex
Nut (PN-3910G) on the end of the cable that extends through
the Cable Anchor Bracket. Turn the nut, until at least 2 threads
are completely through the nut.
3.
Place the Bearing Plate (PN-782G) on the impact side of Post 1
where the cable extends through the post. The cable bearing
plate MUST BE oriented with the “long” dimension turned
up. The hole in the bearing plate is off center (in the vertical
direction), 5” (125 mm) from one edge and 3” (75 mm) from
the opposite edge.
4.
If applying the Bearing Plate (PN-782G) to a wood post at Post
1, drive two nails along the top edge of the Bearing Plate and
bend over to prevent the Bearing Plate from rotating.
WARNING: Any grout, backfill, or other materials (such
as concrete, asphalt, or soil) must be low enough so as
not to obstruct, constrain, or otherwise engage the
bearing plate. Failure to eliminate the interaction of soil or
materials with the bearing plate will hinder the
performance of the ET-PLUS™ systems and could result
in serious injury or death in the event of a collision.
5.
Place a 1” (25 mm) washer under a nut on the end of the cable
extending through Post 1.
6.
Restrain the cable with locking pliers at the end being tightened,
to avoid twisting the cable.
7.
Tighten the Hex Nuts on the cable ends, until the cable is taut.
Revised: March 2010
 Loading...