3
Product Features
Installation
Note: When the unit is connected to the USB-C port on your
computer and to a network via Cat5e/6 cabling, a network
connection will be automatically established. If no connection
is made, you can manually establish one by going to your
computer’s network settings page. For example, on a Mac,
you would navigate to the Network section found in System
Preferences, click the ‘Assist Me’ button to get to the Network
Setup Assistant, then follow the prompts to establish a
connection
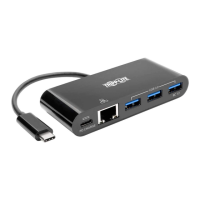
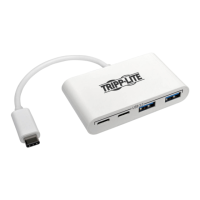
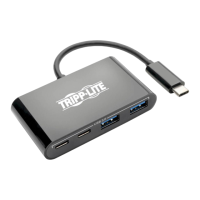
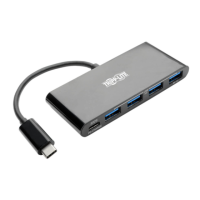
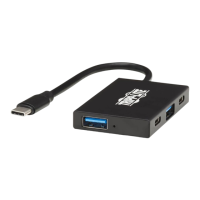
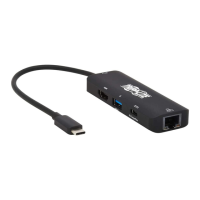
1. Connect the unit’s USB Type-C connector to the
USB-C port on your laptop, tablet or other device.
2. Connect up to three USB devices to the USB-A
hub ports on the unit.
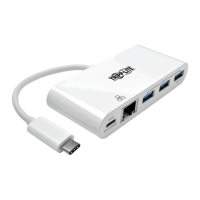
3. Connect the unit’s RJ45 port to a network using a
UTP cable (such as Tripp Lite’s N201-Series Cat6
cables).
4. Charge and power your host device by connecting
its AC wall charger to the adapter’s USB-C PD port
(U460-003-3AG-C and U460-003-3AGB-C only).
Note: USB-C PD port does not support Quick Charge (QC).
• Plug-and-play operation with no software required
for easy, immediate installation
 Loading...