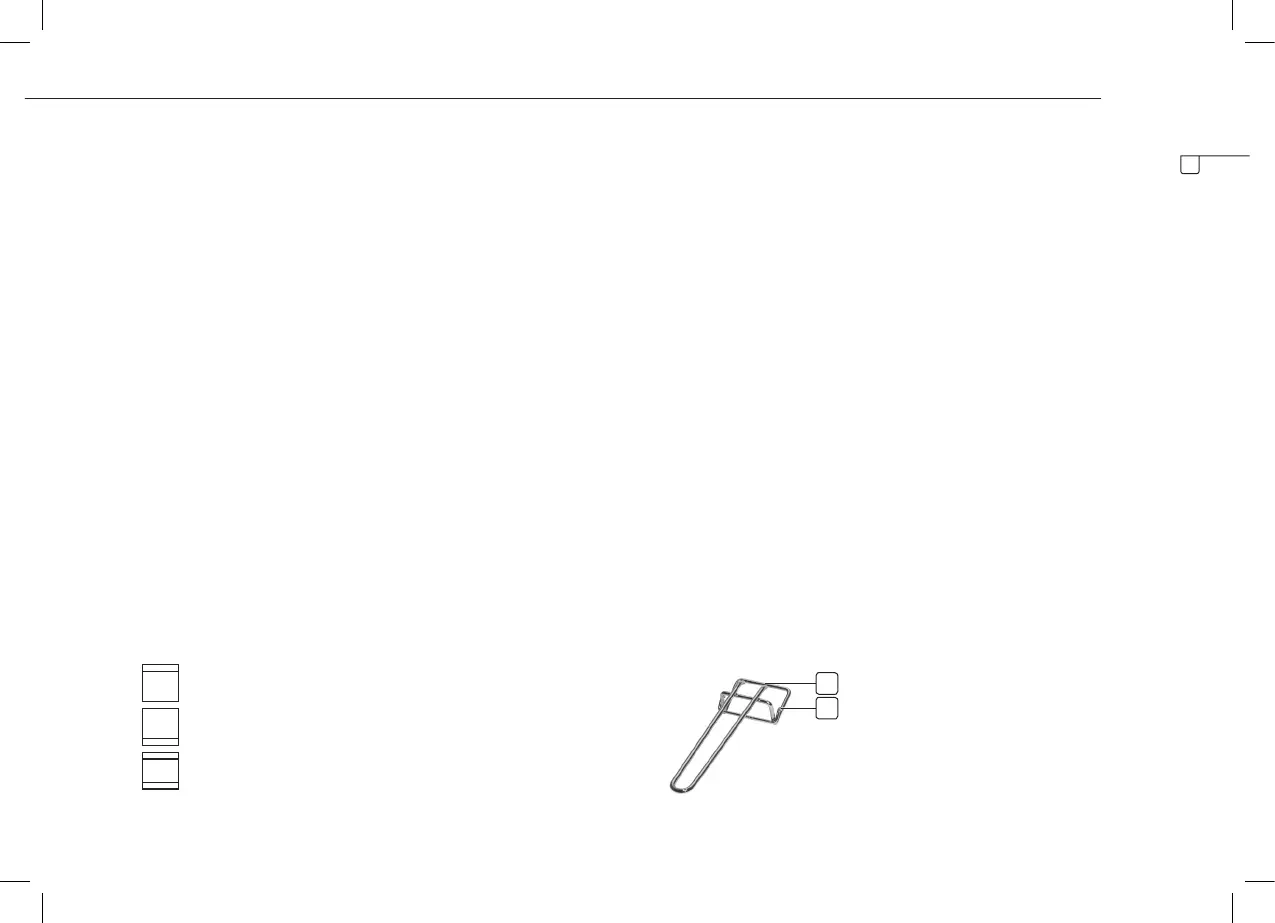
A
B
5
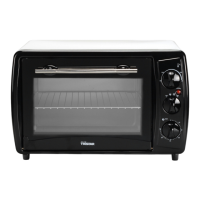
USE OF ACCESSORIES
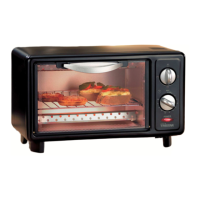
• Use the grid (no. 6) to prepare dry foods such as bread and pizza.
• The baking tray (no. 7) is suitable for cooking food that is producing fat,
such as meat and chicken dishes.
• The baking tray (no. 7) can also be placed under the grid (no. 5) to
absorb fat.
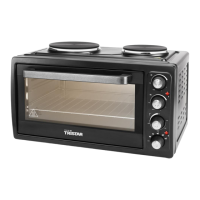
USE
• Use the temperature control button (no. 2) to set the desired
temperature depending on the dish.
• Use the heating position button (no. 4) to set the desired heating mode.
Below schedule gives an explanation of the various settings.
• Set the time control button (no. 5) on 10 minutes and preheat the oven,
the red indicator light (no. 3) turns o when the device has reached the
setting time.
• The device is preheated and ready for use.
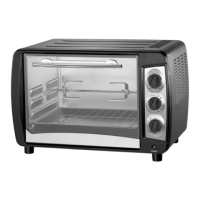
Heating position button (no. 4)
OFF Switch o the oven
Only the top heating element is switched on.
Only the lower heating element is switched on.
The top and lower heating element are switched on.
• Place the grid (no. 6), the baking tray (no. 7) or both in the oven.
• These can be set in three positions. On the inside of the oven are three
conductors.
• Use the temperature control button (no. 2) to set the desired
temperature, for the time setting use the time control button (no. 5),
depending on the dish to prepare.
• Select the desired heating position by switching the heating position
button (no. 4).The maximum time setting is 60 minutes, the minimum
time setting is 2 minutes.
• The maximum temperature setting is 230°C, the minimum temperature
setting 100°C.
• The red indicator light illuminates. When the device has reached the
setting time, the indicator light turns o and the device gives a beep
signal.
• Always use the provided handle (no. 8) to take the grid or the baking
tray out of the oven.
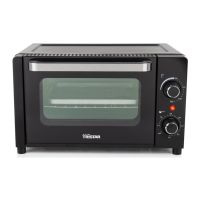
A For use with the baking tray (no. 7)
Clip upper terminal of the handle on top of the baking tray (no. 7).
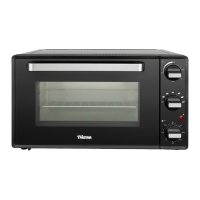
B For use with the grid (no. 6)
Clip lower terminal of the handle on top of the grid (no. 6).
EN