11
GB
Saw Bench Guide / Replacing the Saw Blade / Maintanance
WARNING Ensure that the tool is switched off
and the plug is removed from the power point
before making any adjustments or maintenance
procedures.
• Regularlycheckthatallthexingscrewsaretight.They
may vibrate loose over time.
• Regularlycheckthatthesawarborsandarborwasher
are clean, and free of built-up gum deposits or caked-
on sawdust. Check that the faces of the arbor washers
are smooth and free from burrs. Check that the blade
retaining bolt is correctly tightened.
• Checktheoperationofthespring-loadedlowerguard.
It must close quickly and without scraping anywhere.
Remove the blade and clean accumulated sawdust or
wood slivers from the guard area.
• Occasionallycheckthetensionofthemicro-adjustment
knob, and if necessary tighten or loosen the Nyloc nut.
• Thesawventilationslotsshouldbekeptcleanand
clear of any foreign matter. Use a lightly dampened
cloth to wipe the saw clean - do not use solvents.
BLADE MAINTENANCE
• Regularlycheckthatthebladeisfreefromabuildup
of gum resins or sawdust. If necessary clean with a
solvent such as WD40, RP7 or mineral turpentine.
• Regularlycheckthesawbladeforatness.Useofthe
saw with a buckled blade places excessive load on
the motor and gearbox assembly, and may affect your
warranty rights.
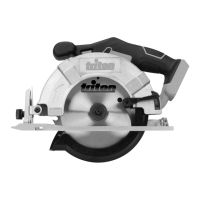
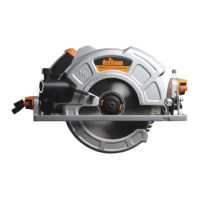
REPLACING THE SAW BLADE
WARNING Ensure that the tool is switched off
and disconnected from the power supply before
making any adjustments or installing or removing
blades.
• Onlyuse235mm(9¼")blades,withakerfbetween2.2
and 3.5mm, designed for circular saws with a no-load
speed rating of at least 5000rpm. Never fit high speed
steel blades or abrasive discs. Fitting of other purpose
or different sized blades could void the warranty.
• Donottinferiorblades.Regularlycheckthebladeis
at,sharpandfreeofcracksordefects.
1.
Ensure the saw is disconnected from power.
2. Hold in the Spindle Lock
Button (19) and use the 6mm
Hex Key (20) supplied to
remove the arbor bolt - turn
in the direction of the blade
rotation. The shaft will turn
slightly before locking,
allowing the bolt and outer
arbor washer to be removed.
3. Holding the Lower Blade Guard
(8) fully back, carefully lift
the worn blade off the inner
washer on the shaft and
slide the blade through the
baseplate.
4. Now, keeping the lower blade
guard fully retracted, carefully
slide the new blade through
the baseplate and position it
onto the inner washer on the
shaft. The graphics should
face out and the arrow on
the blade should point in the
same direction as the arrow
on the guard.
5. Refit the outer arbor washer and, while depressing the
spindle lock button, tighten the arbor bolt firmly into
position – turn against the direction of blade rotation.
6.Ensurethebladesitsushbetweentheinnerandouter
washers, then tighten firmly with the hex key.
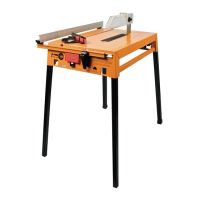
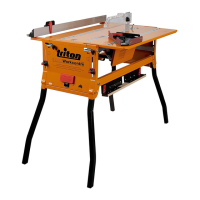
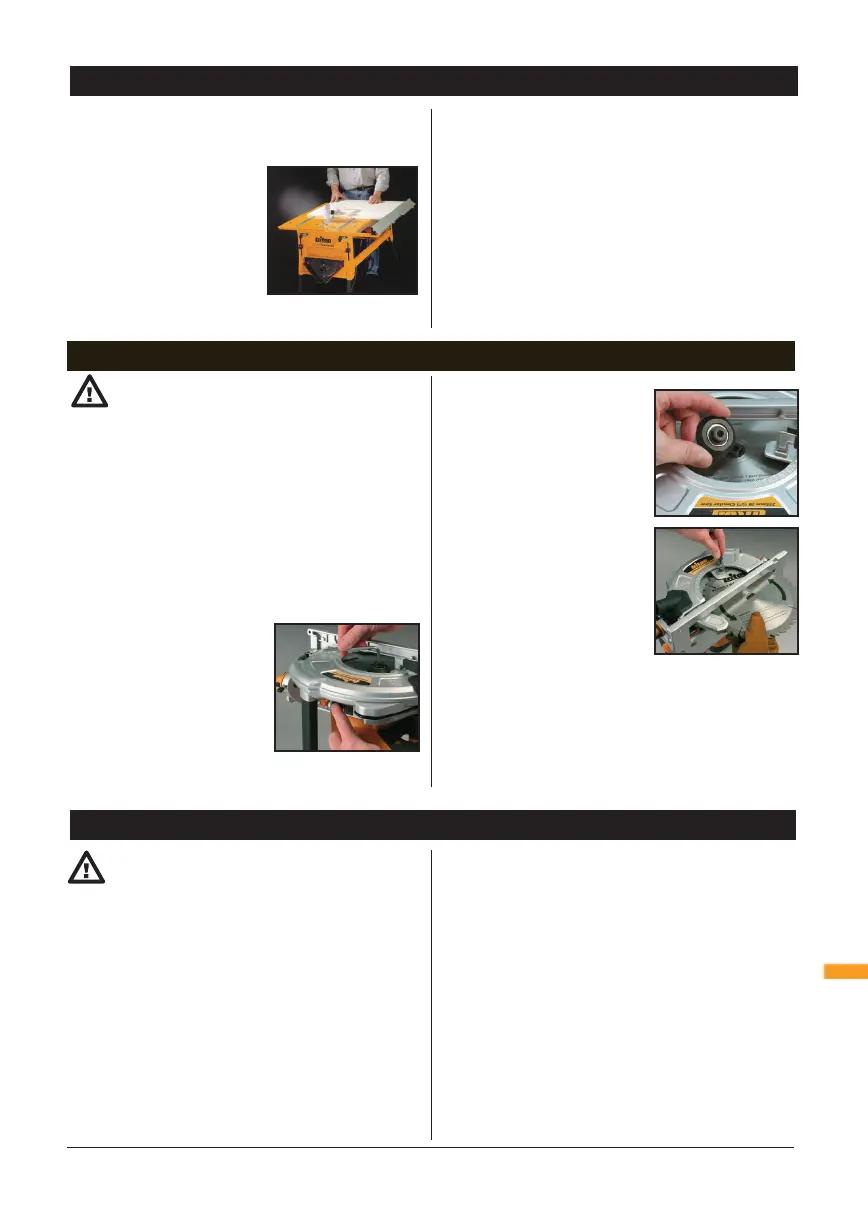
SAW BENCH GUIDE
• Checkthatthesawbenchisequippedwithappropriate
blade guarding and ensure that it is properly adjusted
and functioning correctly before operating.
• Ensurethesawismounted
securely to the bench.
Refer to the manufacturer’s
instruction manual for
mounting instructions.
• Priortostartingwork,
manually run the saw along
the table to ensure it runs
smoothly and is clear of obstructions.
• Checkthatyoursawbenchisttedwithananti-
kickback device.
• Makesureasuitablesafetyon/offswitchisttedtothe
saw bench. The saw switch may then be locked on using
a spring clamp, cable tie or similar and then plugged into
the safety socket on the saw bench. This clamp MUST
be taken off when the saw is removed from the saw
bench.
• Usingallsafetyequipmentmakeatestcutinanoff
cut piece of material making sure all guarding is set up
correctly before continuing with your bench sawing.
MAINTENANCE
Manual.indd 11 29/06/2012 10:07
 Loading...