BODY
TO
FIT
SMITHS
CIRCULAR HEATER
C.H.S.
92014
The following procedure for carrying out this
installation is recommended
:-
Disconnect the battery lead.
Drain the cooling system and remove the
two square headed plugs, one from the
rear of the cylinder head and the other
from the water pump housing.
Fit the taper threaded tap (28)(Fig. 16) into
the tapped hole at the rear of the cylinder
head and screw into the tap the special
extension
(27),
so that this protrudes from
the engine on the
R.H.
side of the unit
(Fig.
8).
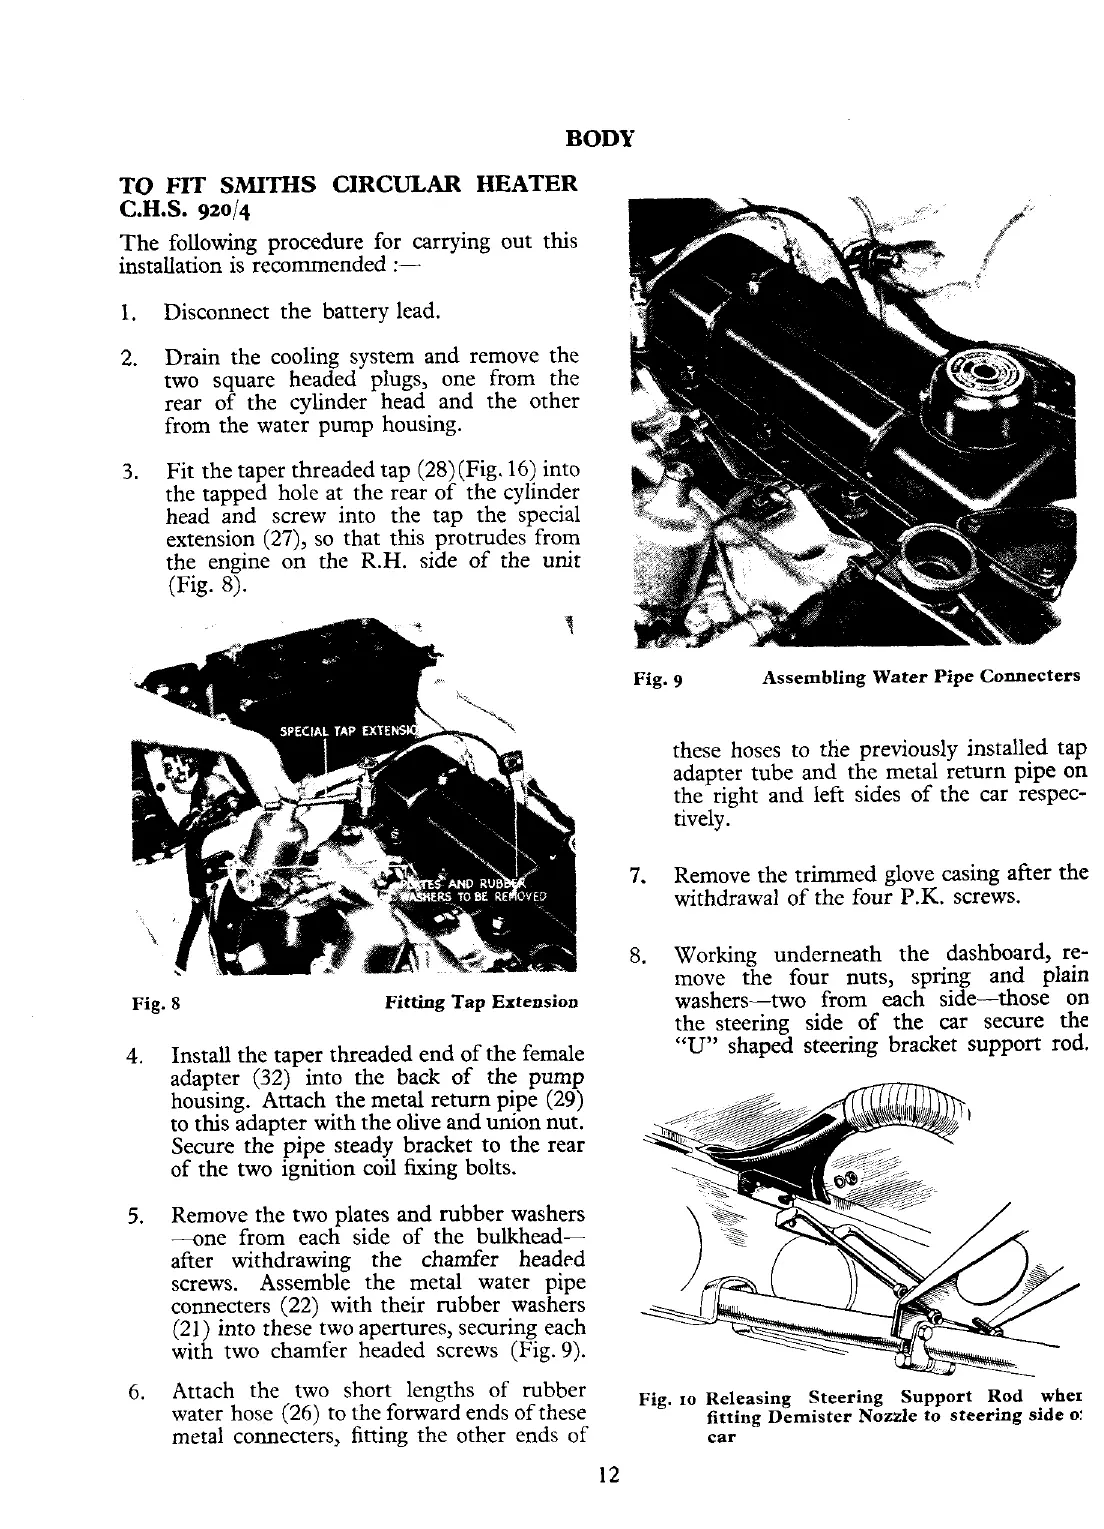
Fig.
9
Assembling Water Pipe Connecters
these hoses
to
the previously installed tap
adapter tube and the metal return pipe on
the right and left sides of the car respec-
tively.
7.
Remove the trimmed glove casing after the
withdrawal of the four
P.K.
screws.
Fig.
8
Fitting Tap Extension
Install the taper threaded end of the female
adapter
(32)
into the back of the pump
housing. Attach the metal return pipe (29)
to
this adapter with the olive and union nut.
Secure the pipe steady bracket to the rear
of the two ignition coil fixing bolts.
Remove the two plates and rubber washers
--one from each side of the bulkhead-
after withdrawing the chamfer headed
screws. Assemble the metal water pipe
connecters (22) with their rubber washers
(21) into these two apertures, securing each
with two chamfer headed screws (Fig.
9).
Attach the two short lengths of rubber
water hose (26) to the forward ends of these
metal connecters, fitting the other ends of
8.
Working underneath the dashboard, re-
move the four nuts, spring and plain
washers-two from each side-those on
the steering side of the car secure the
"U"
shaped steering bracket support rod.
Fig.
ro
Releasing Steering Support Rod wher
fitting Demister Nozzle to steering side
o:
car