EasyManua.ls Logo

TroposAir Northstar 60DFF-L User Manual

TroposAir Northstar 60DFF-L
6 pages
To Next Page IconTo Next Page
Page #1 background imageLoading...
Page #1 background image
Owner’s ManualOwner’s Manual
Northstar
Toll Free 1-855-676-7247
WARNING: Read and follow these instructions carefully and be mindful of all warnings shown throughout.
Net Weight
8.52 KGS
18.8 LBS
These instructions contain 5 pages:
Page 1: Foreword
Page 2: Unpack and inspect parts contained, and pre-installation notes
Page 3: Hanging system installation
Page 4: Wiring connections and Canopy and Blade installation
Page 5: Light/Cover installation and Remote Setting
Model No:
60DFF-L
HS-1313-L
Cover for non-light option
Question and Answer IconNeed help?

Do you have a question about the TroposAir Northstar 60DFF-L and is the answer not in the manual?

TroposAir Northstar 60DFF-L Specifications

General IconGeneral
BrandTroposAir
ModelNorthstar 60DFF-L
CategoryFan
LanguageEnglish

Summary

Important Safety and Usage Notes

General Safety Warnings

Reduce risk of fire, shock, or injury by observing safety instructions and ensuring proper installation.

Electrical Safety Precautions

Turn off power before wiring. Ensure all connections meet local codes and are made by qualified personnel.

Installation Environment and Support

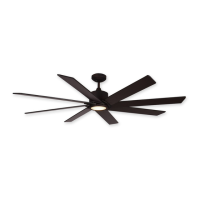
Ensure fan blades clear objects (7ft from floor). Mount on joist or UL-listed metal outlet box rated for fan support.

Fan Features and Operation

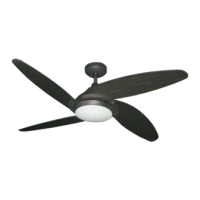
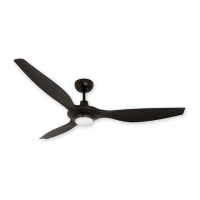
Blades attach after motor housing. Fan is electrically reversible and controlled by remote. Suitable for indoor use.

Hanging System Installation

Mounting Bracket Installation

Install mounting bracket to ceiling outlet box using provided screws and washers.

Downrod and Yoke Assembly

Assemble downrod, canopy, yoke cover, and motor wires, securing with pins and screws.

Hanging the Fan Assembly

Lift fan assembly onto mounting bracket and rotate to engage ball groove with bracket ridge.

Wiring and Installation Steps

Receiver and Wiring Connection

Insert receiver into mounting bracket and make electrical wire connections per remote control instructions.

Canopy Installation

Secure the canopy to the mounting bracket by aligning keyholes and tightening screws.

Blade Installation

Attach blades to blade arms using blade screws and washers, ensuring alignment.

Final Assembly and Settings

Light/Cover Installation

Install Light Pan, LED Array (if applicable), and Light/Solid Cover using provided screws and alignment.

Remote Control Setting

Follow separate instructions for remote setup, including dimming settings for optional LED arrays.

Related product manuals