STEP 12: INSTALLING
THE BATTERY CABLES
1. The Positive battery cable is already con-
nected at one end to the so
leno
id whi ch is
mounted a few inches below the battery on a
post. You are to connect the loose end of the
positive cable to the positive
(+) post on the bat-
tery. Use a bolt and nut from the hardware bag.
Use a screwdriver and a
3/8" wrench to tighten
the bolt. See Photo 2-25.
Photo 2-25: Attach Positive Cable to Battery.
3. Use the two 1/4" -20 x 1 1/4" carriage bolts,
1/4" lockwashers, and 1/4"-20 nuts to secure the
hold-down bracket to the b
attery
mo
unt
ing
bracket. Insert the bolts from beneath the battery
mounting bracket, up through the battery hold-
down bracket, and secure them with the lock-
washers and nuts. Use a 7/16-inch wrench to
evenly tighten both nuts. Do not tighten the nuts
so that the tabs on the battery hold-down bracket
become bent.
Photo 2-26: Attach the Negative
Battery Cable to
the battery.
2. Slide the black rubber boot up the positive
cable and slip it over the positive battery post.
3. The Negative cable is already connected at
one end to one of the mounting bolts securing
the solenoid to the post. This is the grounding
point for the negative
cable-connect
the loose
end of the nega-
tive (-) cable to
the negative bat-
tery
pos
t. Use
the last nut and
last bolt to se-
curely attach the
negative battery
cable to the neg-
ative (-) battery
post.
STEP
11
: INSTALLING THE
BATTERY ON THE TILLER
• Be sure that the battery is positioned on
the tiller as explained in Step 1. Hooking the
battery cables to the wrong posts could re-
sult
in damage to the battery and other
electrical parts.
A WARNING
• Do not touch the positive (+) battery post
and any surrounding metal with tools, jew-
elry, or other metal objects. Doing so could
cause a short circuit that could result in
electrical burns or an explosion of battery
gases.
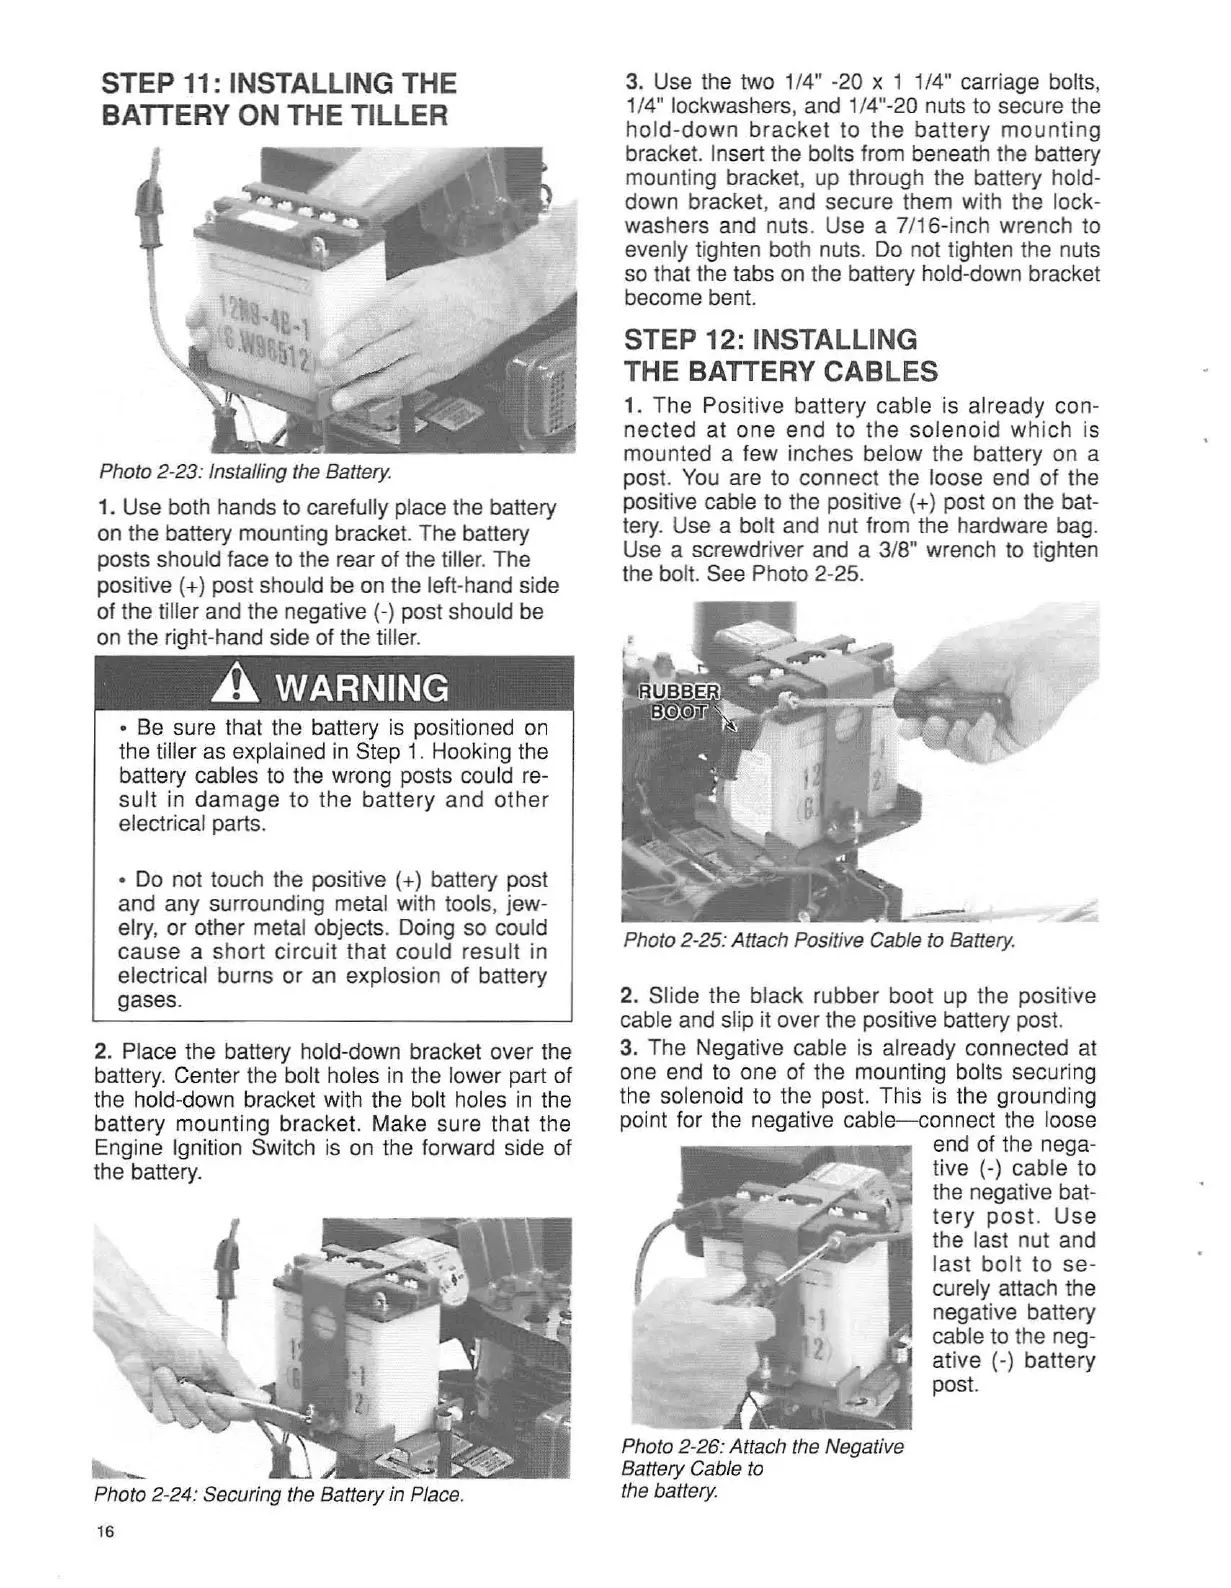
Photo 2-
23
: Installing the Battery.
1. Use both hands to carefully place the battery
on the battery mounting bracket. The battery
posts should face to the rear of the tiller. The
positive
(+) post should be on the left-hand side
of the tiller and the negative (-) post should be
on the right-hand side of the tiller.
2. Place the battery hold-down bracket over the
battery. Center the bolt holes in the lower part of
the hold-down bracket with the bolt holes in the
battery mounting bracket. Make sure that the
Engine Ignition Switch is on the forward side of
the battery.
Photo 2-24: Securing the Battery in Place.
16