10 Section 3 — ASSembly & Set-Up
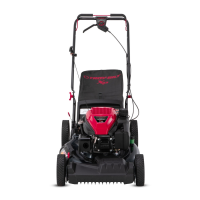
c. Reattach wing nuts and carriage bolts removed
earlier into lower holes of handle as shown in Figure
3-5.
Figure 3-5
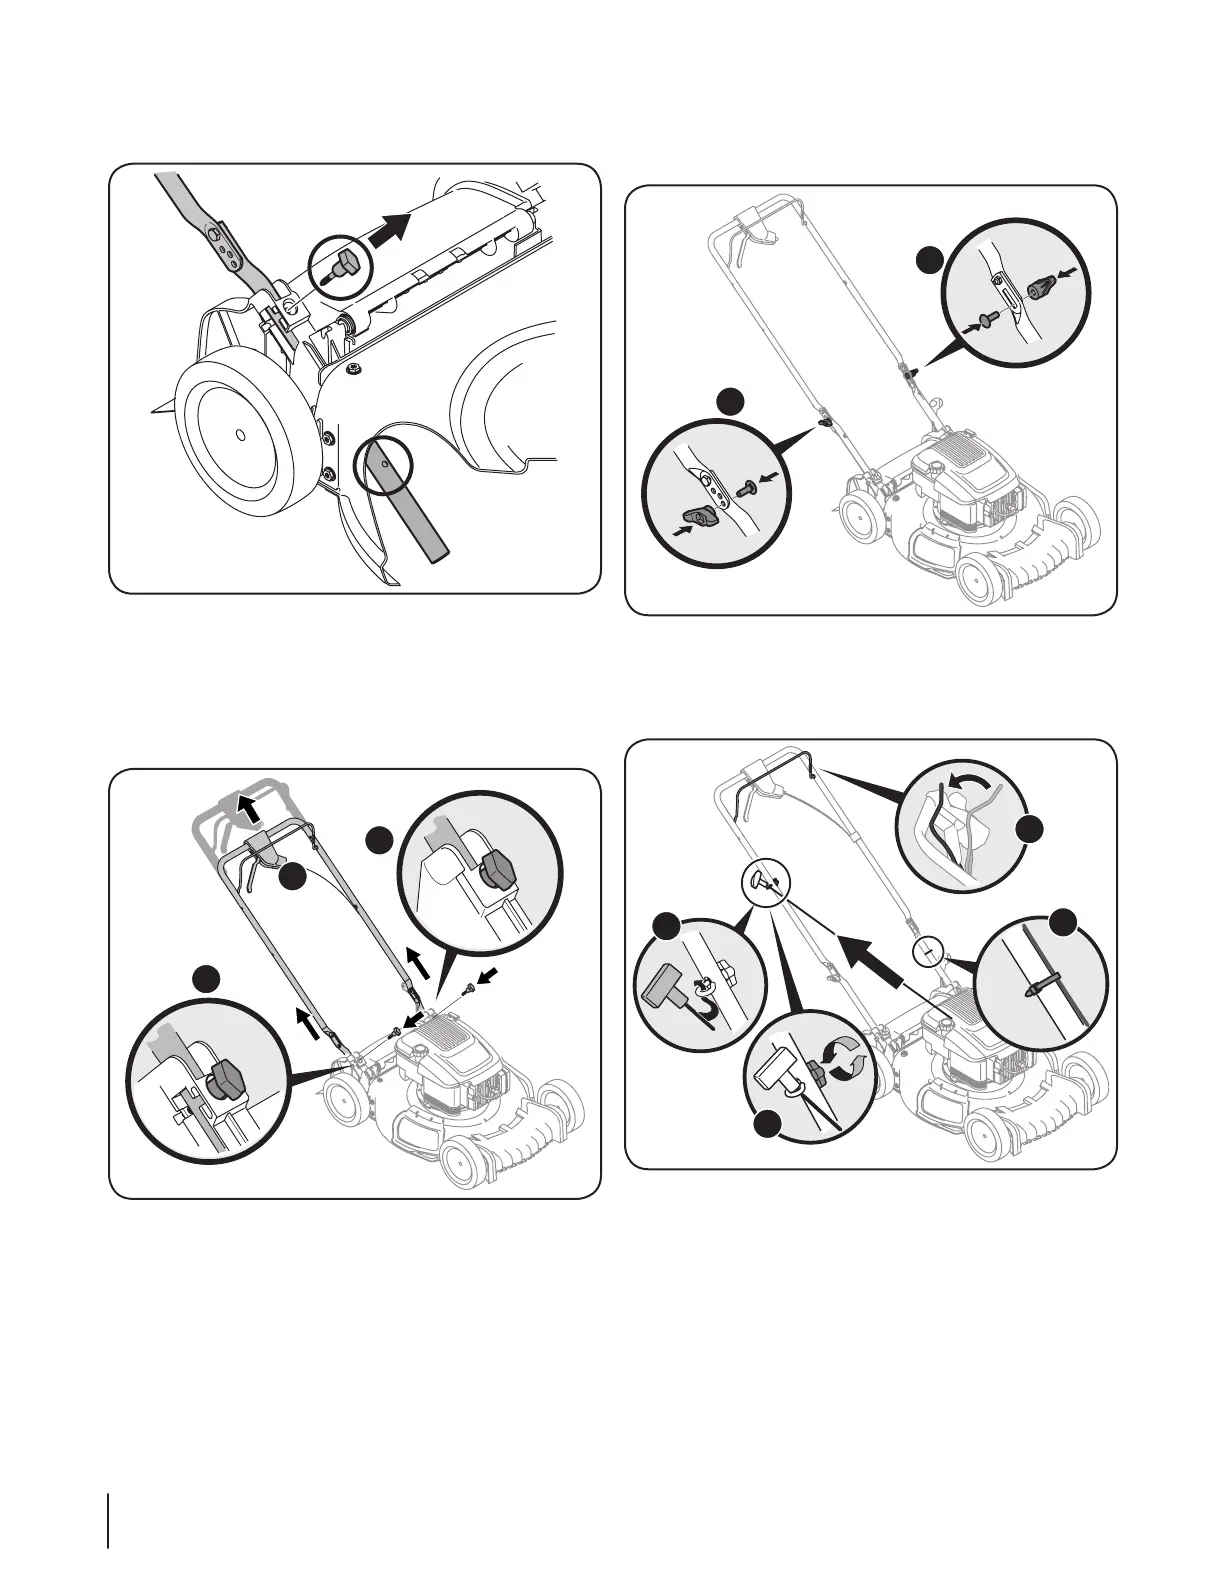
4. The rope guide is attached to the right side of the upper
handle. Loosen the wing knob which secures the rope
guide. See Figure 3-6.
Figure 3-6
a. Hold blade control against upper handle.
b. Slowly pull starter rope handle from engine and slip
starter rope into the rope guide. See Figure 3-6.
c. Tighten rope guide wing knob.
d. Use cable tie(s) to secure cable(s) to lower handle.
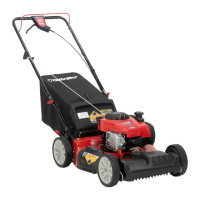
2. Remove the T-bolts from the handle brackets as shown in
Figure 3-3.
Figure 3-3
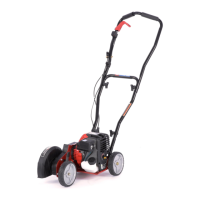
3. Follow the steps below to complete handle assembly:
a. Pull upward on the handle approximately 8 inches
until holes in lower handle (shown in Figure 3-3 deck
cutaway) line up with holes in handle bracket. See
Figure 3-4.
A
B
B
Figure 3-4
NOTE: When pulling upward on handle, make sure to not
pull handle all the way out.
b. Insert the T-bolts removed earlier through the
handle brackets and lower handle and tighten
securely to secure the handle in place. See Figure
3-4.
 Loading...