E
Erin TateAug 2, 2025
What to do if Tru-Test WaterWell 2 Farm Equipment has low water flow?
- JJeremy WrightAug 2, 2025
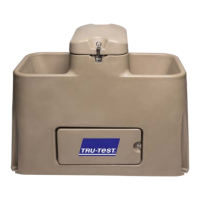
If your Tru-Test Farm Equipment experiences low water flow, ensure the vertical water supply line is free from kinks and that the valve and float assembly has no blockages. Also, verify that the shut-off valve is set to the open position. You can find images of shut-off valve positions on page 12. It is also recommended to check water pressure with a pressure gauge. The cause might be a blockage or kinks in valves or the vertical water supply line, or the shut-off valve might not be set correctly.