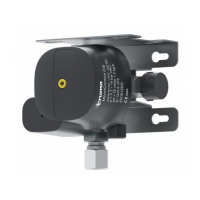
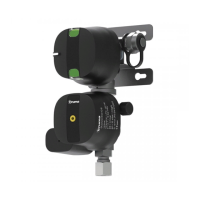
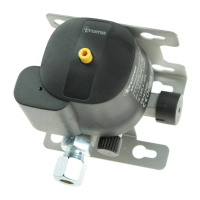
17
When tightening, carefully
use a second wrench to
counterhold at the spanner
flats provided for this purpose.
– After installing the gas pres-
sure regulation system, check
the gas system for leaks (see
“Checking the low pressure
area for leaks”) and inspect
the functionality of the gas-
flow monitor (see “Gas-flow
monitor function test”), if
present.
– Check the hose connection at
the inlet of the SecuMotion
gas pressure regulation sys-
tem (using, for example, a
leak-detection spray according
to DIN EN 14291).
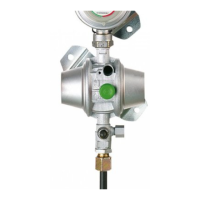
Checking the low pressure
area for leaks
Test must be conducted
by a technician!
– Turn off all consumers.
– Open stop valves and gas re-
mote switch, if present
– Remove the threaded cap
from the test connection (b)
and connect the test pump
with test hose to the test
connection.
– Remove the test valve’s (c)
protective cap and use an
open-end wrench (6 mm) to
turn the valve by 90 degrees in
the clockwise direction.
– Conduct leak test (in Germany
according to G 607).
– If gas system exhibits a leak,
close the gas cylinder valve
and immediately repair the
gas system; do not open the
gas cylinder valve until repair
is complete.
– After check is complete, make
sure to turn the test valve back
(90 degrees counterclockwise
until it stops) and replace the
protective cap.
– Screw the threaded cap back
onto the test v alve.
 Loading...