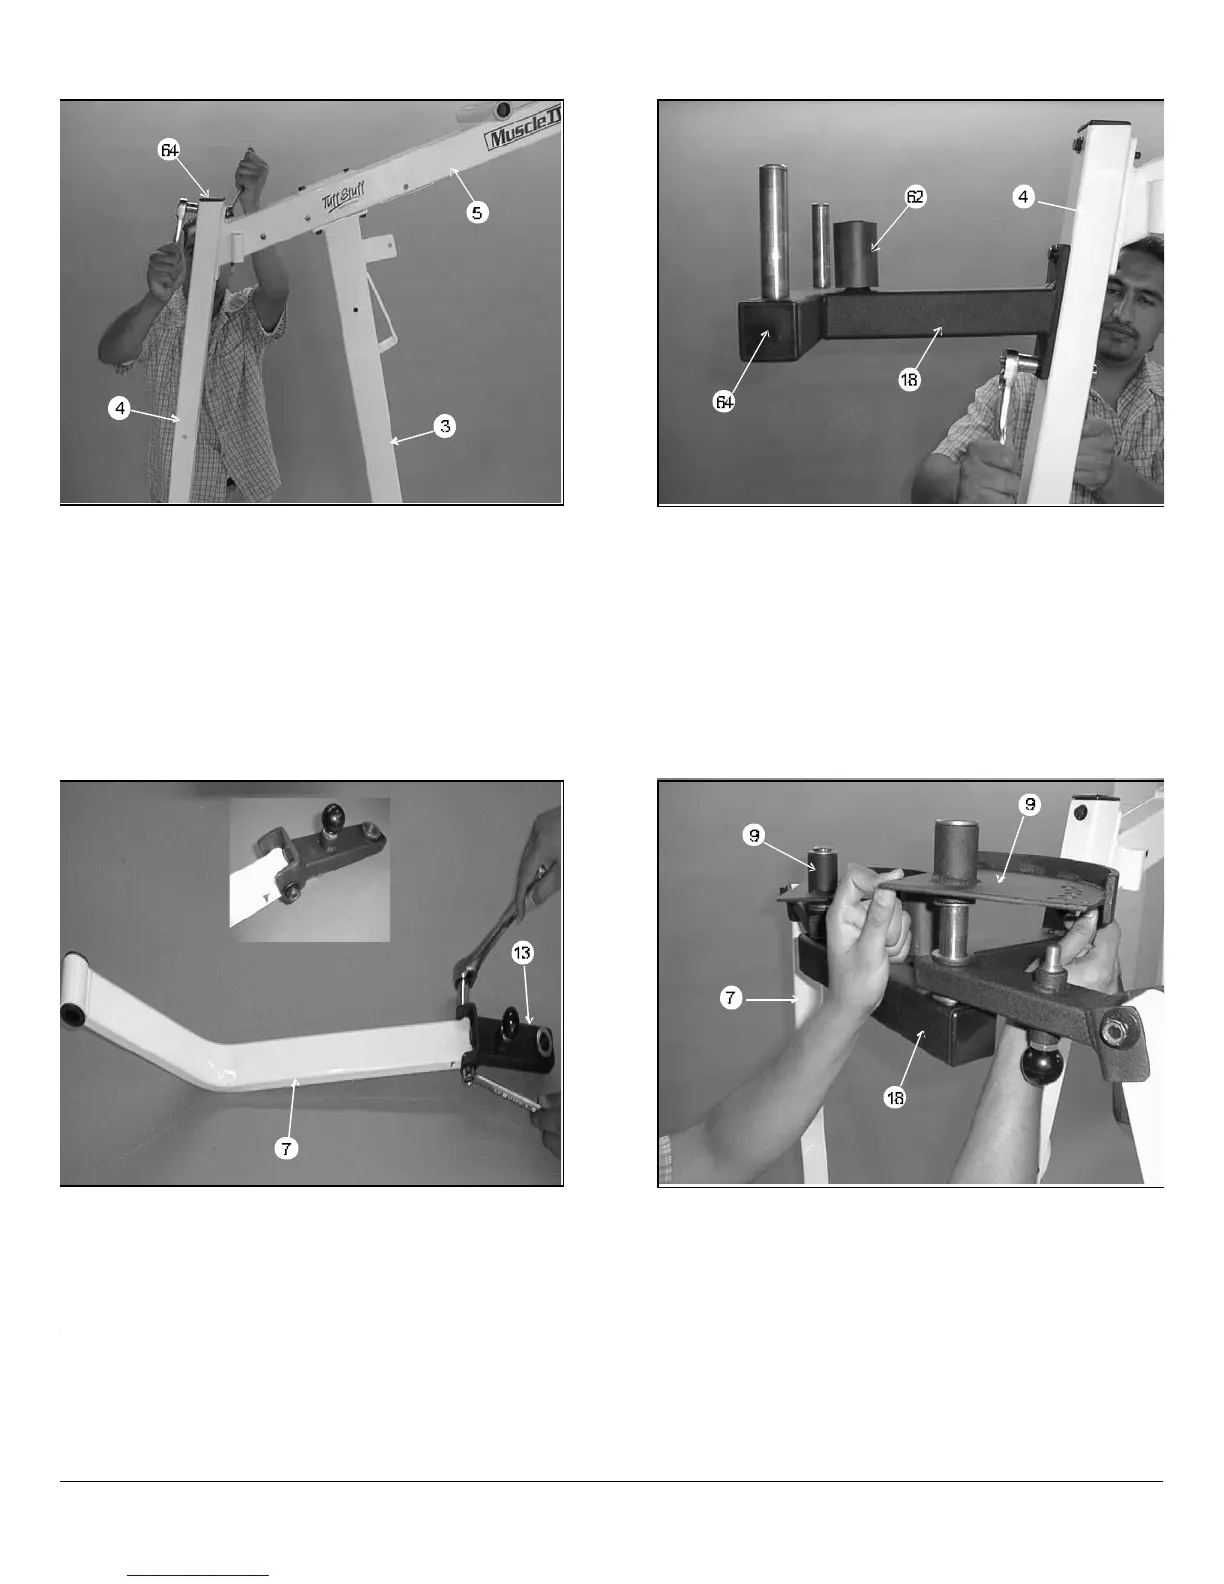
IG. 9 Secure the Top Pulley Assembly (#5) to the Front
pright (#3) using two Hex Head Cap Screws 3/8-16 X 4 1/4
#99) four Flat Washers SAE 3/8 (#90) and two Nylon Insert
ock Nuts 3/8-16 (#86). Next, secure the Top Pulley
ssembly (#5) onto the Rear Upright (#4) using one Hex
ead Cap Screw 3/8-16 X 3 (#94), two Flat Washers SAE 3/8
#90) and one Nylon Insert Jam Lock Nut 3/8-16 (#86). Note:
his bolt should be placed in the top hole of the Rear Upright
#4).
FIG. 10 Next, attach the Pec Dec Housing (#18) to the
Rear Upright (#4). secure this assembly using one Hex Head
Cap Screw 3/8-16 X 3 1/2 (#8), two Flat Washers SAE 3/8
(#90) and one Nylon Insert Jam Lock Nut 3/8-16 (#86). Note
This bolt should be placed in the top hole of the Pec Dec
Housing (#18). Next, install one Hex Head Cap Screw 3/8-1
X 3 (#94), two Flat Washers SAE 3/8 (#90) and one Nylon
Insert Jam Lock Nut 3/8-16 (#86) through the lower hole of th
Pec Dec Housing (#18). Finally, install the Rubber Stoppe
(#62) and two Plastic Insert Caps 2 Sq. (#64), as shown
above.
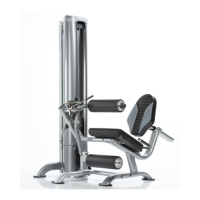
IG. 11 Attach the Pec Dec Arm (#7) to the Pec Dec Arm/
am Support (#13) and secure it using one Hex Head Cap
crew 1/2-13 X 3 (#98), two Flat Washers SAE 1/2 (#89) and
ne Nylon Insert Jam Lock Nut 1/2-13 (#88). Repeat this
rocedure for the opposite Pec Dec Arm Assembly. Note: It is
ecommended that the axle on the Pec Dec Arm (#7) be
ubricated with grease prior to assembly.
FIG. 12 Mount the assembled Pec Dec Arms (#7) in
Fig.11 to the Pec Dec Housing (#18) axles, as illustrated.
Note: It is recommended that the Pec Dec Housing (#18)
axles be lubricated with grease prior to assembly. Next, mount
the two Pec Dec Cams (#9) onto the the axles of the Pec Dec
Housing (#18), as shown above.
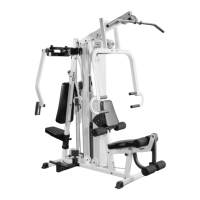
Owners’ Manual: Assembly Instructions
SL-IV Muscle IV Home Gym
4
 Loading...