Do you have a question about the Tuxedo TP9KACX and is the answer not in the manual?
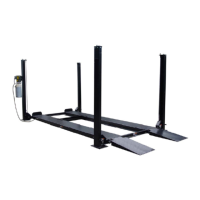
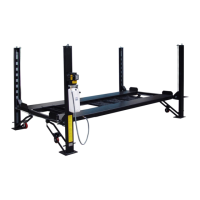
Determining the optimal location for lift installation by checking layout dimensions and floor plan requirements.
Procedures for safely removing the lift from packaging and identifying all components.
Marking post locations on the floor using chalk lines and templates for accurate placement.
Securing the main column to the concrete floor using anchor bolts and ensuring it is plumb.
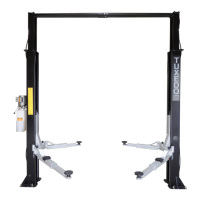
Mounting the offside column and overhead beam assembly, ensuring alignment with the main column.
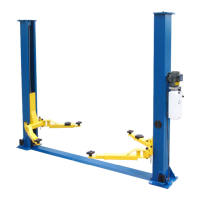
Attaching the power unit to the main column and filling the hydraulic reservoir.
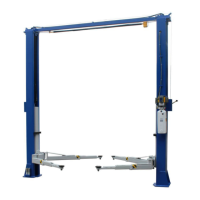
Connecting and routing the equalizer cables between the carriages for proper synchronization.
Connecting hydraulic hoses and fittings, ensuring they are routed safely and securely.
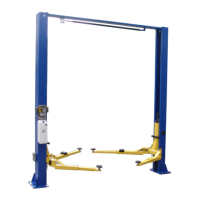
Attaching swing arms and arm restraint mechanisms to the carriages for vehicle lifting.
Making electrical connections for the power unit and overhead limit switch by a certified electrician.
Testing lift functionality, safety latches, and air removal from the hydraulic system.
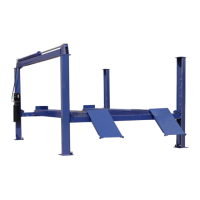
Procedures for safely lifting a vehicle using the two-post clear floor lift.
Steps for safely lowering a vehicle and the lift after use.
Daily checks to ensure the lift's safety latch system and overall condition are optimal.
Periodic checks including anchor bolt torque, hydraulic oil level, and component tightness.
Annual maintenance tasks such as greasing components and changing hydraulic fluid.
Diagnosing and resolving issues where the lift's motor fails to start or operate.
Troubleshooting steps for when the motor operates but the lift fails to lift.
Identifying causes for oil expulsion from the power unit's breather.
Diagnosing humming motor issues, potentially related to overload, capacitor, or wiring.
Resolving jerky lift movement by purging air from the hydraulic system.
Identifying and addressing sources of hydraulic oil leaks from the power unit or cylinders.
Troubleshooting causes of excessive noise, such as lack of lubrication or worn components.
Details the five-year warranty coverage for specific structural components of the lift.
Outlines the one-year warranty for parts found defective in material or workmanship.
Specifies exclusions from warranty coverage, such as normal maintenance and wear parts.
| Brand | Tuxedo |
|---|---|
| Model | TP9KACX |
| Category | Lifting Systems |
| Language | English |