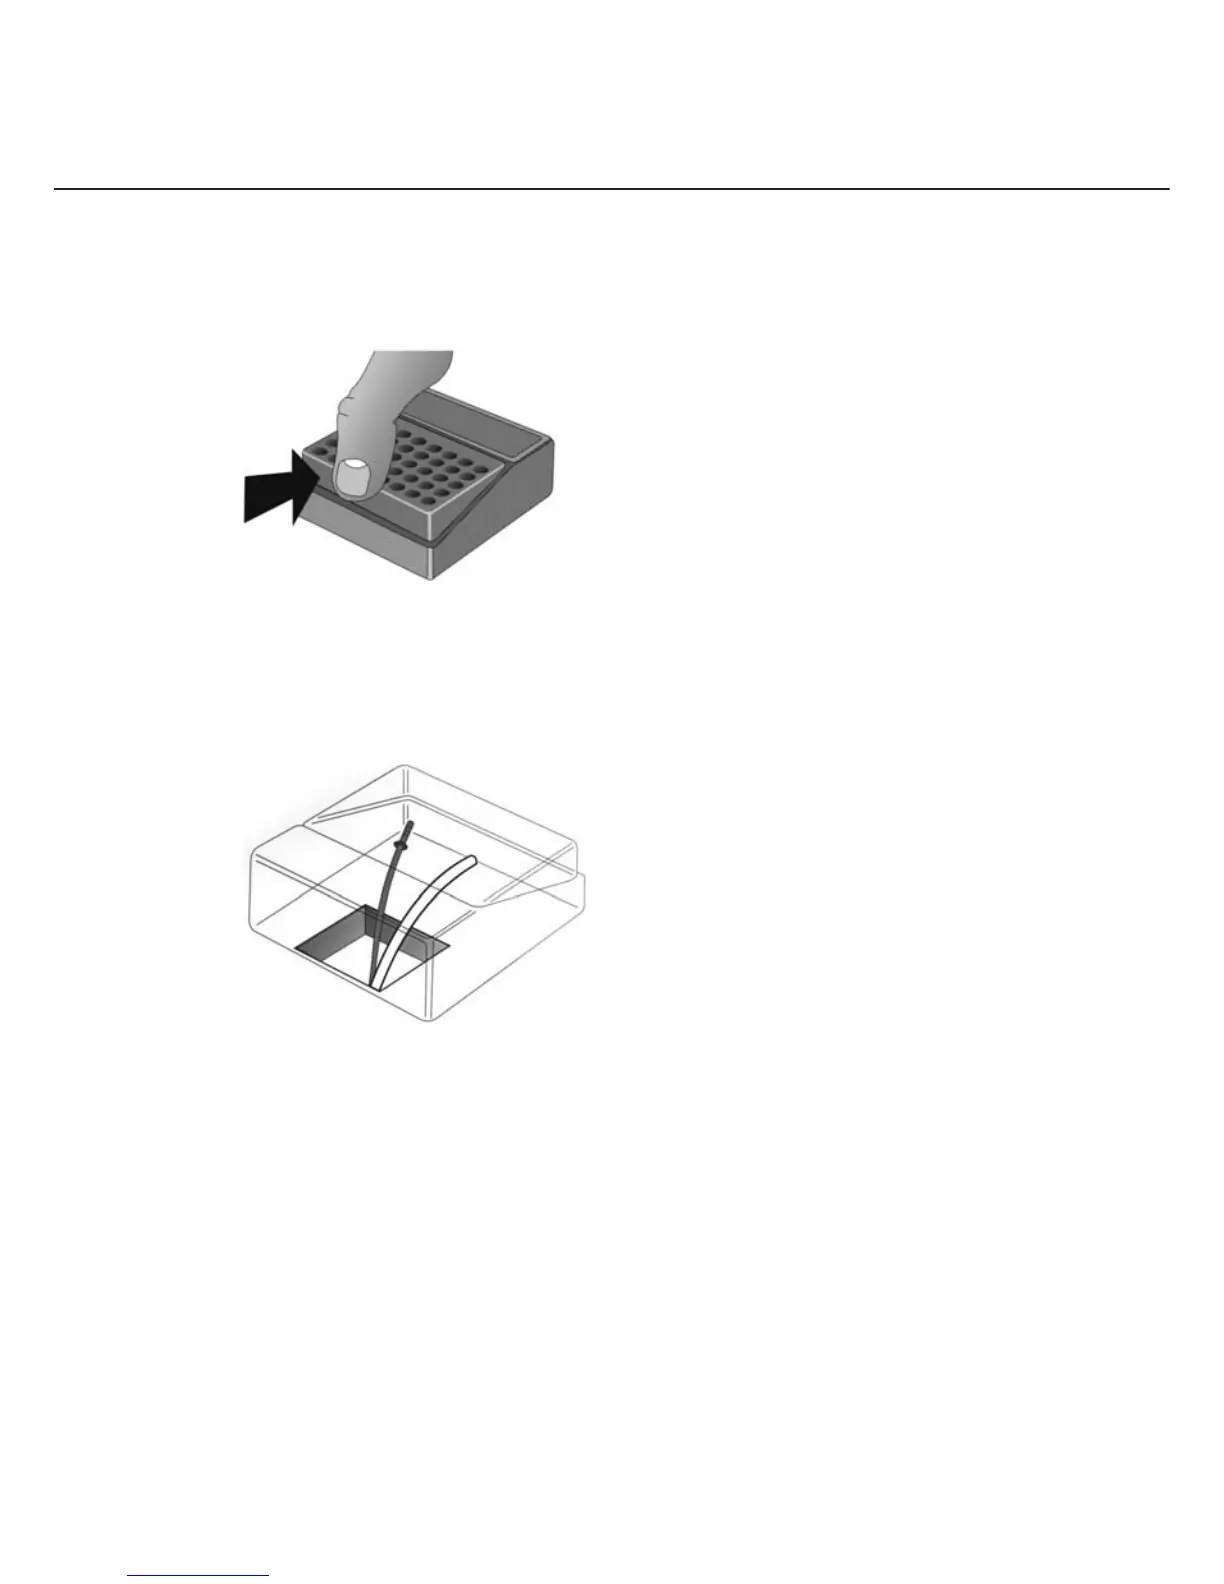
The self reversing actuator has also been designed for ease of installation. By squeezing and lifting the base
of the wall of the push-button below the pimpled surface, the push-button will come out, exposing the
bellows and the two fi xing holes. (See fi g.1)
For fi tting onto a facsia board or worktop
Cut a square hole (37mm x 37mm), so that the top of the square lines up with the inside of the top of the
actuator housing. Mark out and part drill the two holes on either side for the wood screws. Feed the end
of the sheath with the two identical lengths of pneumatic tube and fi bre-optic light guide through the back
of the hole (See fi g.2). Now see ‘Connecting the actuator’.
For fi tting in a wall
Chase out a channel in the wall to accomodate the sheath. It is advisable at this point to lay in 19mm
diameter electrical ducting in case at any time after installation, the fi xture needs attention. Remove one
of the knock-out panels from the metal box for the sheath to pass through, and bury this in the position
required, so that the edges are just below the surface of the wall. Fix it in the wall using rawplugs and the
two wood screws provided. Feed the sheath through so that the end with the two identical lengths of
pneumatic tube and fi bre-optic light guide protrude out of the box. Now see ‘Connecting the actuator’.
For fi tting on a wall
The spacer box ( Manufactured by Crabtree, list no 9043) matches the base of the actuator housing.
This is available through most elecricians, as also a suitable PVC or vinyl ducting to house the sheath.
Position these on the wall and feed the sheath through so that the end with the two identical lengths of
pneumatic tube and fi bre-optic light guide protrude out of the spacer box (See fi g. 2).
Now see ‘Connecting the actuator’.
Fitting the actuator
Mayfair model only
10
fi g.1
fi g.2
 Loading...