6
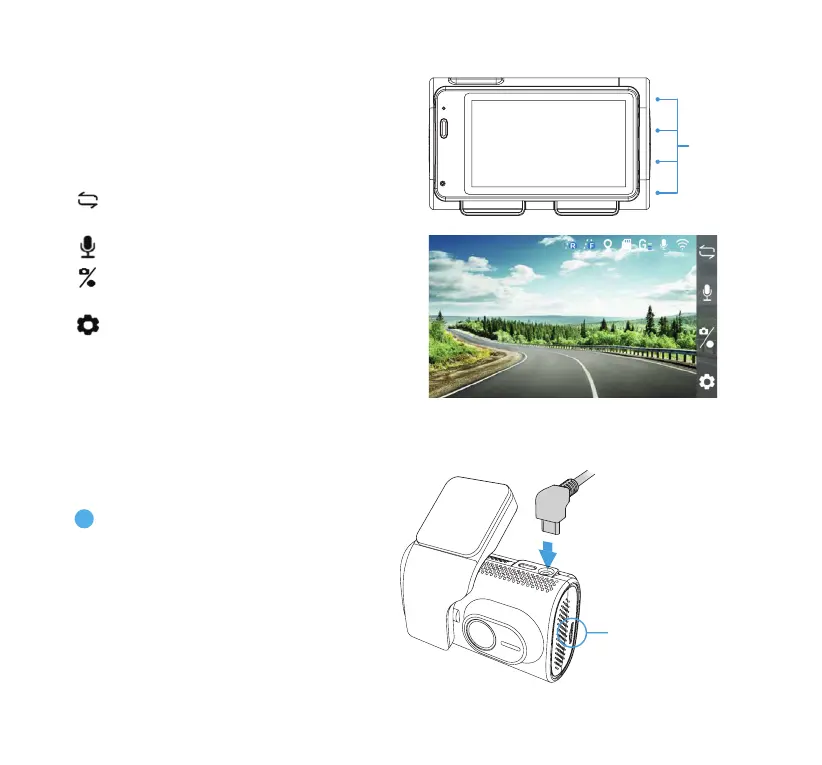
6. CONTROLLING THE CAMERA
Apply conguration and settings to the
dashcam using the 4 function buttons. Please
refer to the section below for the functions of
each button under dierent modes
Function
Buttons
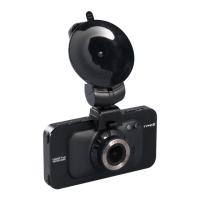
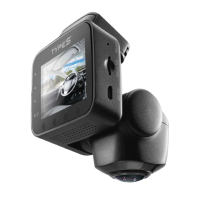
7. INSTALLING THE CAMERAS
Switch between ADAS/PIP/Front/
Rear view (click once)
Audio Recording On/O (click once)
Snapshot (click once)
Record (press and hold)
Open Settings Menu (click once)
Video ModeVideo Mode
NOTE: PIP (picture-in-picture) and Rear views only
available when the rear camera is connected.
1
Remove the protective lm from the
display screen. Connect the USB-C
power cable to the input port on the
dashcam.
MicroSD Card
(Factory-Installed)
NOTE: Please test the dashcam by
connecting it to a power source
before mounting.