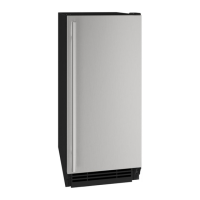
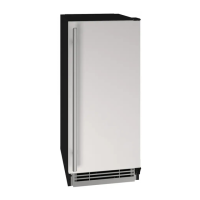
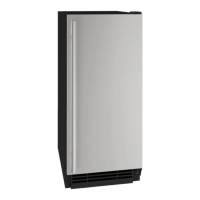
USER GUIDE
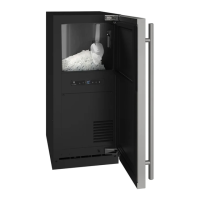
Ice
u-line.com
ICE MAKER ADJUSTMENT
Ice Cube Thickness Adjustment
Interval - As Required
On ice maker equipped models, adjust the cube size by
changing water amount injected into the ice maker
assembly as follows:
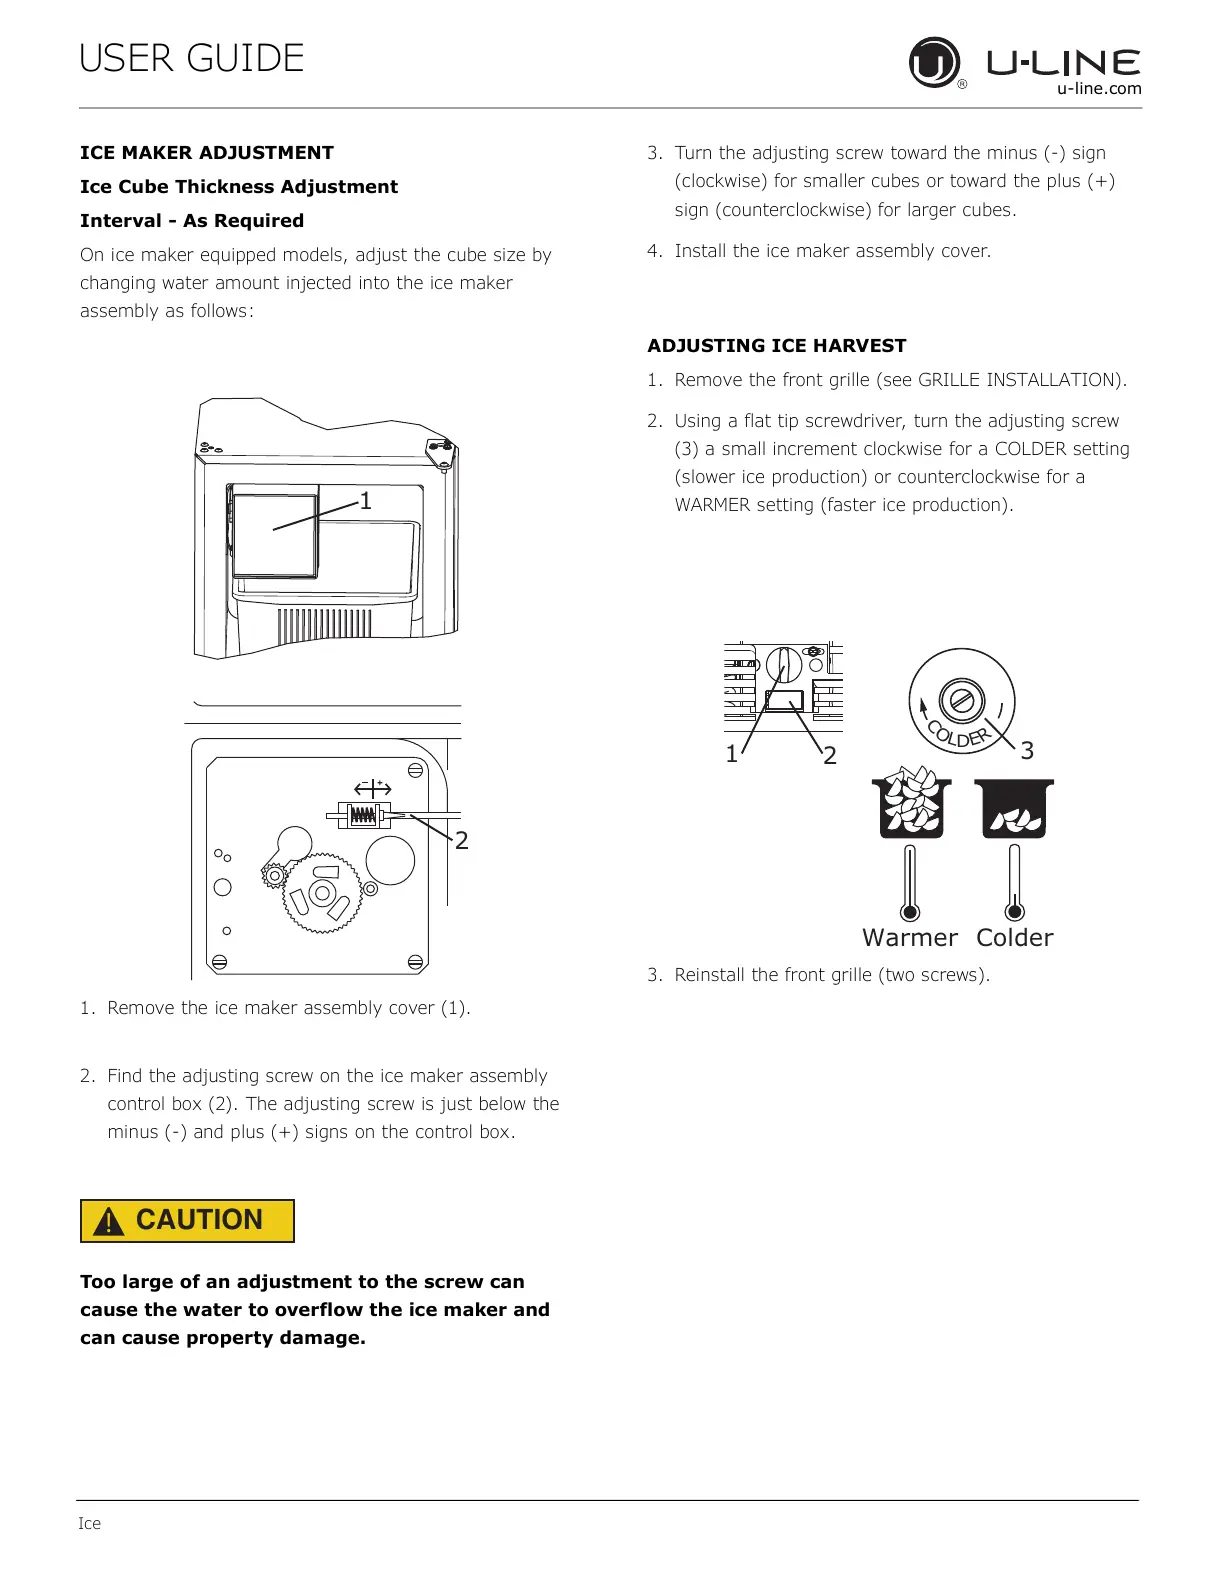
1. Remove the ice maker assembly cover (1).
2. Find the adjusting screw on the ice maker assembly
control box (2). The adjusting screw is just below the
minus (-) and plus (+) signs on the control box.
Too large of an adjustment to the screw can
cause the water to overflow the ice maker and
can cause property damage.
3. Turn the adjusting screw toward the minus (-) sign
(clockwise) for smaller cubes or toward the plus (+)
sign (counterclockwise) for larger cubes.
4. Install the ice maker assembly cover.
ADJUSTING ICE HARVEST
1. Remove the front grille (see GRILLE INSTALLATION).
2. Using a flat tip screwdriver, turn the adjusting screw
(3) a small increment clockwise for a COLDER setting
(slower ice production) or counterclockwise for a
WARMER setting (faster ice production).
3. Reinstall the front grille (two screws).
Warmer Colder
18
 Loading...