Do you have a question about the U-Turn Orbit and is the answer not in the manual?
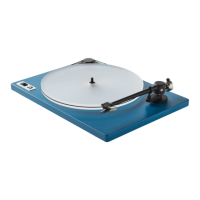
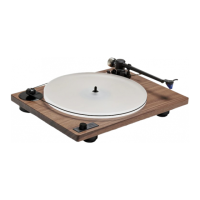
Place the platter onto the turntable spindle for initial setup.
Slide the dust cover onto the designated hinges to protect the turntable.
Connect the power adapter to the turntable's power jack.
Connect the RCA cables to the turntable's output jacks.
Wrap the drive belt around the motor pulley groove, holding it with your right hand.
Use your left hand to guide the belt into the groove around the platter.
Move the belt to the upper groove (33 RPM) or lower groove (45 RPM).
Use the speed control knob to change between 33/45 RPM if equipped.
Pull the stylus guard forward until it slides off.
Pinch the tab and pull the stylus cover down to remove it.
Connect directly to powered speakers or amplifier when preamp is enabled.
Connect to an external phono preamp or dedicated phono input.
Place the turntable on a stable surface and use a bubble level on the plinth.
Adjust foot height by turning the bottom to center the bubble level.
Covers defects in materials and workmanship for three years.
Access setup videos, email, or phone support for assistance.
| Drive Type | Belt Drive |
|---|---|
| Speed | 33 1/3 RPM, 45 RPM |
| Output | RCA |
| Platter Material | MDF |
| Cartridge | Audio-Technica AT91B (varies by model) |
| Motor | Synchronous Motor |
| Dimensions | 16.75 x 12.5 x 4.25 inches |