Do you have a question about the Ubiquiti PowerBeam M5 PBE-M5-620 and is the answer not in the manual?
| Polarization | Dual Linear |
|---|---|
| Wireless Standards | IEEE 802.11 a/n |
| Max Power | 25 dBm |
| Mounting | Pole Mount |
| Wind Survivability | 200 km/h |
| Gain | 25 dBi |
| Power Supply | 24V, 0.5A PoE |
| Operating Temperature | -40 to 70 °C |
| Interface | 10/100 Ethernet |
| Frequency Range | 5150 - 5875 MHz |
Lists necessary tools for installation, including screwdrivers and wrenches.
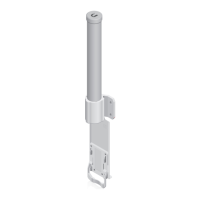
Emphasizes the importance of using shielded Category 5 or above Ethernet cabling for grounding and protection.
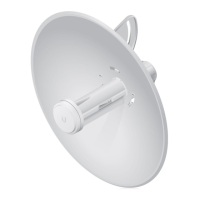
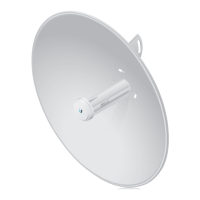
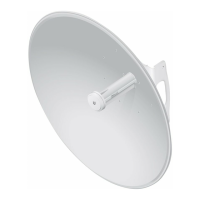
Instructions to align the reflector's pins with the rear housing and push to lock them.
Instructions on how to detach the cable door from the rear housing by pushing its sides.
Details inserting the antenna feed into the rear housing and checking its secure engagement.
Instructions for connecting the Ethernet cable to the antenna feed's port and re-attaching the cable door.
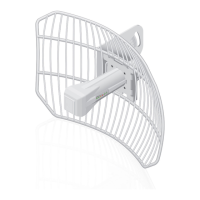
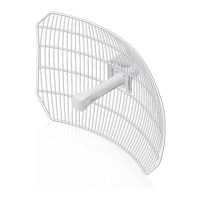
Guides attaching bolts, washers to the mounting bracket, noting a specific gap requirement.
Instructions to attach the support arm to the upper pole bracket, ensuring degree settings match.
Details securing the brace to the pole brackets using screws.
Advises removing serrated flange nuts from M8x150 carriage bolts for use in the next step.
Instructions for attaching pole clamps to pole brackets using carriage bolts and nuts.
Mentions preparing M10x100 bolts with washers and nuts for assembly.
Guides attaching stabilizer brackets to the pole using M10x100 bolts, washers, and nuts.
Details sliding pole clamps onto carriage bolts and tightening nuts to secure the assembly to the pole.
Instructions to lift the dish reflector and align its bolts with the lower pole bracket slots.
Guides attaching the upper pole bracket arms to the mounting bracket using bolts and washers.
Emphasizes loosening hex head bolts to allow for tilt angle adjustment.
Explains how to adjust the tilt angle by turning the elevation rod screw head.
Instructs to tighten flange bolts to lock the alignment at the desired tilt.
Ensures the host machine is connected via Ethernet to the PowerBeam.
Instructs to configure the host system's Ethernet adapter with a static IP in the 192.168.1.x subnet.
Guides launching a web browser and navigating to the device's IP address (https://192.168.1.20).
Details logging in with default credentials, selecting country/language, and agreeing to terms of use.
Lists general safety instructions to follow, including heeding warnings and using specified attachments.
Highlights critical warnings about using the product in water or during electrical storms.