Bulletin 30-122.2014.04.006 4 Copyright © 2014 Unico, Inc.
(SAC xx.xxxx.xxx.xx)
Minimum operation and maintenance area.
Remove and discard the set screw on the rear panel.
Press the 2 marks on the frame cover and disengage
the stationary tabs from the frame.
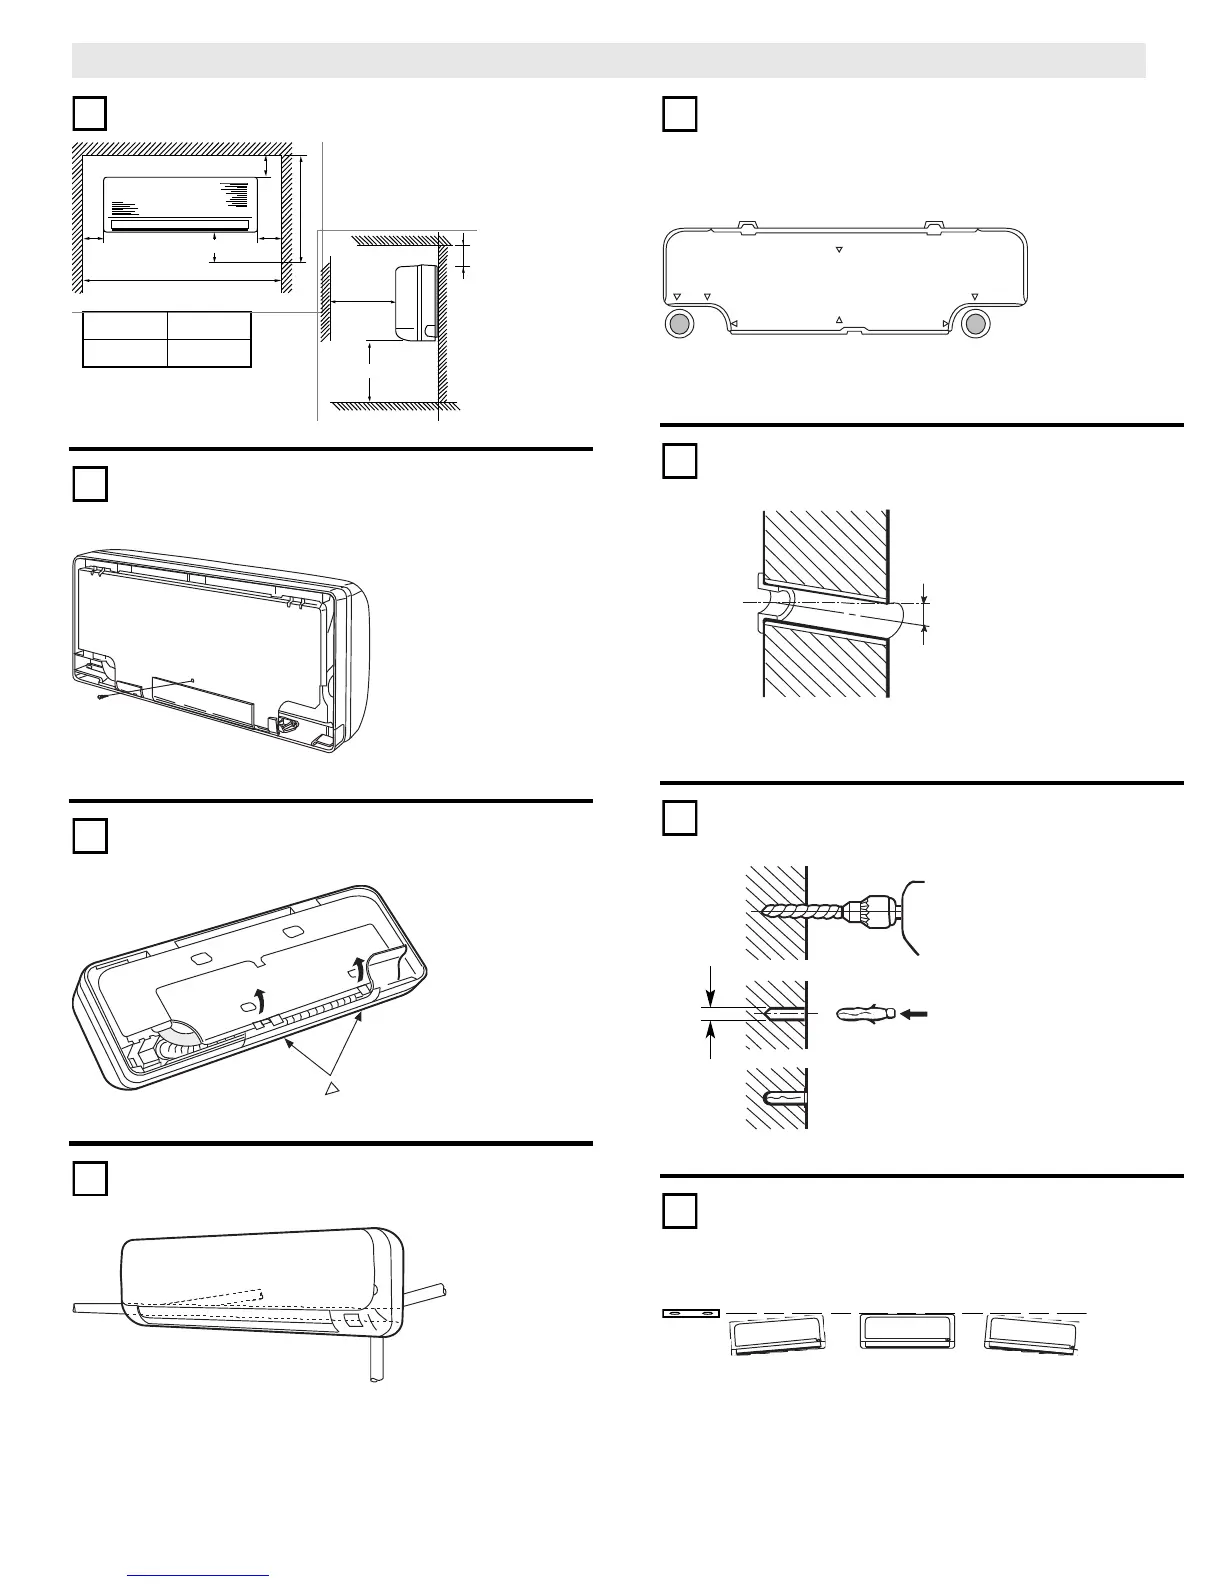
The unit can be connected in five directions: right-
rear, left-rear, left-side and right-downward.
Tubing connections from the rear. Use the rear panel
as a template. Check the horizontal position with the
level. Mark the holes to be made.
Drill a 2.5 inch (65 mm) diameter hole. Insert a 2 inch
PVC pipe and secure in place.
Prepare wall for attachment of rear panel. Use
anchors (not included) as appropriate.
Use the screws to fix the rear panel to the wall. Make
sure the panel is flush against the wall and level. Any
space between the wall and unit will cause noise and
vibration.
6.0 (150)
B
A
6 .0
(150)
10.0 (250)
2.0
(50)
80.0 (2000) 6.0
(150)
67.0 (1700)
43.7 (1110) 30.0 (760)
A B
All d im e n s io n s in inc h e s (m m ).
 Loading...