5
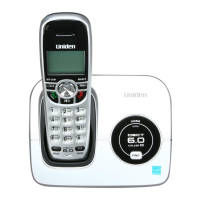
INSTALLING YOUR PHONE
Charge the Battery
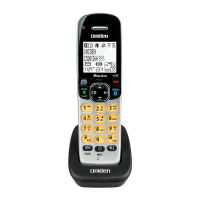
1. Unpack all handsets, battery packs, and battery
covers.
2. If you need to remove a cover, press in on the
notch and slide the cover down and off.
3. Line up the battery connector with the jack
inside the handset; the connector only fits one
way.
4. Push the connector in until it clicks into place;
tug gently on the wires to make sure the battery
is securely connected.
5. Replace the battery cover and slide it into place.
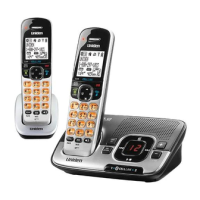
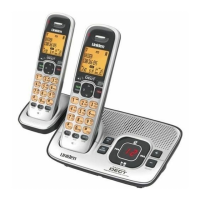
6. Use an AC adaptor to connect the power jack on the base to a regular
indoor (240V AC) power outlet. Connect any chargers the same way.
7. Place a handset in the base with the display facing forward. If the display
doesn’t light up, reseat the handset or connect the base to a different
outlet. For 2 or more handsets, place each handset in a charger.
Use the telephone cord to connect the TEL LINE jack on the base to a
standard telephone wall jack.
Connect the Telephone Cord
Test the Connection
1. Pick up the handset and press TALK/FLASH. The handset sounds a dial
tone, and the display shows Talk.
- If you don’t hear a dial tone or the display says Check Tel Line, check
the connection between the base and the phone jack.
2. Make a quick test call. (Press END to hang up.)
- If there’s a lot of noise, check for interference (see page 29).
3. Test all handsets the same way. If you can’t get a dial tone, move the
handset closer to the base.
# Charge all handsets completely (about 15 hours) before using.