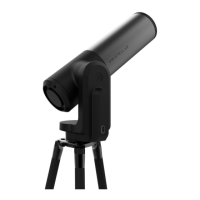
Install the eVscope 2 and
power it on
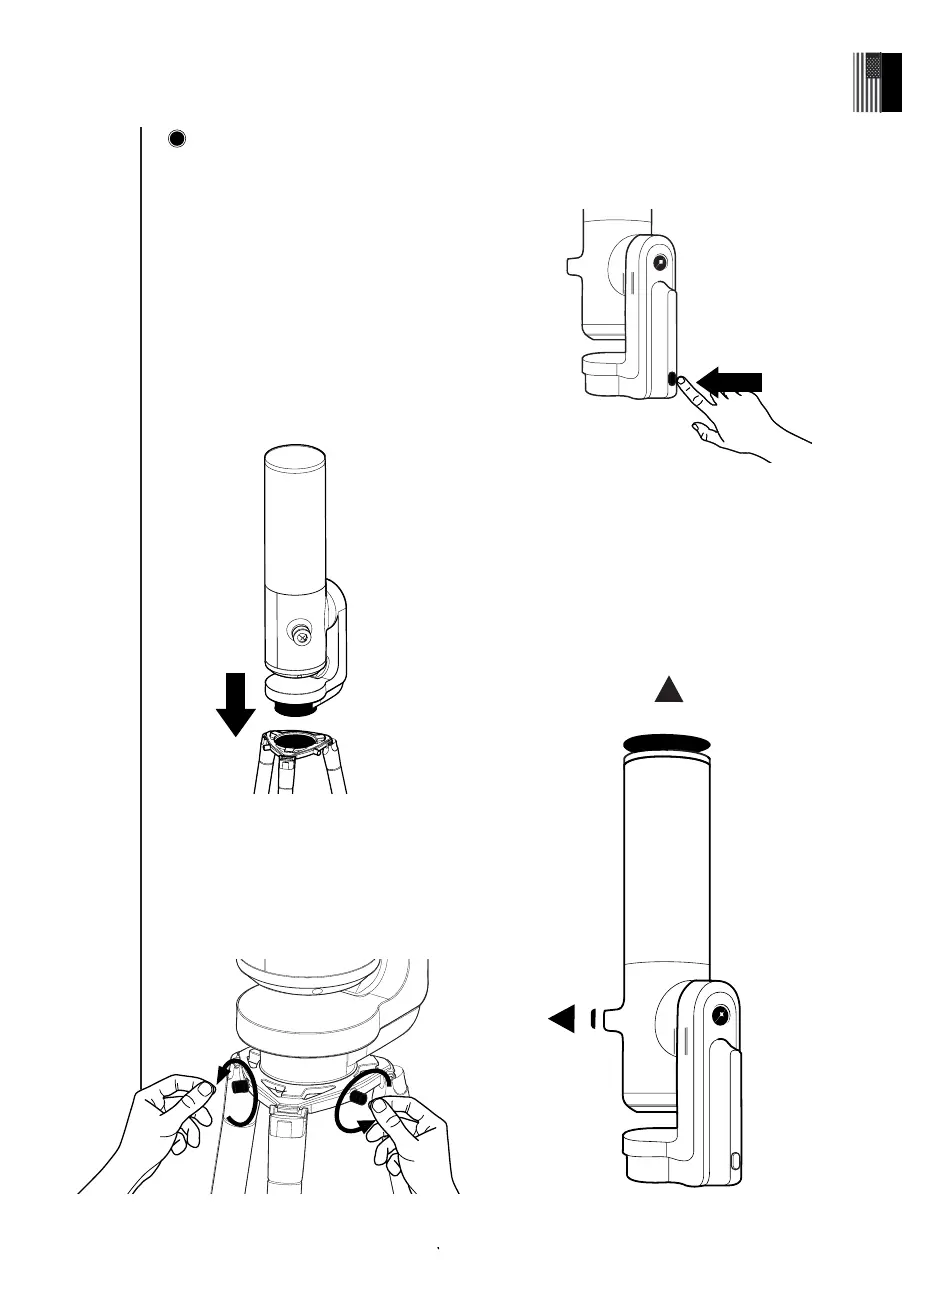
A - Pick up your eVscope 2, and cradle the
tube and base in your arms and hands.
Ensure the base of the eVscope 2 is fully
supported, to avoid dropping the telescope
during the installation process.
B - Install your eVscope 2 vertically on the
tripod.
Ensure that the base is properly inserted
into the crown of the tripod and fi ts in
perfectly. It should be stable, not loose
nor wiggly.
D - Start the eVscope 2 by pressing the ON
button for 2 seconds. The LED is fi rst purple
then red.
(You might not see the button light if you turn
on your eVscope 2 in daylight because of its
low intensity).
E - Remove the cap covers on both the
eVscope 2 tube and eyepiece.
C - Tighten the screws at the crown of
the tripod to secure your eVscope 2. Be
careful not to tighten too hard as it may
damage the thread.
PRESS
ON
2 sec
2
16 | User guide
English