- 46 - - 47 -
ENGLISH
The brake pads, calipers and discs should not be lubricated. Risk of noticeably reducing the
braking power and fall.
08 | WHEELS
The best type of maintenance that can be done on a wheel is a preventive maintenance, correcting
any problems before they may occur.
This chapter explains how to inspect, adjust and lubricate the wheels of a bicycle.
Inspection
By turning the wheels by hand, inspect the covers to check their wear and any other damage. If a
cover has a cut or is too worn, replace it before riding.
Make sure that the wheels are inflated and that the tire pressure is correct. Inflate the wheels us-
ing a hand pump. Avoid inflating tires using service station pumps.
If the pressure is not kept high, it would likely be that there is a leak or puncture. Below in the
TYRES section, it is explained when and how to change a tyre.
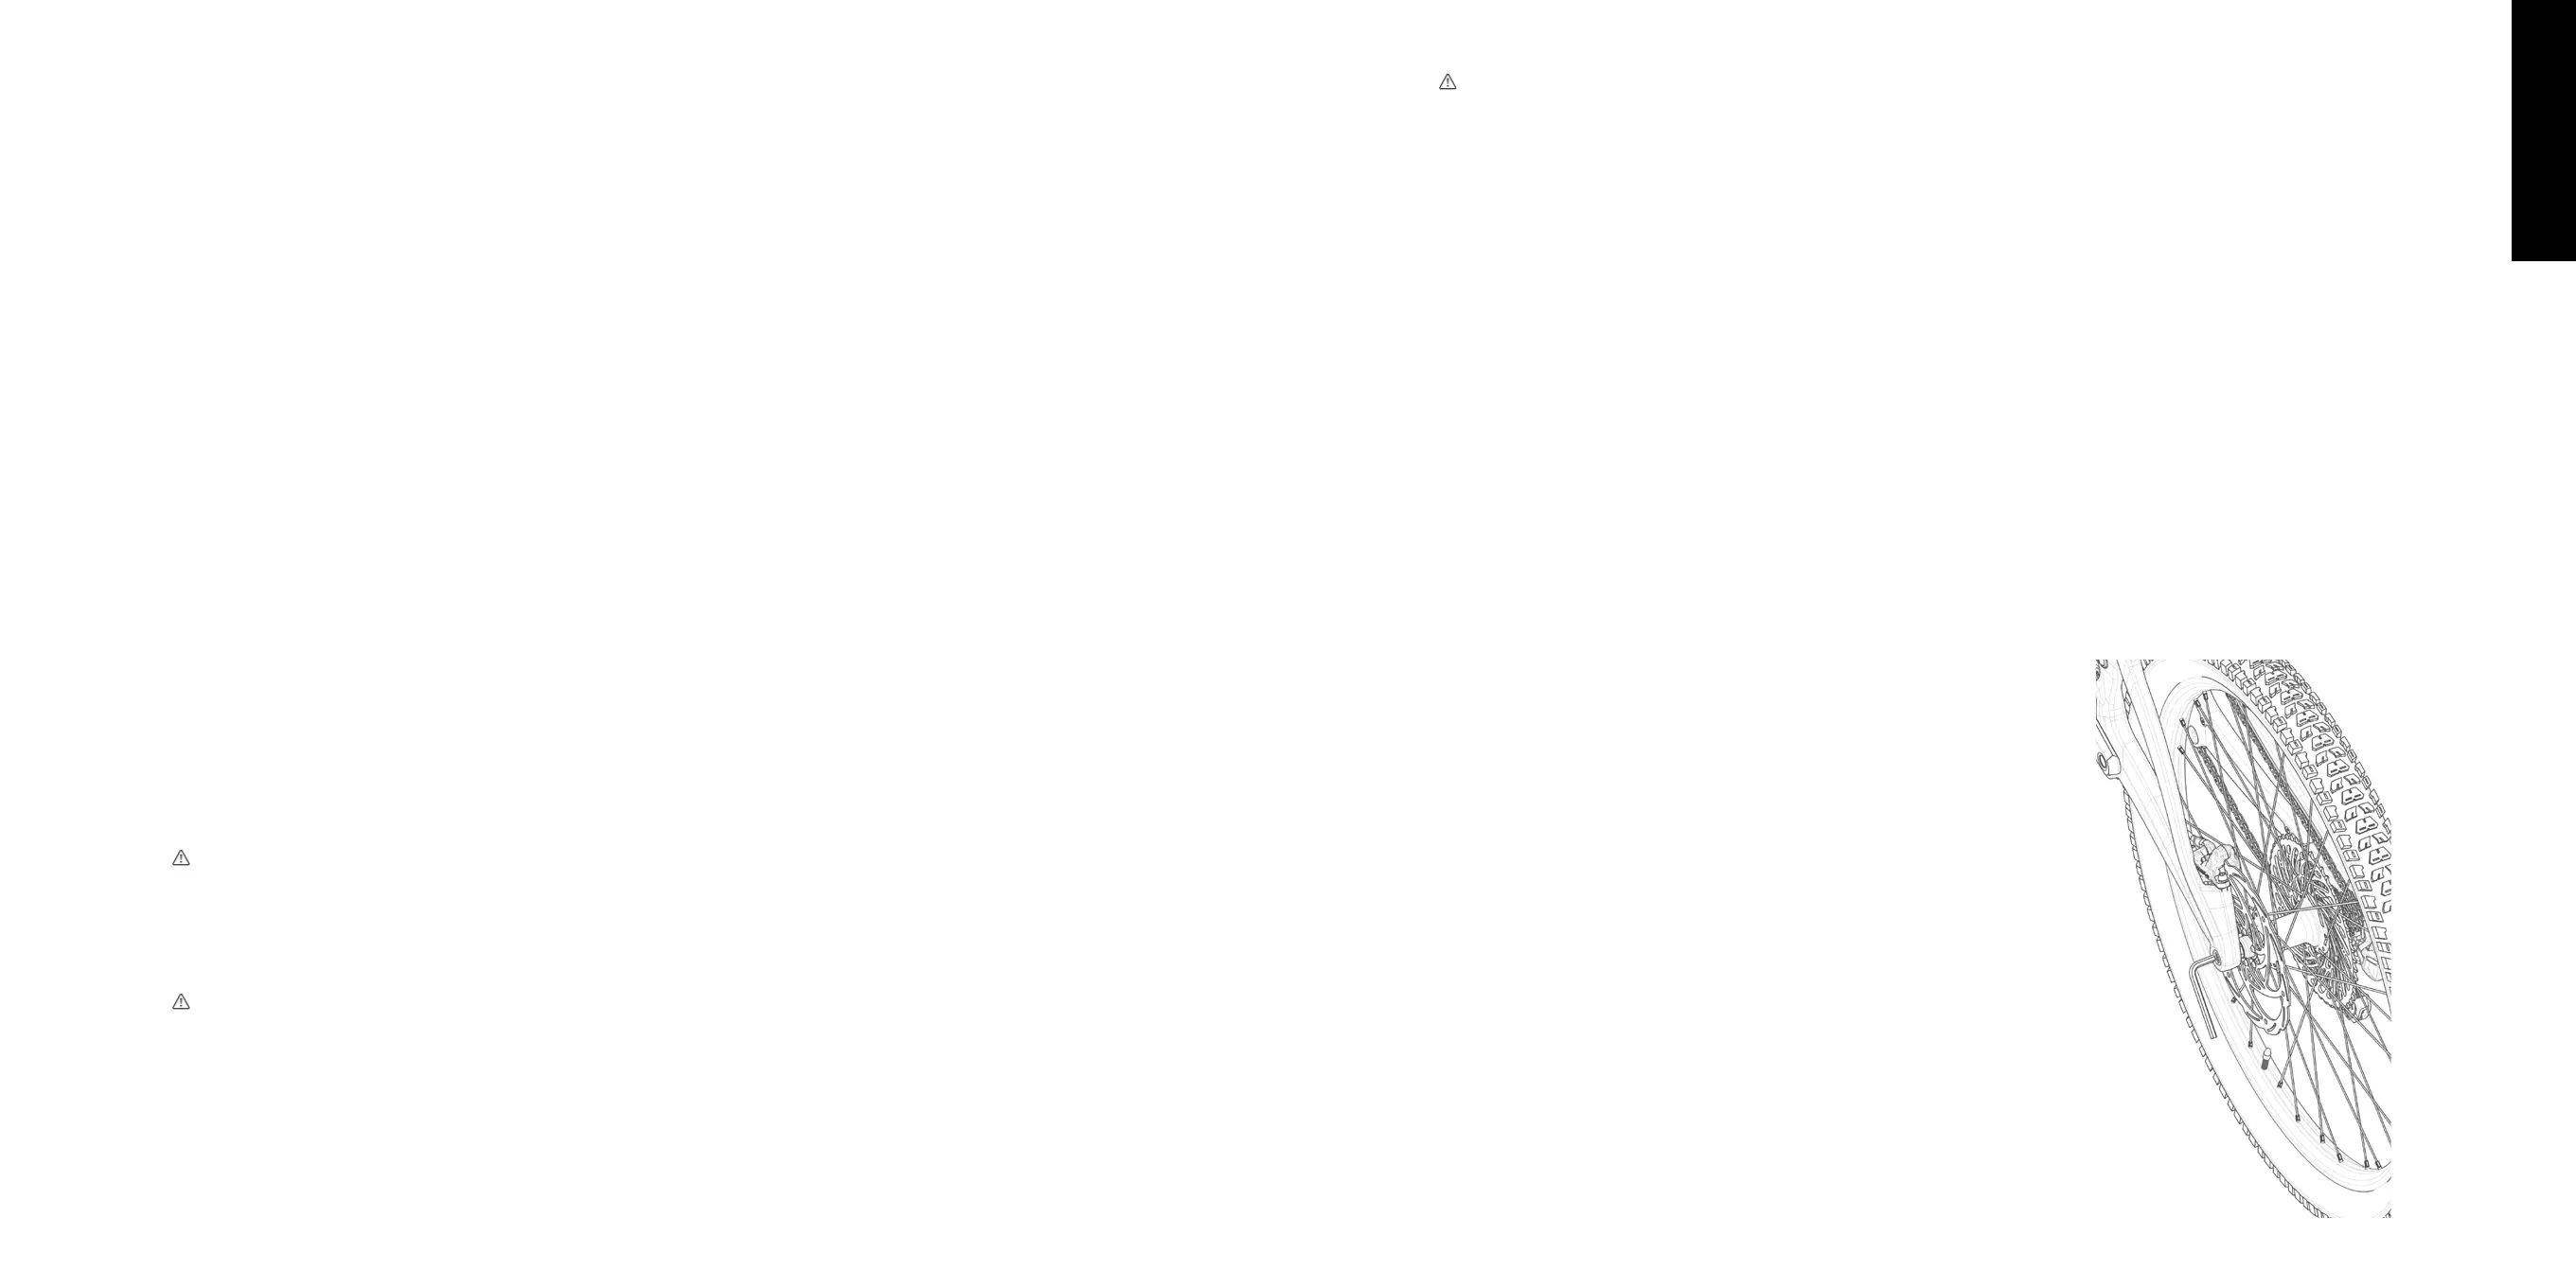
Verify that the wheels of your bicycle are firmly attached to the
fork and the frame, and do not move out of position. To do this,
raise the front wheel and try to move the tire from left to right. Ob-
serve if the wheel has any clearance. Repeat this procedure with
the rear wheel.
Check that the axles of the front and rear wheels are properly
closed.
If the through axles are not properly tightened, they can cause a
fall.
By turning the wheels, check that they are well centered and the
rims are not strained. Lift and rotate each wheel separately, to ob-
serve the rim as it passes through the fork and frame.
Every week make sure there are no loose, damaged or broken
spokes. It is essential to tighten immediately the loosened spokes.
and in the manual of the manufacturer of the disc brakes.
Periodically check that there are no bent or twisted brake fluid lines. With the brake applied, ob-
serve the entire hydraulic circuit looking for leaks in pipes and fittings. Replace any part that does
not pass the inspection. This replacement requires specific knowledge and tools so it must be
done by an authorized technician.
Adjustment
How to adjust the distance from the brake lever to the handlebar
• Locate the travel adjustment screw.
• To increase the travel, turn the screw clockwise. To reduce the travel, turn the screw counter
clockwise.
How to align the calliper with the disc
• Loosen the clamping bolts of the brake calliper.
• Press the brake lever all the way down and gradually tighten the bolts until the correct tighten-
ing torque is reached.
How to disassemble the brake pads
• Remove the wheel. Follow the instruction below in the WHEELS section of this manual.
• Using your fingers, or a pair of needle-nose pliers, grasp the tab of the brake pad and pull it.
Do not actuate the brake after removing a wheel or when the disc is not inside the brake calli-
per. If the brake lever is pressed with the disc out, the brake pads can stick together, and the disc
can not be put back into its position. If this happens, consult the technical manual of the brake
manufacturer or a trusted mechanic.
New pads require a break-in time until the optimum level of performance is reached. To do it,
accelerate up to around 30 km/h and brake to stop completely, 30 to 50 times.
Lubrication
Every 3 months lubricate the lever pivots, with the same synthetic lubricant that is used for the
chain oiling.
 Loading...