Before using your Day-Light, please:
1. Check package contents to ensure that all parts are
enclosed and in good condition (see pictures below).
2. Test light tubes to ensure that all three are in
working order.
Check Package Contents
Your Day-Light comes with the following components:
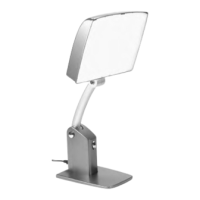
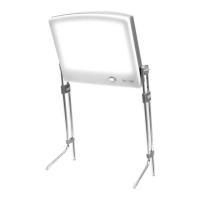
• The light case, which includes three pre-installed
light tubes and a built-in stand on the back;
• Two height-adjustable legs (see photo). Note the
placement of the Height Adjustment Button;
• This Users Guide and your Warranty Registration
Card.
Please check to see that all parts are included in your
package. Send in your Warranty Card today to ensure
you are registered. Contact your dealer if any product
parts are missing or damaged.
Test Light Tubes
Your Day-Light comes equipped with three 36 watt
compact florescent light tubes and can be used in a two-
or three-light setting. Test to see that the switch and
light tubes are working properly with these steps:
• Plug in the light case.
• Push the switch to the three-lined side for the three-
light setting. The lamp should illuminate.
• Push the switch to the two-lined side for the two-
light setting. The lamp should illuminate but at a
reduced intensity.
If all three tubes do not light up, the non-functioning
light may be loose or damaged.
Before Using Your Day-Light
www.day-lights.com
3
In this event, you will need to remove and reinstall the
nonfunctioning light tube to determine the problem, as
described in the section
Removing and Installing Day-
Light Tubes
below.
This section explains how to remove and install the light
tubes, and how to install the legs of your Day-Light. To
discover all the versatile features of your Day-Light,
please read this section.
Removing & Installing Day-Light Tubes
To reset a loose light tube or replace a burnt-out tube,
please follow these instructions carefully.
To Check & Remove a Light Tube
1. Unplug the Day-Light (remove both detachable legs
if already assembled).
2. Gently place the Day-
Light with lens down
on a flat surface.
3. Remove the nine screws
on the back of the unit
using a #2 Philips screw
driver.
4. Turn the Day-Light
onto its back. Remove
the lens.
5. Check to see if a light
tube is loose. If loose, it
will need to be removed
and re-installed.
6. Stretch and remove the
elastic around the metal
clips.
7. Remove and discard the
rubber shipping insert at
the socket end of the
light tube.
8. To remove the light
tube, depress the white
clip in the middle of the
individual light housing
unit (see photo). With
your other hand, grasp
the tube near the plastic
base and gently wiggle it
until it rises above the
white clip.
Using Your Day-Light
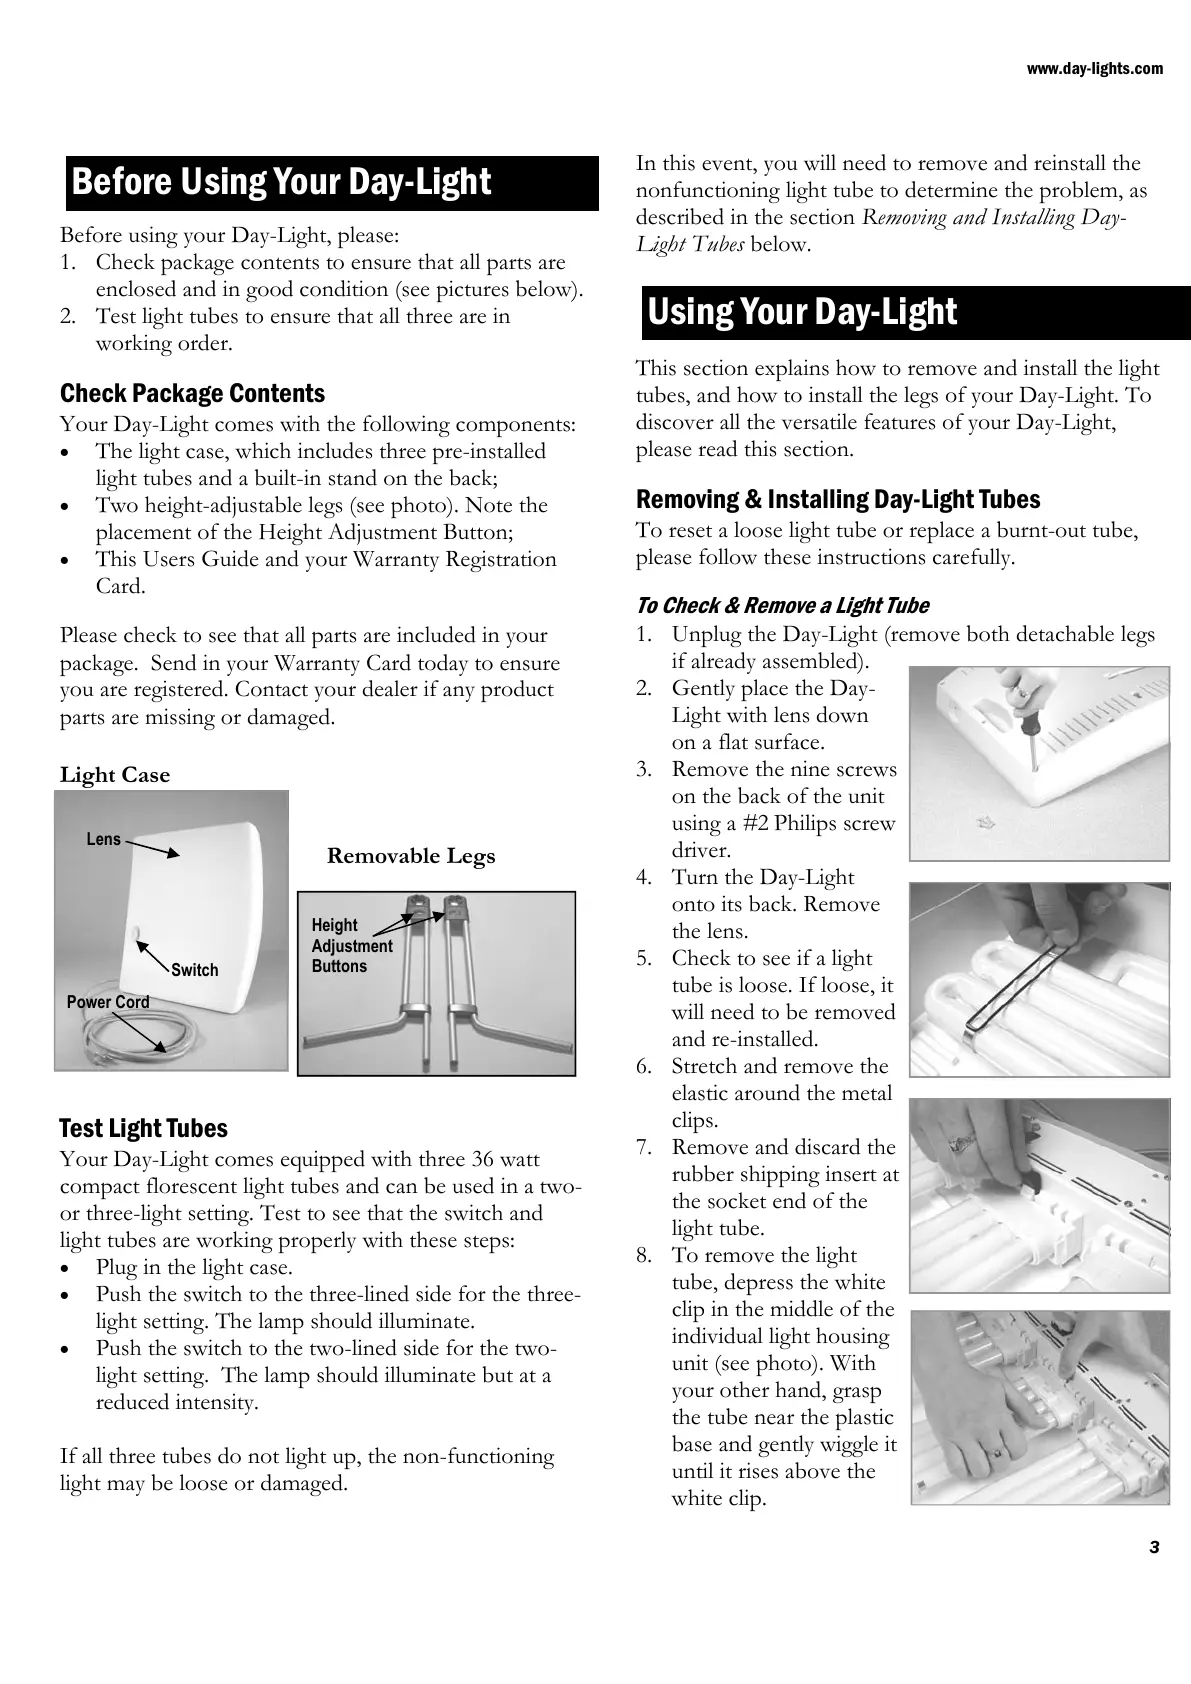
Lens
Switch
Power Cord
Light Case
Removable Legs
Height
Adjustment
Buttons
 Loading...